
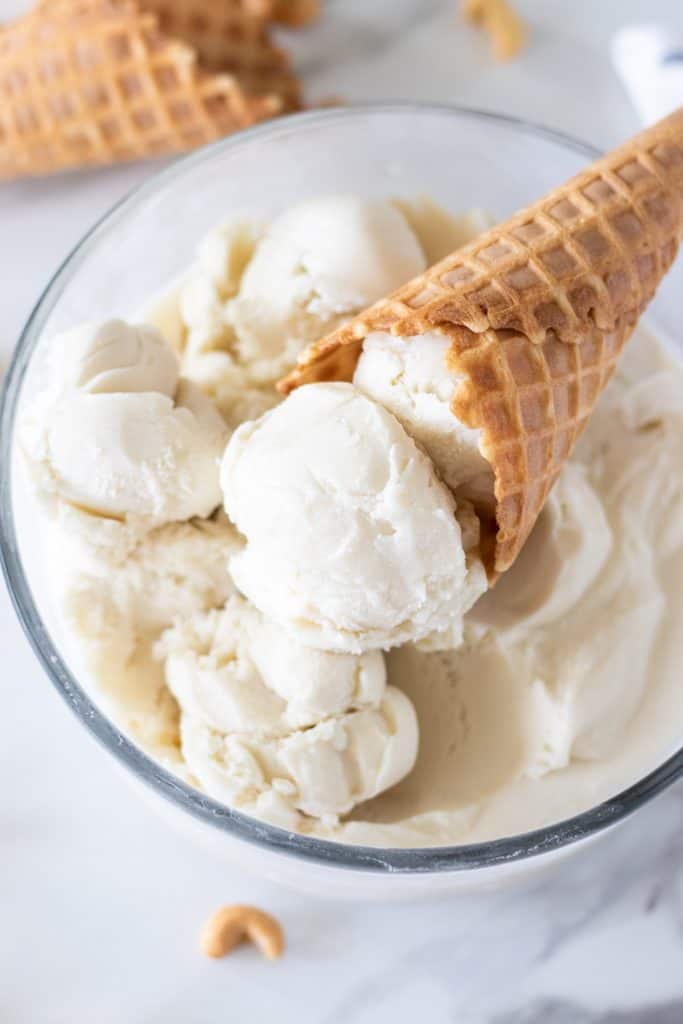
What is more perfect during a scorching hot summer day then an ice cream cone? We are absolute ice cream fanatics over here and this coconut cashew vanilla ice cream checks all the boxes.
Homemade? Check.
Easily made with or without an ice cream maker? Check.
Delicious? Check.
During all this extra time at home, I was motivated to find a way to make ice cream that was PANTRY FRIENDLY.
Now, you might not believe me but this ice cream can be easily made with just 5 ingredients- all of which you can probably find in your pantry right now!
That's right, no milk or cream is required to make this ice cream. I know right, mind blown!
This ice cream is also dairy free, yes, you read that right DAIRY FREE!
Now, to make this ice cream dairy free you have to make sure that you use sweetened condensed coconut milk. Although, if you are not concerned about dairy free, regular sweetened condensed milk can be used instead.
I know what you're thinking, dairy free ice cream CAN NOT be as good as the real thing.
Trust me though, it is just as good. It is SO delicious and tastes exactly like real ice cream.
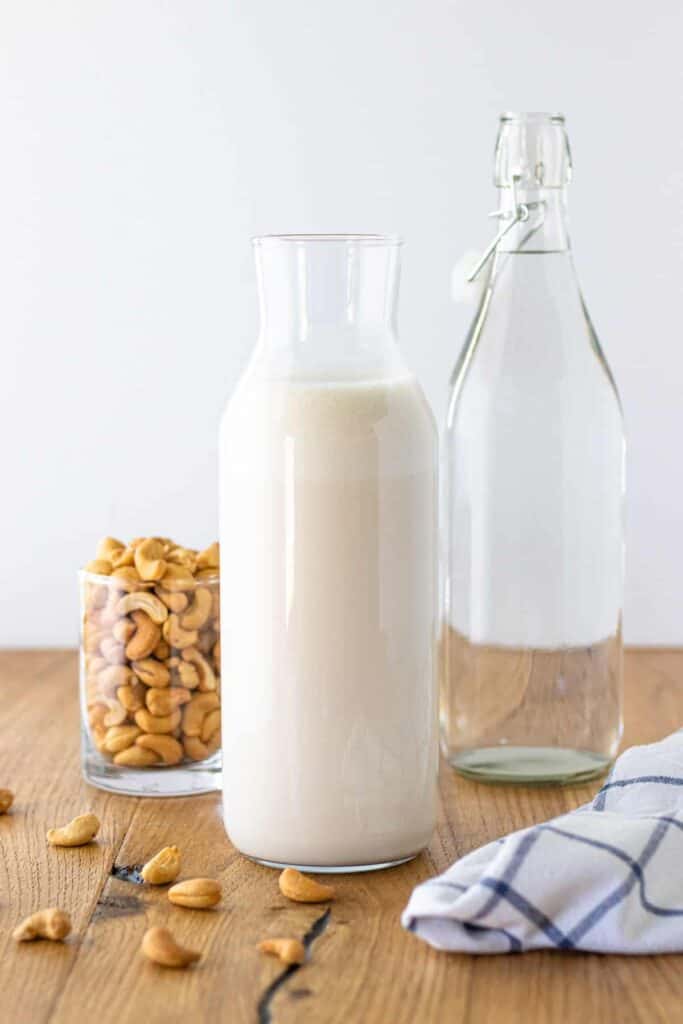
Cashew Milk
One of the main ingredients in this ice cream is easily blended cashew milk. It is the perfect cashew milk for this recipe, and it keeps this recipe pantry-friendly!
No Ice Cream Maker? No problem!
Like I said above, you DO NOT need an ice cream maker to make this ice cream. Even though I did use one, I tested this recipe without using an ice cream maker too and it still turned out great.
A few things that using an ice cream maker changes about the recipe;
- It comes together way faster. This is obvious, that it drastically cuts down on the amount of time it takes for the ice cream to freeze.
- The constant churning of the liquid mixture in an ice cream maker adds air to the ice cream giving it the same consistency as soft serve ice cream. It does make the ice cream slightly fluffier after the final freezing vs. just putting liquid mixture into the freezer.
- Using an ice cream maker makes incorporating add-ins to the ice cream MUCH easier. (see below to learn more about add ins and how to add them to the ice cream)
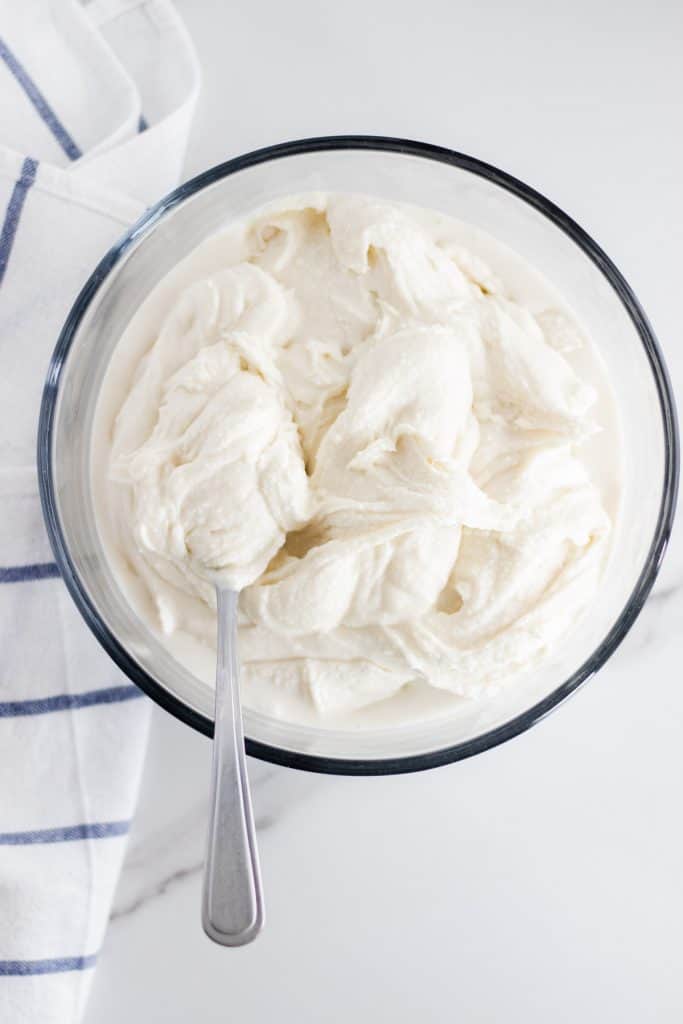
Either way, the ice cream is still completely scoopable and the same consistency as any hard serve ice cream.
This is the ice cream maker that I use. I bought it a hundred years ago and it does the job perfectly every time!
I like this one because there are literally 4 parts to the entire machine and it only has one button. Super simple, easy to store, and easy to use, easy to clean, everything that I look for in a specialty appliance!
But wait! If you are on the fence about adding another appliance to your kitchen, this ice cream maker bowl is a great alternative if you have a kitchenaid mixer!
Let's Make Some Ice Cream!!
Making homemade ice cream is actually incredibly easy.
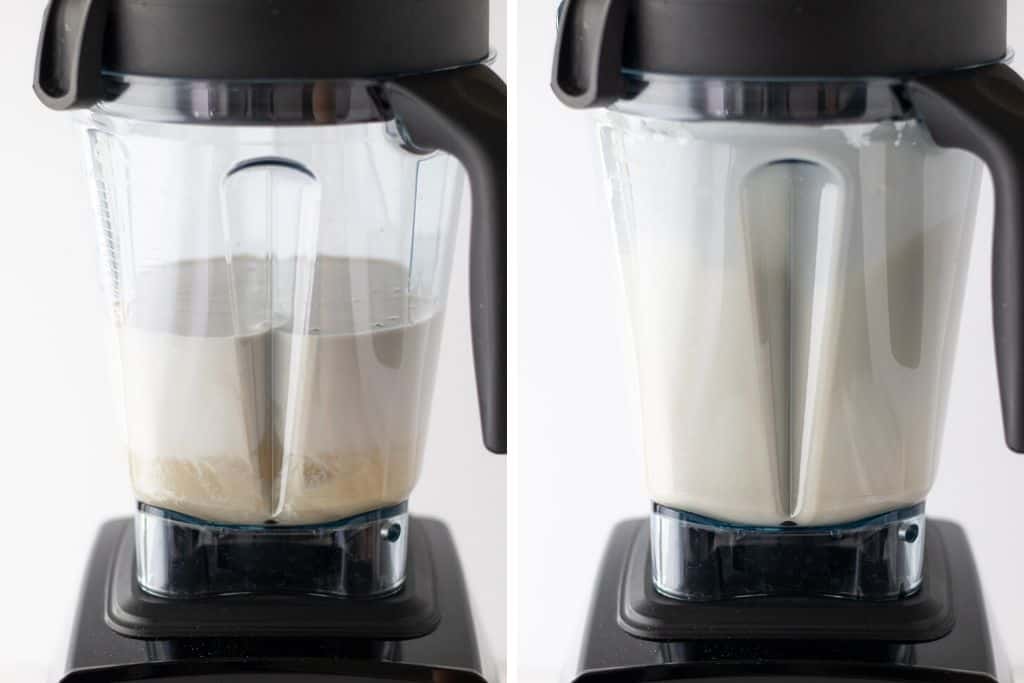
All you have to do is pour all of the ingredients into a high speed blender and blend it up! (really, it is that easy!)
Directions using an Ice Cream Maker
Note- If you are using the type of ice cream maker that I recommended above, the bowl will have to be frozen at least 24 hours in advance! I just store the bowl in my freezer always, then I never have to worry about planning ahead and freezing it.
Transfer the blended ice cream mixture to a medium sized bowl and refrigerate until cold, about 1 hour.
Set up the ice cream maker with the frozen bowl, turn it on, and slowly pour the ice cream mixture into the frozen bowl.
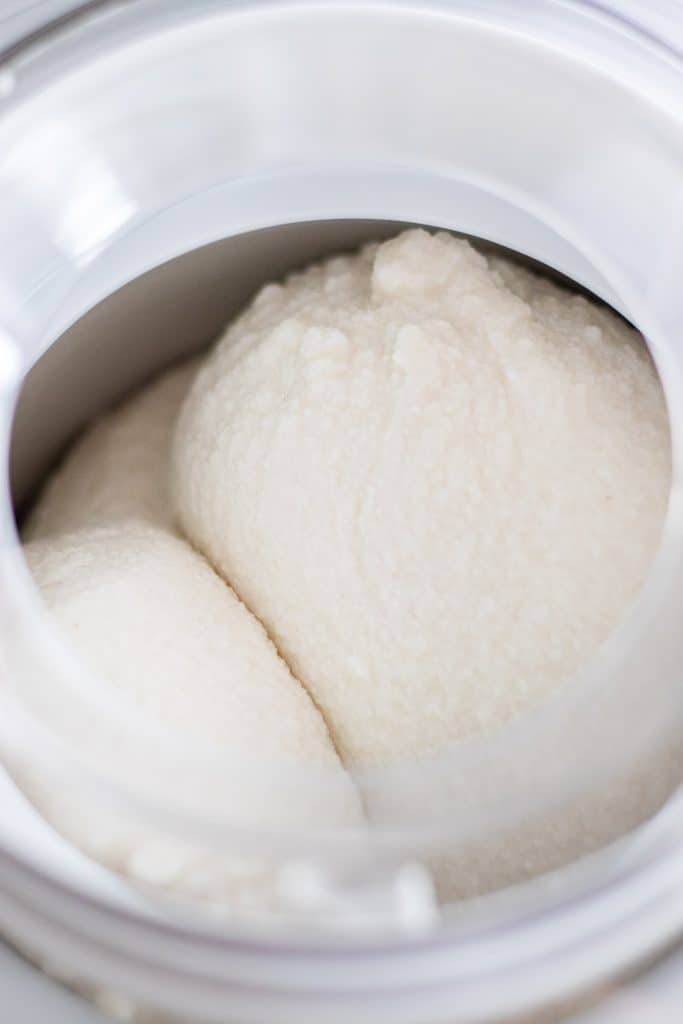
Let the ice cream maker churn the ice cream for 30 minutes, until it is the consistency of soft serve. This is also the time that you can add any add-ins to the ice cream (see below for some ideas!).
Save This Recipe! 💌
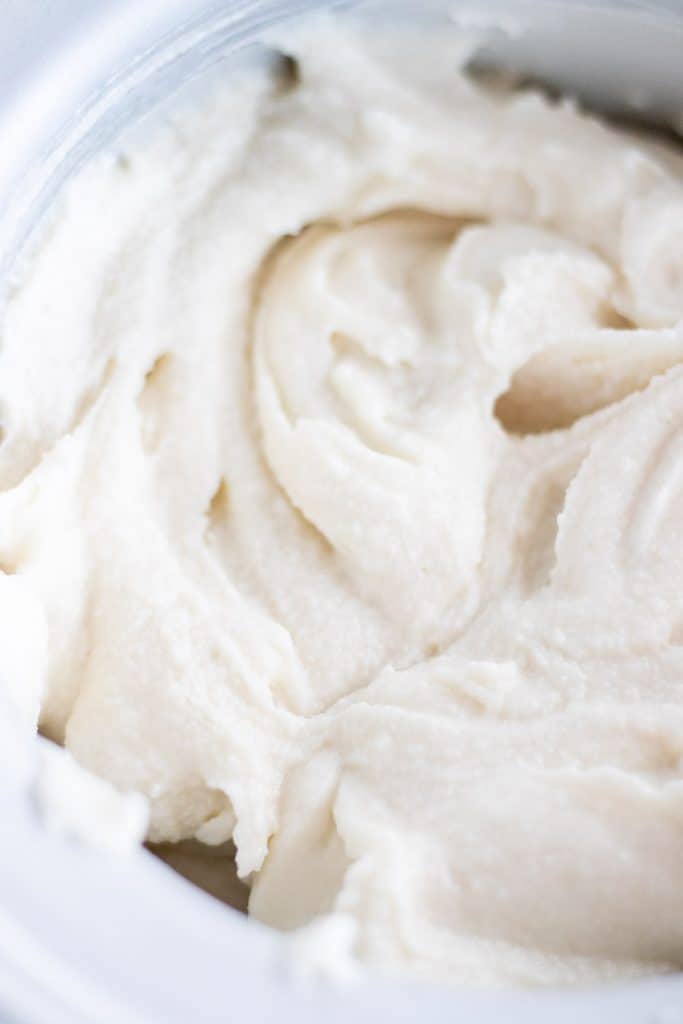
Transfer the ice cream to a freezer safe container and freeze for an additional 5-6 hours before serving.
Directions for No Ice Cream Maker
Pour the blended ice cream mixture into a freezer safe container, cover and freeze for 12-24 hours before serving.
If you want to add some add-ins, see the notes below for more information.
Add ins
You can add pretty much anything you can imagine to this ice cream. Like last week we crushed up some "Oh Henry!" bars and put them into the ice cream… It was SO DELICIOUS.
Ice Cream Add-in Ideas
- Your favourite chocolate bar, smashed up into tiny chunks
- Chocolate Chips
- Crushed Cookies; like these peanut butter chocolate chip cookies!!
- Fruit or berries, cubed or diced, frozen or fresh
- Caramel Sauce
- Chocolate Fudge Sauce
- Sprinkles (the colour on nonpareil sprinkles will run if you are adding them into the ice cream, it is better to use nonpareils for sprinkling on top of the completed ice cream)
- Literally ANYTHING else you can think of!
Incorporate add-ins using either of these methods
Add-ins Using an Ice Cream Maker
This is the easiest way to incorporate any add-ins to your ice cream. The ice cream maker turns the ice cream into a soft serve consistency, which will keep any add-ins suspended in the ice cream while it freezes.
So, to add the add-ins to the ice cream, wait until the ice cream has finished churning in the ice cream maker and remove the lid and the churning spatula. Then stir the add-ins you are using into the ice cream while it is still in the freezer bowl.
Transfer the ice cream to a freezer safe container, cover with a lid or plastic wrap and let it freeze until it has hardened.
Add-ins Not using an Ice Cream Maker
Adding add-ins to the ice cream if you are not using an ice cream maker is a little tricky.
You will have to freeze the ice cream until it is partially frozen, kind of like soft serve consistency, still stirrable, but frozen enough that it provides some stability.
Finding this sweet spot could be tricky, I would say around 4-5 hours after you have put it in the freezer but this timing will vary based on the type and strength of your freezer.
Once the ice cream is slightly stable but still stirrable, remove it from the freezer and stir in the add-ins, then return the ice cream to the freezer to complete freezing.
Storage & Serving
Keep your ice cream in the freezer in an airtight container for up to one month.
Serving Ideas
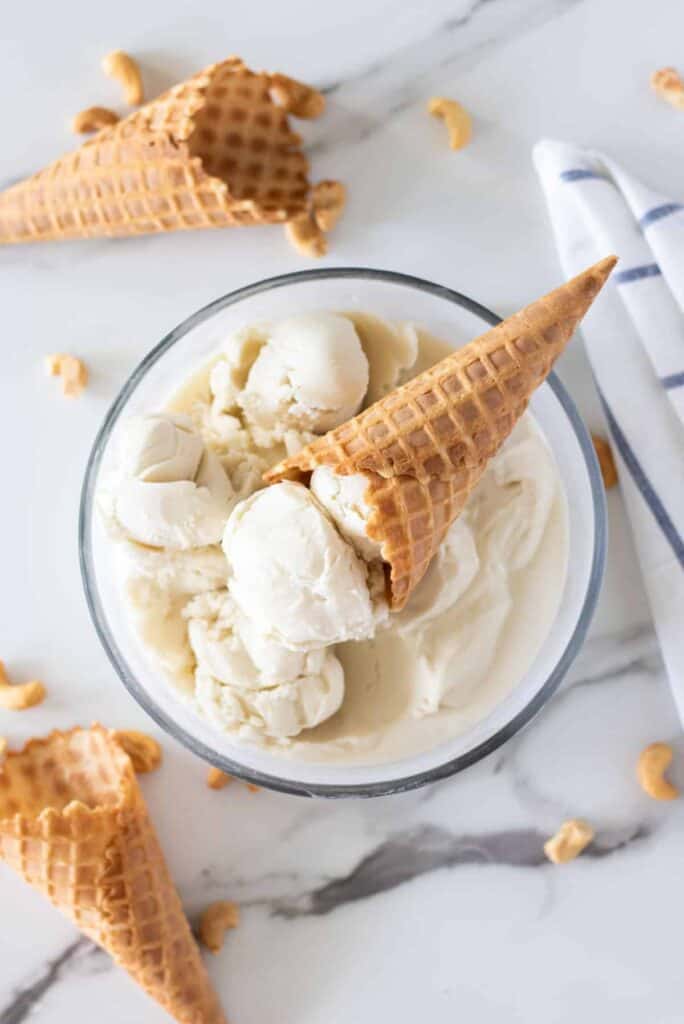
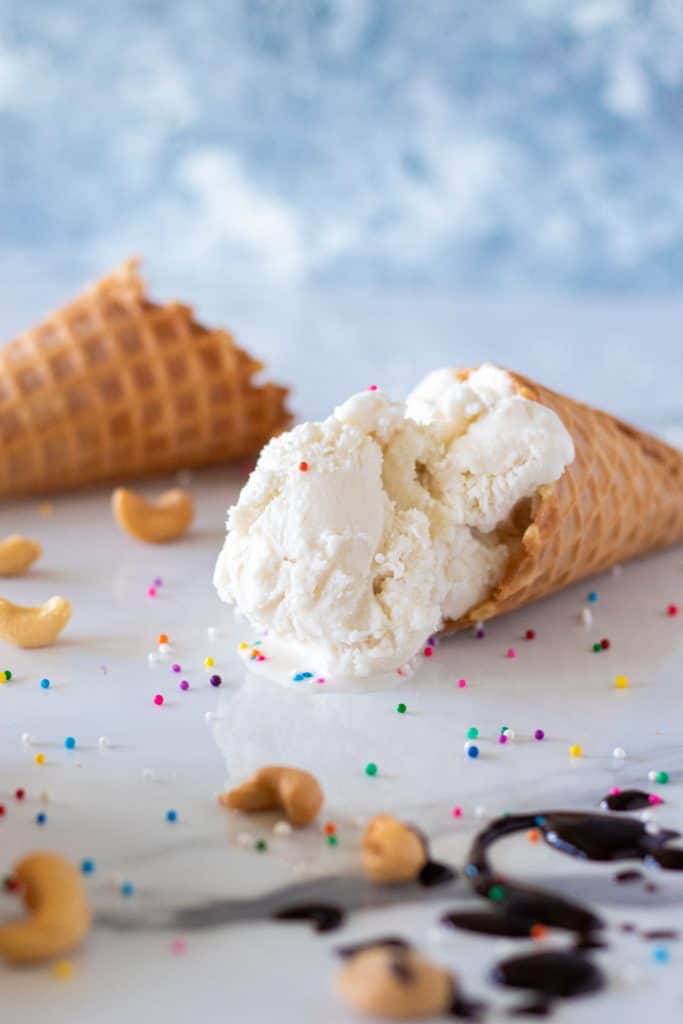
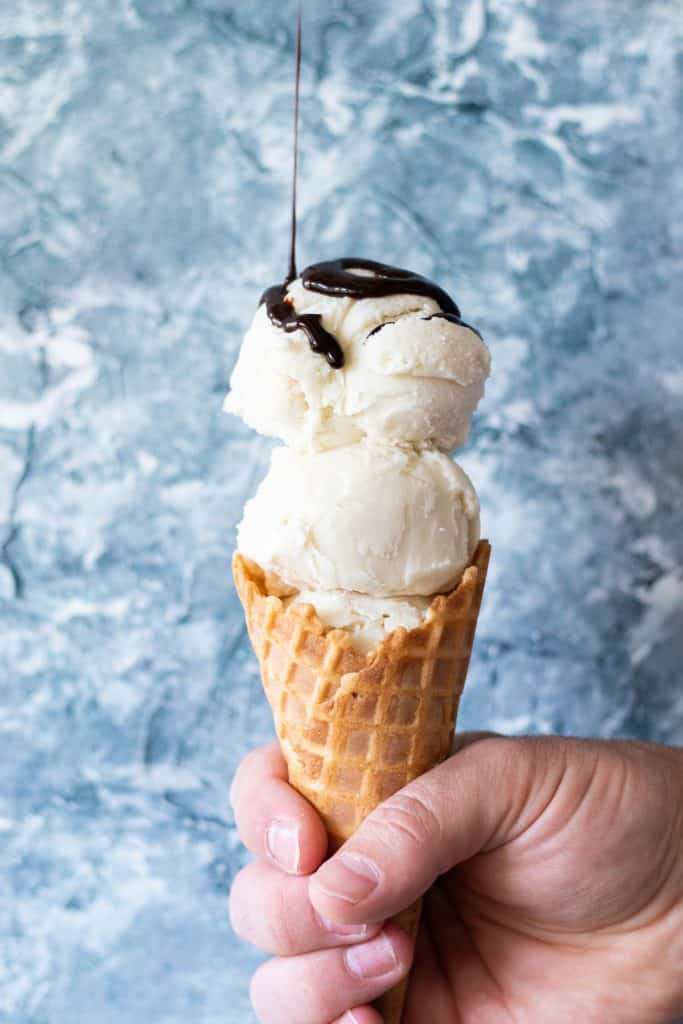
Obviously, this ice cream is incredible served in waffle cones and that is pretty much the best way to eat it!
But wait, you can take those waffle cones to the next level.
All you need to do is melt some chocolate chips, and using the back of a spoon spread the melted chocolate on the inside of the cones! Gently place the cones upright in a regular drinking glass and refrigerate them until the chocolate has hardened.
Also, hot fudge, chocolate sauce, caramel sauce or sprinkles are all acceptable here!
And there you have it, a pantry friendly, dairy free ice cream that is just as rich and decadent as the real thing!
We put a lot of work into our recipes and if you have made this recipe we would love to see! Tag us anywhere on social media or leave a comment down below!
If you have any questions about this recipe, I would be happy to answer them in the comments down below! To get a hold of us directly, you can shoot us an email.
Also, if you would like to see more recipes and get a glimpse into our everyday lives we can be found on Instagram, Facebook, Twitter, or Pinterest.
📖 Recipe

Coconut Cashew Vanilla Ice Cream
↑ click the stars to rate this recipe ↑
Print Recipe Pin RecipeIngredients
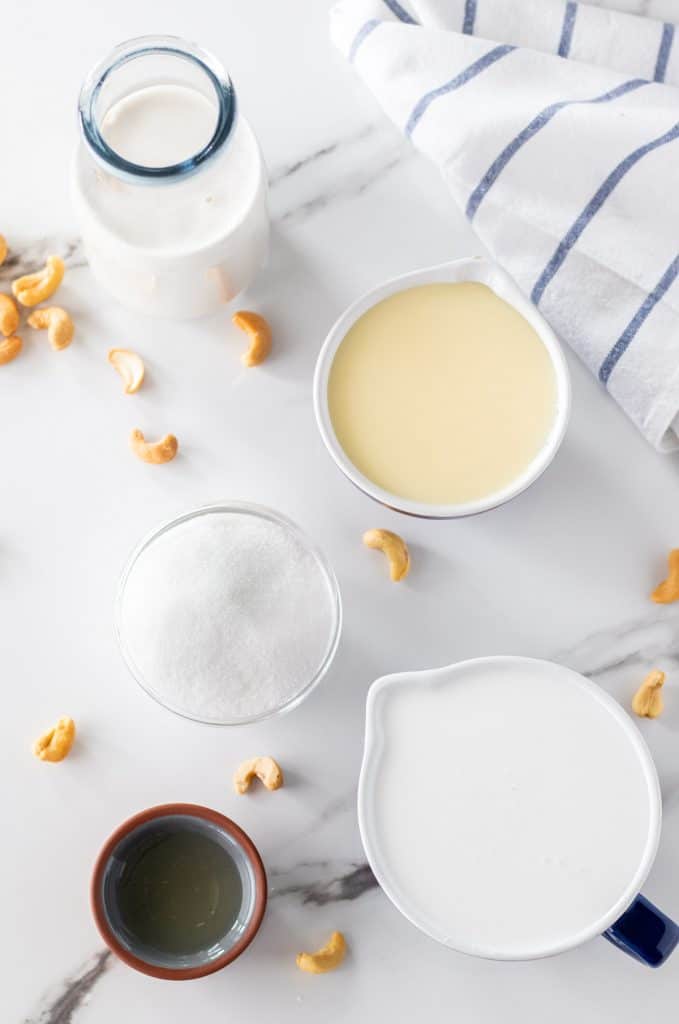
- 1 ½ cups Easy Homemade Cashew Milk
- 1 ½ cups Coconut Milk
- 1 cup Sweetened Condensed Coconut Milk
- ⅔ cups Granulated Sugar
- 2 teaspoons Pure Vanilla Extract
- Add-ins anything you prefer
Instructions
- In a blender, combine all of the ingredients. Blend on low speed until smooth and fully combined (about 1 minute).
Using an Ice Cream Maker
- Transfer to a medium sized bowl and refrigerate until cold, about 1 hour.
- Set up the ice cream maker with the frozen bowl, turn it on, and slowly pour the ice cream mixture into the ice cream makers bowl.
- Let the ice cream maker churn the ice cream for 30 minutes.
- Transfer the ice cream to a freezer safe container and freeze for an additional 5-6 hours before serving.
No Ice Cream Maker
- Pour the blended ice cream mixture into a freezer safe container, cover and freeze overnight before serving.
Save This Recipe! 💌
Notes
- This ice cream can be made with or without an ice cream maker.
- Regular sweetened condensed milk may be substituted for the sweetened condensed coconut milk, but the ice cream will no longer be dairy free.
- Ice cream will keep for up to 1 month in the freezer, in an air tight container.
Nutrition
The nutritional information provided is an estimate based on an online nutrition calculator and it will vary based on the ingredients that you use.


April says
I can't wait to make this ice cream! Sounds so yummy... 🙂
Also, LOVE the new look of the website!
Jessica says
Thank you! This ice cream is defiantly one of our favs!😃
Ketsia says
Can I use almond milk instead of coconut full fat milk or won't it work?
Edward says
Sorry for the delayed response but we find almond milk a little too thin so you will probably not get the correct results. I would recommend oat milk that is little bit thicker.
# says
also are there gram conversions?
Lita Browning says
I have made this 4 times so far. The first time I loved it, but hubby said a little to sweet. So the other 3 times I've omitted the sugar. It still turns out perfect. I'm putting fresh peaches in one batch and the other batch just vanilla. I also use vanilla paste instead of vanilla extract. Extract makes it taste a little alcohol to me. All my thoughts but this is the best recipe I've done for dairy free ice-cream. Thank you so much for figuring all of it out. ❤️
Jessica says
Hi Lisa,
Thank you so much, I am so happy that you love this recipe!
Ed says
This ice cream always turns out perfect and I love adding Oh Henry bites to it. Gotta try it.