

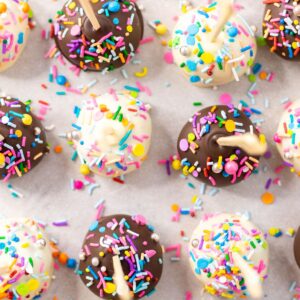
Indulge in these mouth-watering Easy Homemade Cake Pops. These delectable treats feature a moist and tender chocolate cake, mixed with a mound of deliciously creamy homemade buttercream, and then coated in a layer of chocolate (Ummmm, YUM!!).
Don't be intimidated by such a fancy-looking dessert, cake pops are extremely easy to make! They are also very easily customizable whether it is changing the colours of the cake pops or doubling (or tripling!) the recipe.

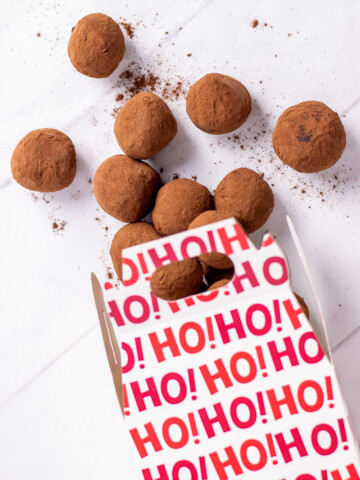
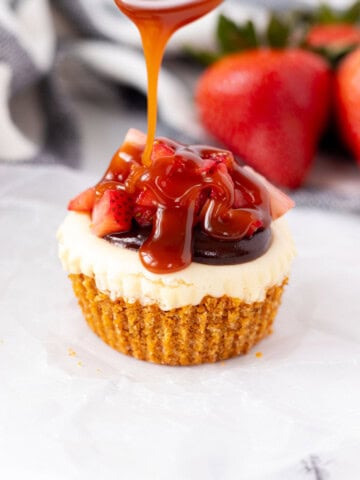
Looking for more delicious little treats? We've got a bunch! These easy chocolate cocoa truffles are crazy delicious, this easy muddy buddy recipe is unbelievably easy and delicious, and these mini Nutella cheesecakes with strawberries and caramel sauce are show-stoppers!
Jump to:
- Why You'll Love This Recipe
- What is a Cake Pop?
- Cake Pop Ingredients
- How to Make Quick Buttermilk
- Recipe Modifications and Variations
- Cake Pop Shapes
- How to Make Homemade Cake Pops
- What is the secret to dipping cake pops?
- How to Decorate Cake Pops
- How to Store
- Frequently Asked Questions
- More Dessert Recipes
- 📖 Recipe
- ⭐️ Leave a Review
Why You'll Love This Recipe
- It is absolutely delicious and the perfect little treat for any occasion.
- You can use the easy homemade cake recipe below, or you can use any boxed cake mix that you like!
- It is perfect for any event like a birthday party or baby shower.
- It is adaptable, you can easily change the flavour or colours of the cake pops to suit your needs.
What is a Cake Pop?
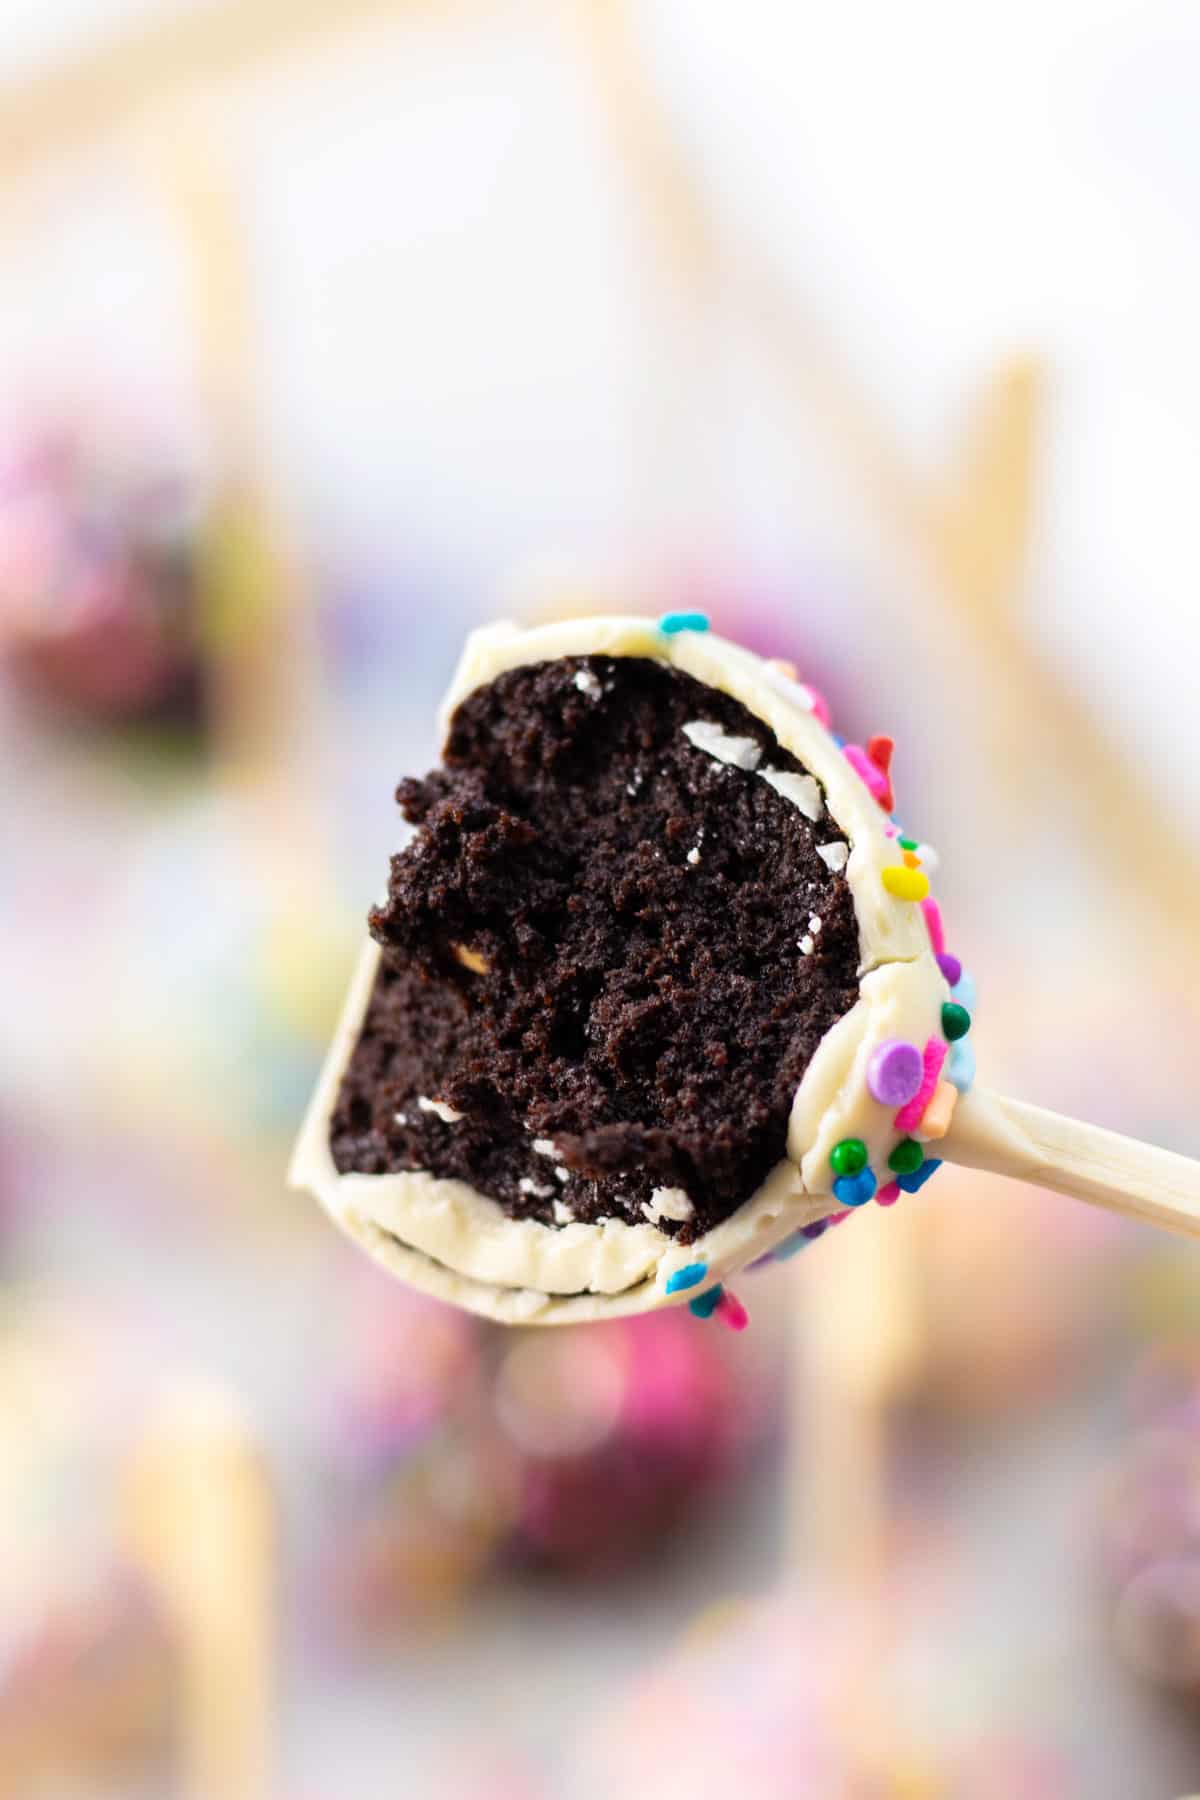
Cake pops are heavenly little treats propped on a stick and decorated with sprinkles.
The inside of a cake pop is crumbled cake mixed with buttercream frosting. Then they are shaped into a cute little cake ball, dipped in chocolate and decorated with sprinkles!
These cake pops are unique because they are not baked balls of cake. Rather they are a baked cake that has been cooled, crumbled and mixed with a mound of chocolate buttercream.
This recipe is for chocolate cake pops, although there are recipe variations below for different flavours!

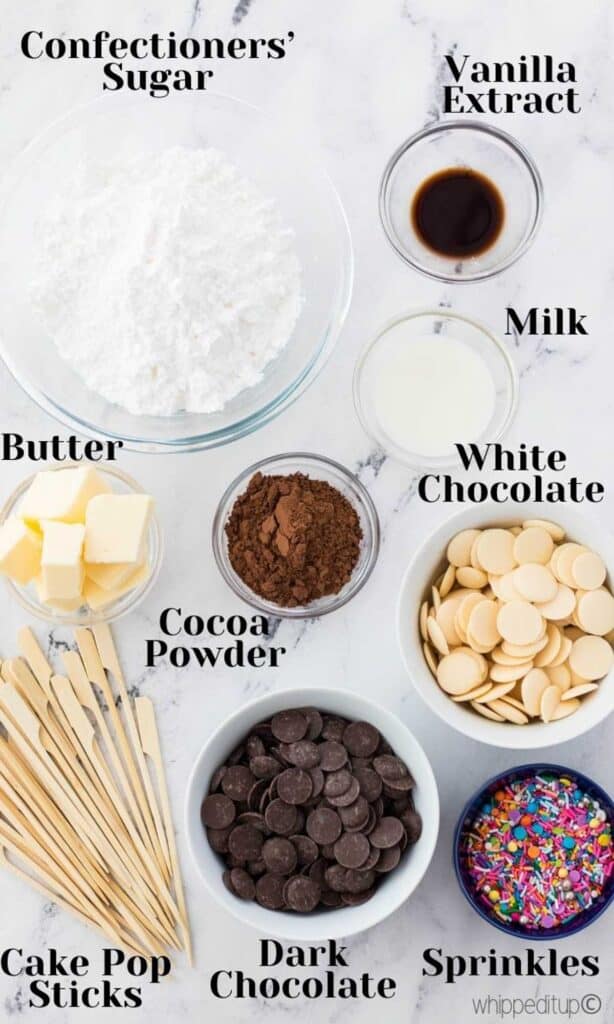
Cake Pop Ingredients
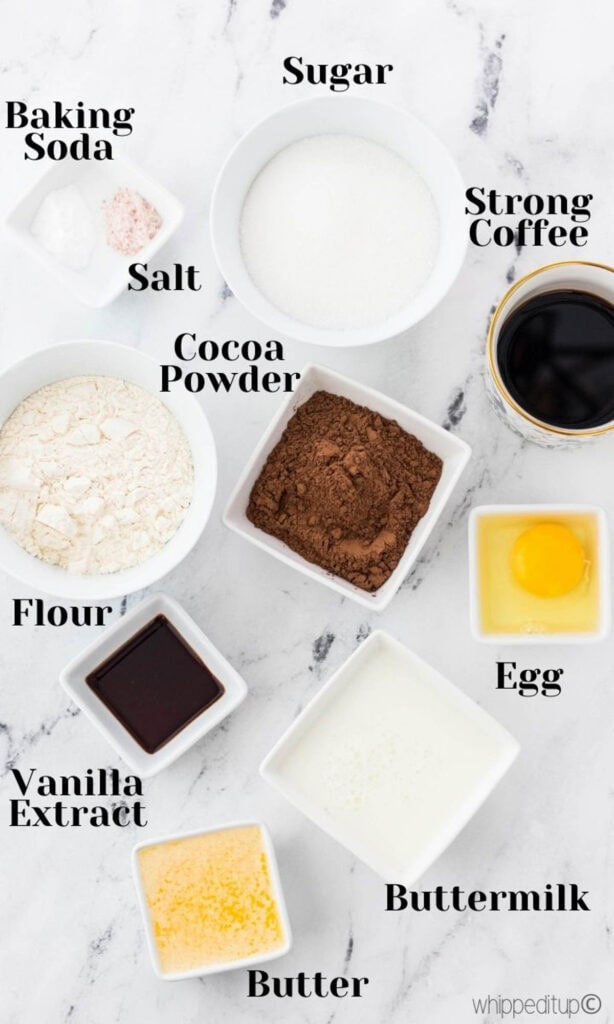
- Cake - I would highly recommend making the cake from scratch as I have in this recipe. Although there are options to use boxed or leftover cake, for these options see the recipe modifications and variations section below.
- Buttercream- Homemade is key as the butter in the buttercream will firm up more than store-bought frostings.
- Chocolate - Chocolate candy melts will give you the best results. Regular chocolate bars can be used, just see my tips on using regular chocolate bars below.
- Cake Pop Sticks- Any sturdy stick will work, like lollipop sticks, bamboo cocktail skewers or popsicle sticks.
- Sprinkles- I love using a sprinkle blend for a fun and colourful pop. You can also use regular sprinkles like jimmies or sugar sprinkles, just avoid using nonpareils as the colour tends to run.
A full list of ingredients with exact quantities can be found on the recipe card below.
How to Make Quick Buttermilk
If you don't have premade buttermilk on hand, don't worry! There is a quick and simple way to make buttermilk with just two basic ingredients and three easy steps.
- In a liquid measuring cup add 1 ½ teaspoons of white vinegar or lemon juice.
- Fill the measuring cup with enough whole milk to measure ½ cup.
- Stir and let stand for 5 minutes before using.
Recipe Modifications and Variations
- Boxed Cake Mix - Instead of using the cake recipe below, you can make these cake pops even easier by using a boxed cake mix! Any cake mix will do. Prepare the boxed mix as stated on the box and proceed with the recipe.
- Leftover Cake- If you have a leftover cake that is a day or two old it can be transformed into cake pops! To use a leftover cake, scrape all of the frosting off of the cake, crumble it up and add freshly made buttercream.
- Frosting - If you are using a boxed cake mix, I recommend not using the included frosting package. For the best results, make your own buttercream frosting for the cake pops.
- Chocolate - Candy melts will work best for this recipe as they always yield a thinner consistency than regular chocolate bars. However, if you prefer to use regular chocolate bars, melt the chocolate slowly in a double broiler and then add 1-2 tablespoons of melted coconut oil to the chocolate, stir it up and it is ready to use!
Flavour Variations
- Carrot Cake Cake Pops- to make carrot cake cake pops prepare the carrot cake recipe and some cream cheese buttercream frosting. Follow the recipe as stated below. Note- The carrot cake recipe will make enough for roughly 48 cake pops. So if you only want one batch, halve the recipe. For the cream cheese frosting, you will need roughly ½ cup per 24 cake pops. Leftover cream cheese buttercream frosting can be frozen.
- Vanilla Cake Pops- prepare your favourite vanilla cake recipe or use a box of vanilla cake mix. For the buttercream, proceed with the recipe below, omitting the cocoa powder. Use an additional ¼ cup of confectioners' sugar to compensate for the removed cocoa powder. Note- the vanilla cake recipe above will yield about 48 cake pops. The buttercream recipe will need to be doubled, the yield is about ½ cup of buttercream per 24 cake pops.
- Colours- the world is your oyster when it comes to colours. If you want your cake pops to be coloured on the inside, prepare the vanilla cake pops and add gel food colouring to the batter and/or buttercream. If you only want the chocolate coating of the cake pops to be a different colour, use a coloured candy melt.
Cake Pop Shapes
Your cake pops don't have to be round! You can make them into any shape that you like. A few ideas are:
- Form them into squares and don't attach sticks to make fun and edible "building blocks" for a kid's birthday party.
- Transform them into cake popsicles by shaping them into an oval and using a popsicle stick on the bottom for a fun summer treat.
- Shape them into little hearts and use heart-shaped sprinkles, perfect for Valentine's Day!
How to Make Homemade Cake Pops
Here's a quick overview of how to make the perfect homemade cake pops.
- Make a cake and crumble it into a bowl.
- Make buttercream frosting and mix it into the crumbled cake.
- Roll 24 perfect cake balls.
- Dip a stick in melted chocolate candy melts and insert it into the center of the cake ball.
- Coat the cake ball in melted chocolate candy melts or chocolate.
- Add sprinkles.
Easy enough right? Right, now get to making those delicious cake pops!
Making the Cake for the Cake Pops
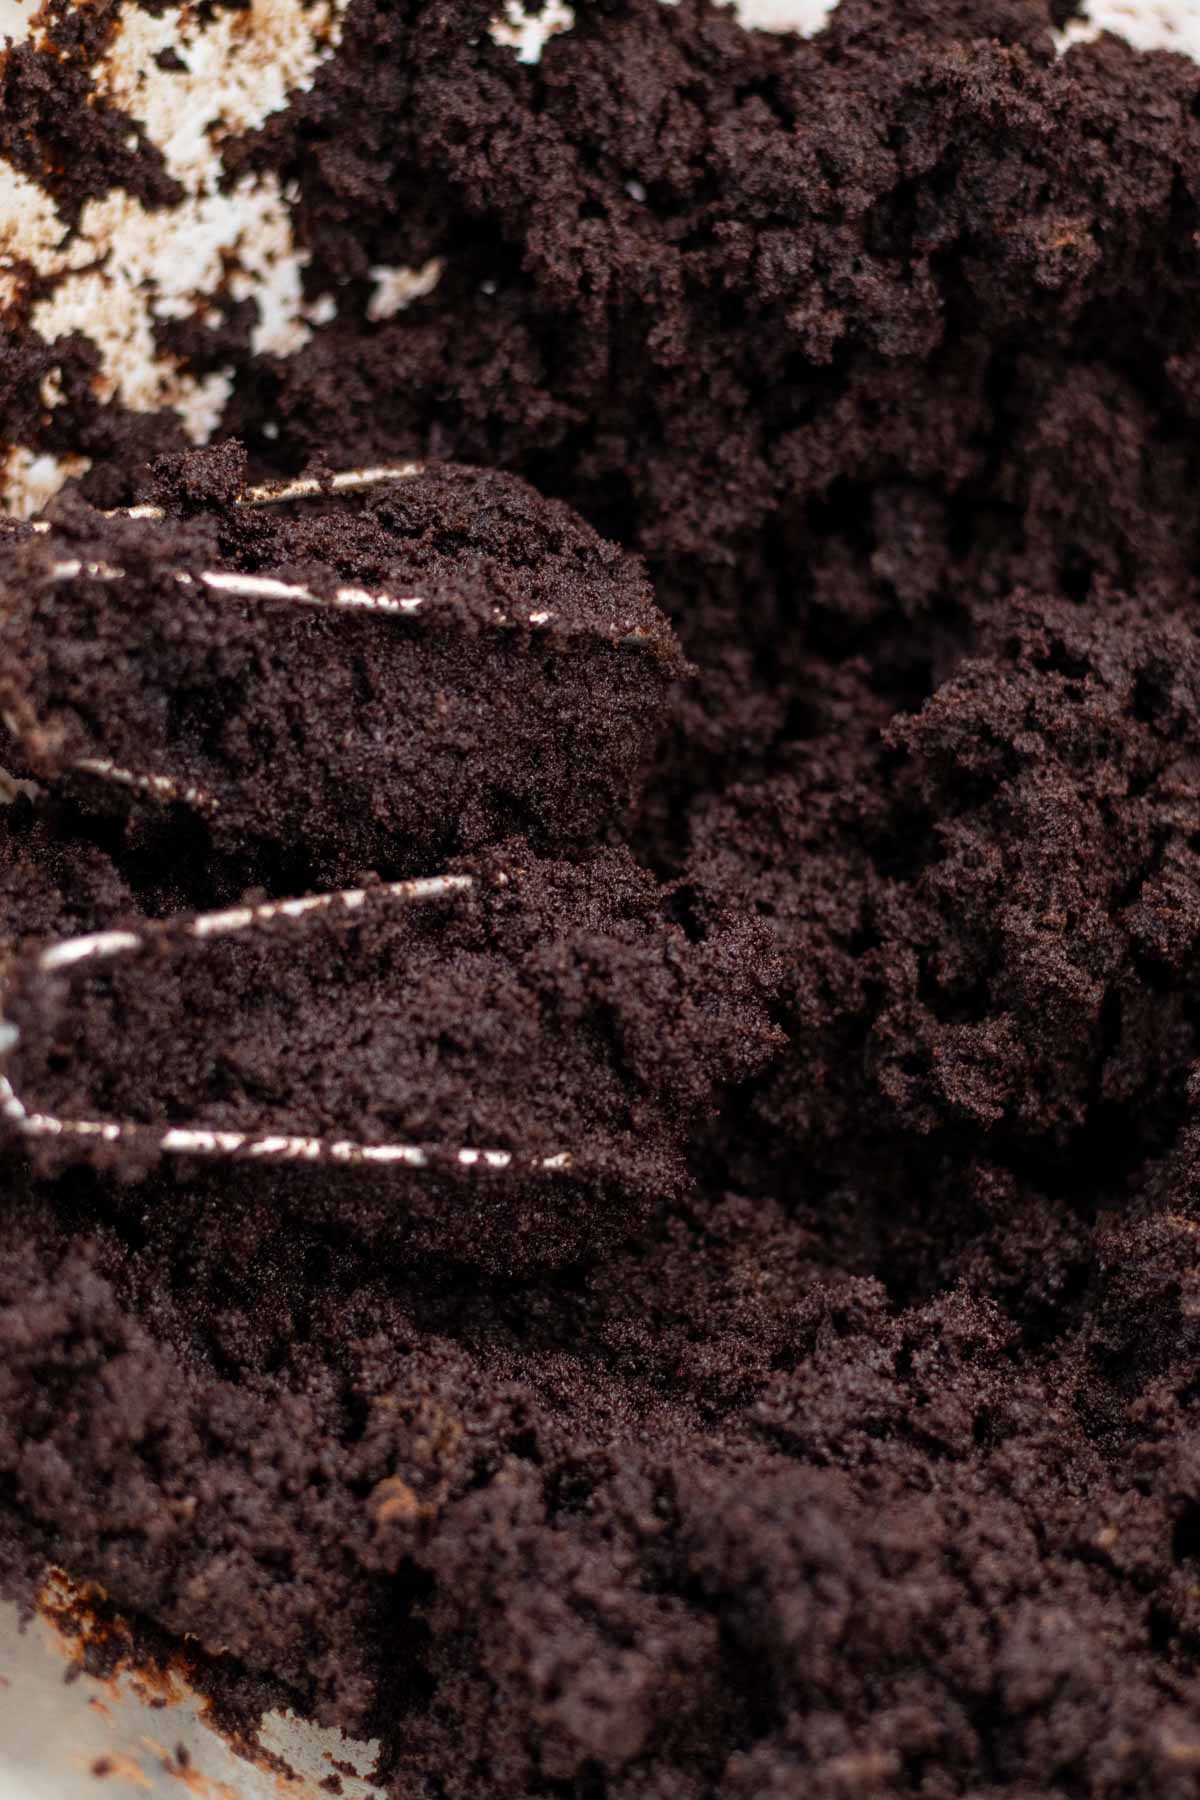
The first thing you will have to make is the cake. Make your cake of choice, homemade or boxed, let it cool, and crumble it into a bowl.
- In a large mixing bowl sift together the flour, cocoa powder, baking soda, and salt.
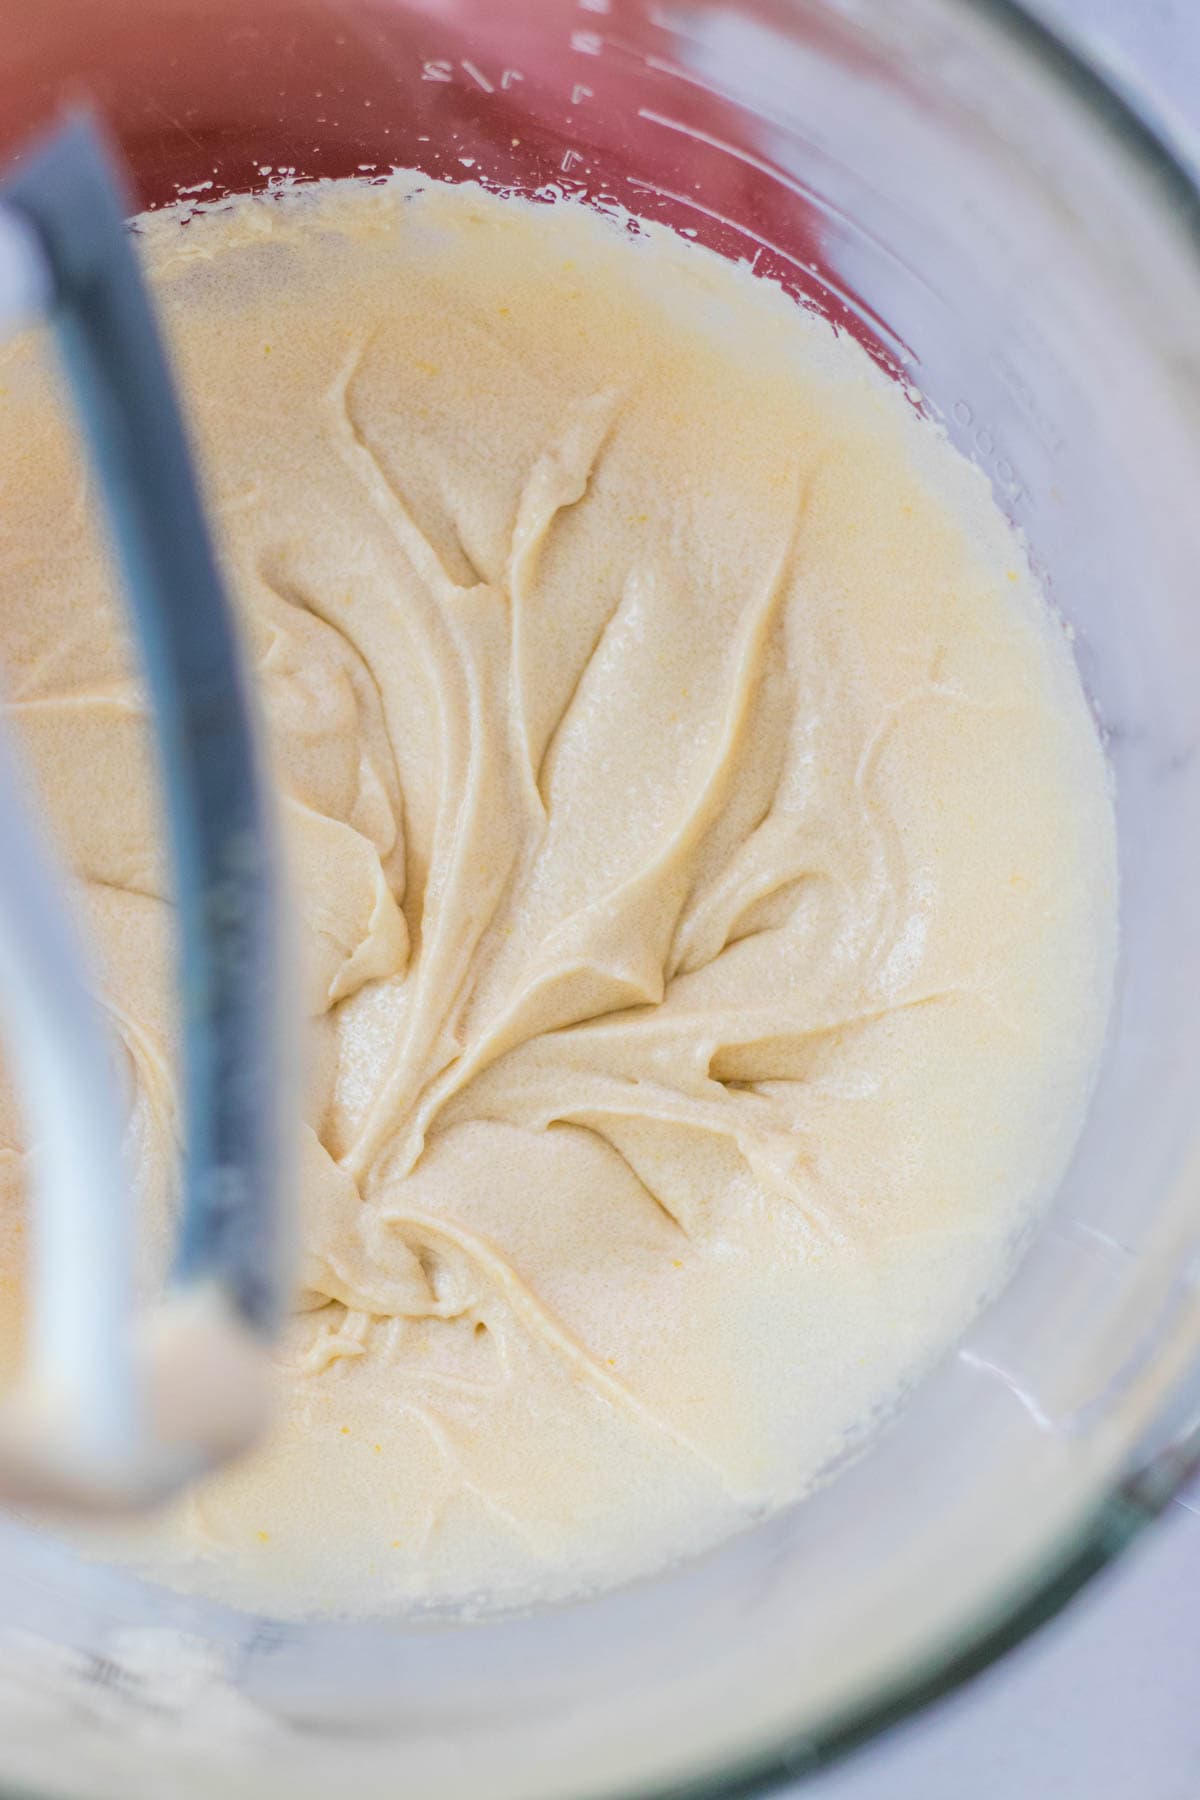
- In the bowl of a stand mixer, beat the sugar, melted butter, egg, and vanilla until thick and creamy.
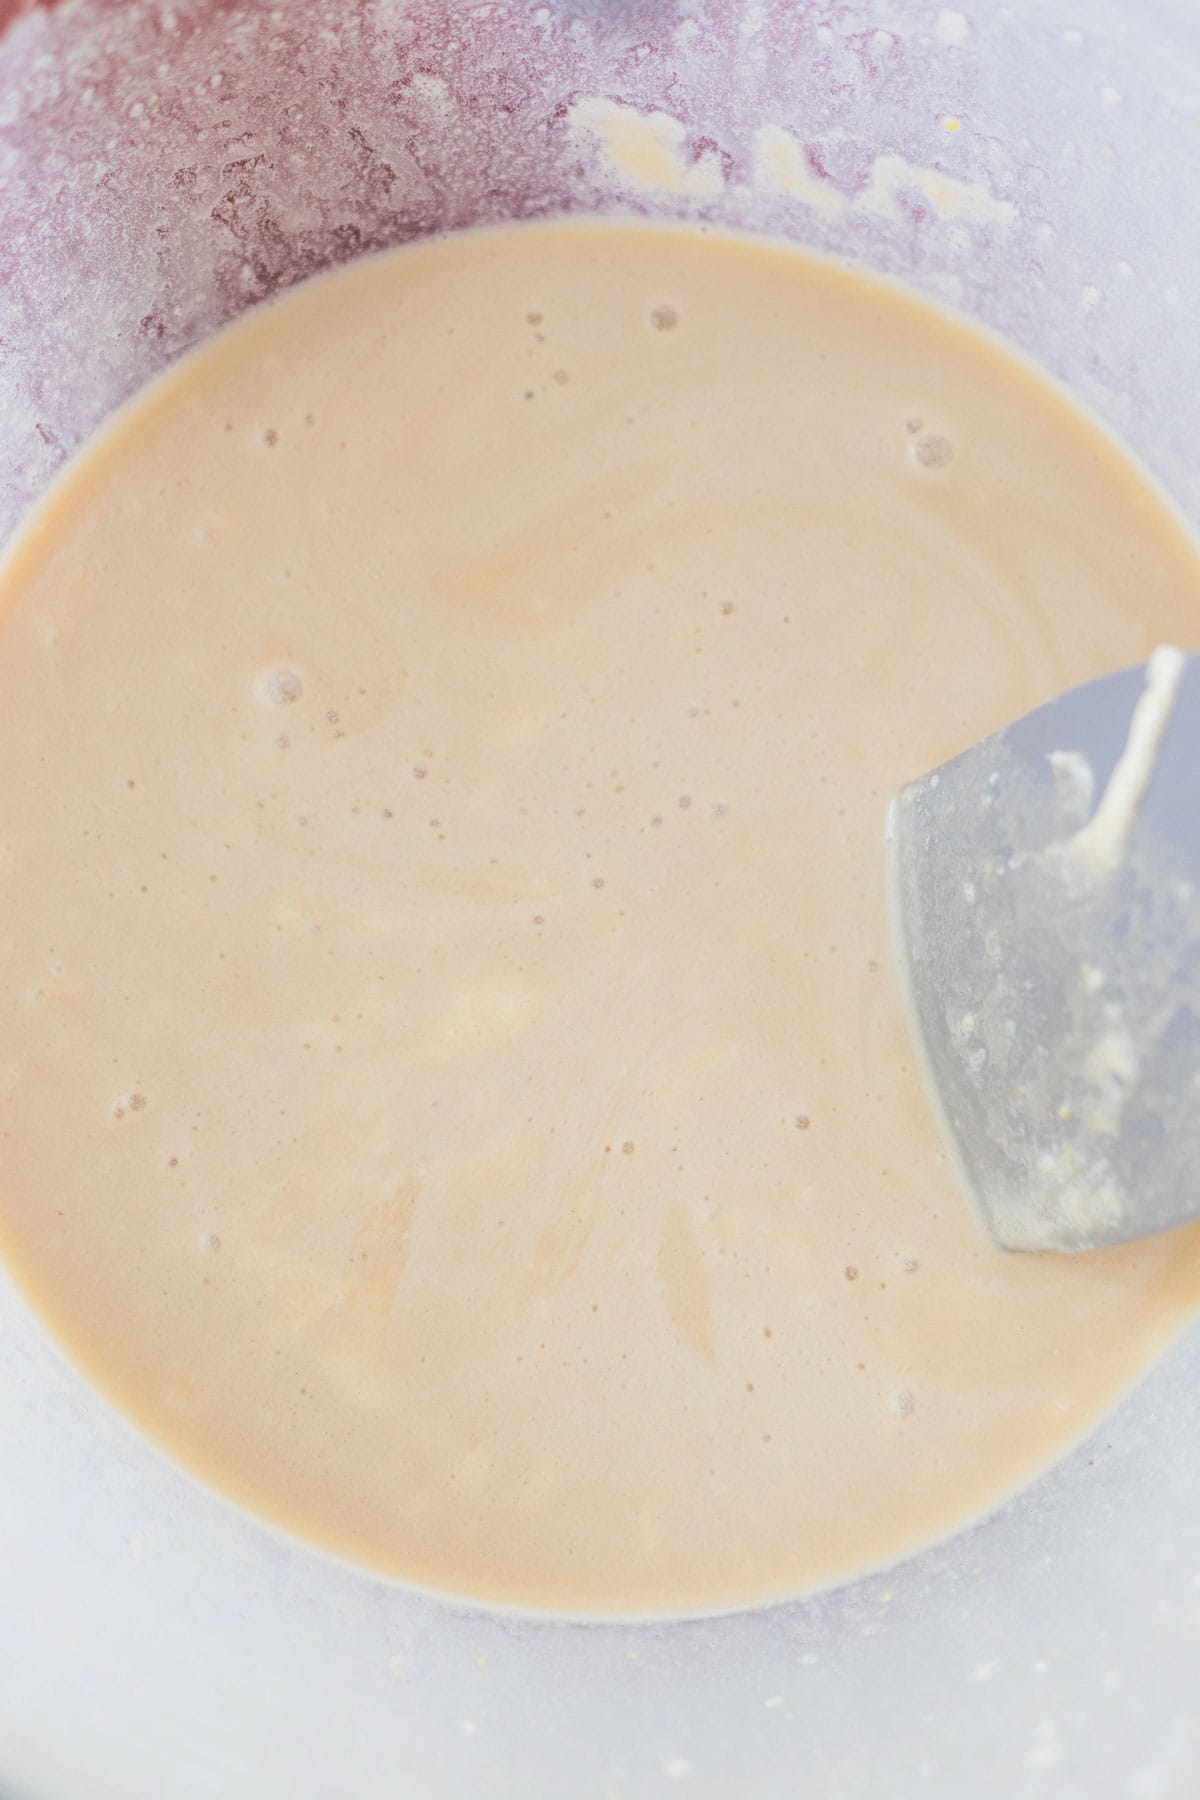
- Add the buttermilk and coffee and mix until just incorporated.
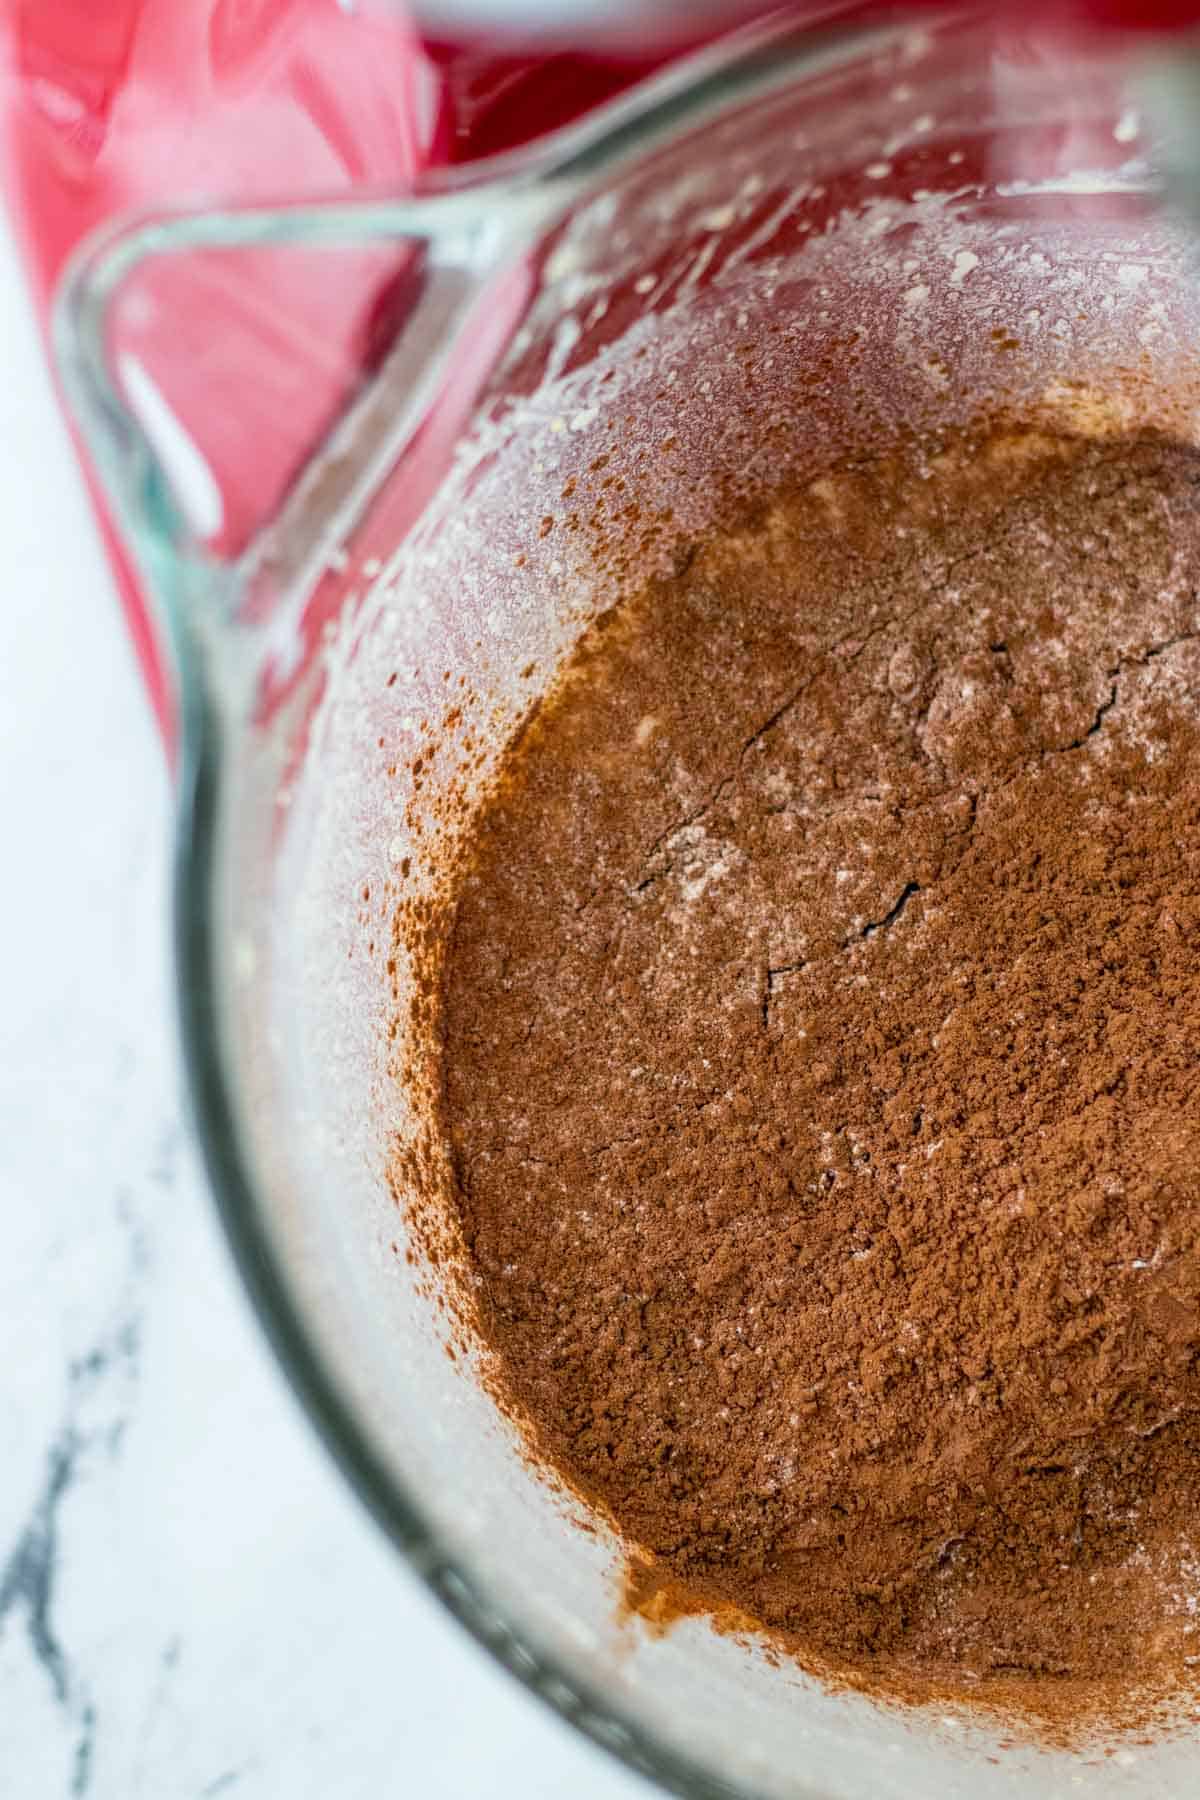
- To the mixing bowl add the sifted dry ingredients.
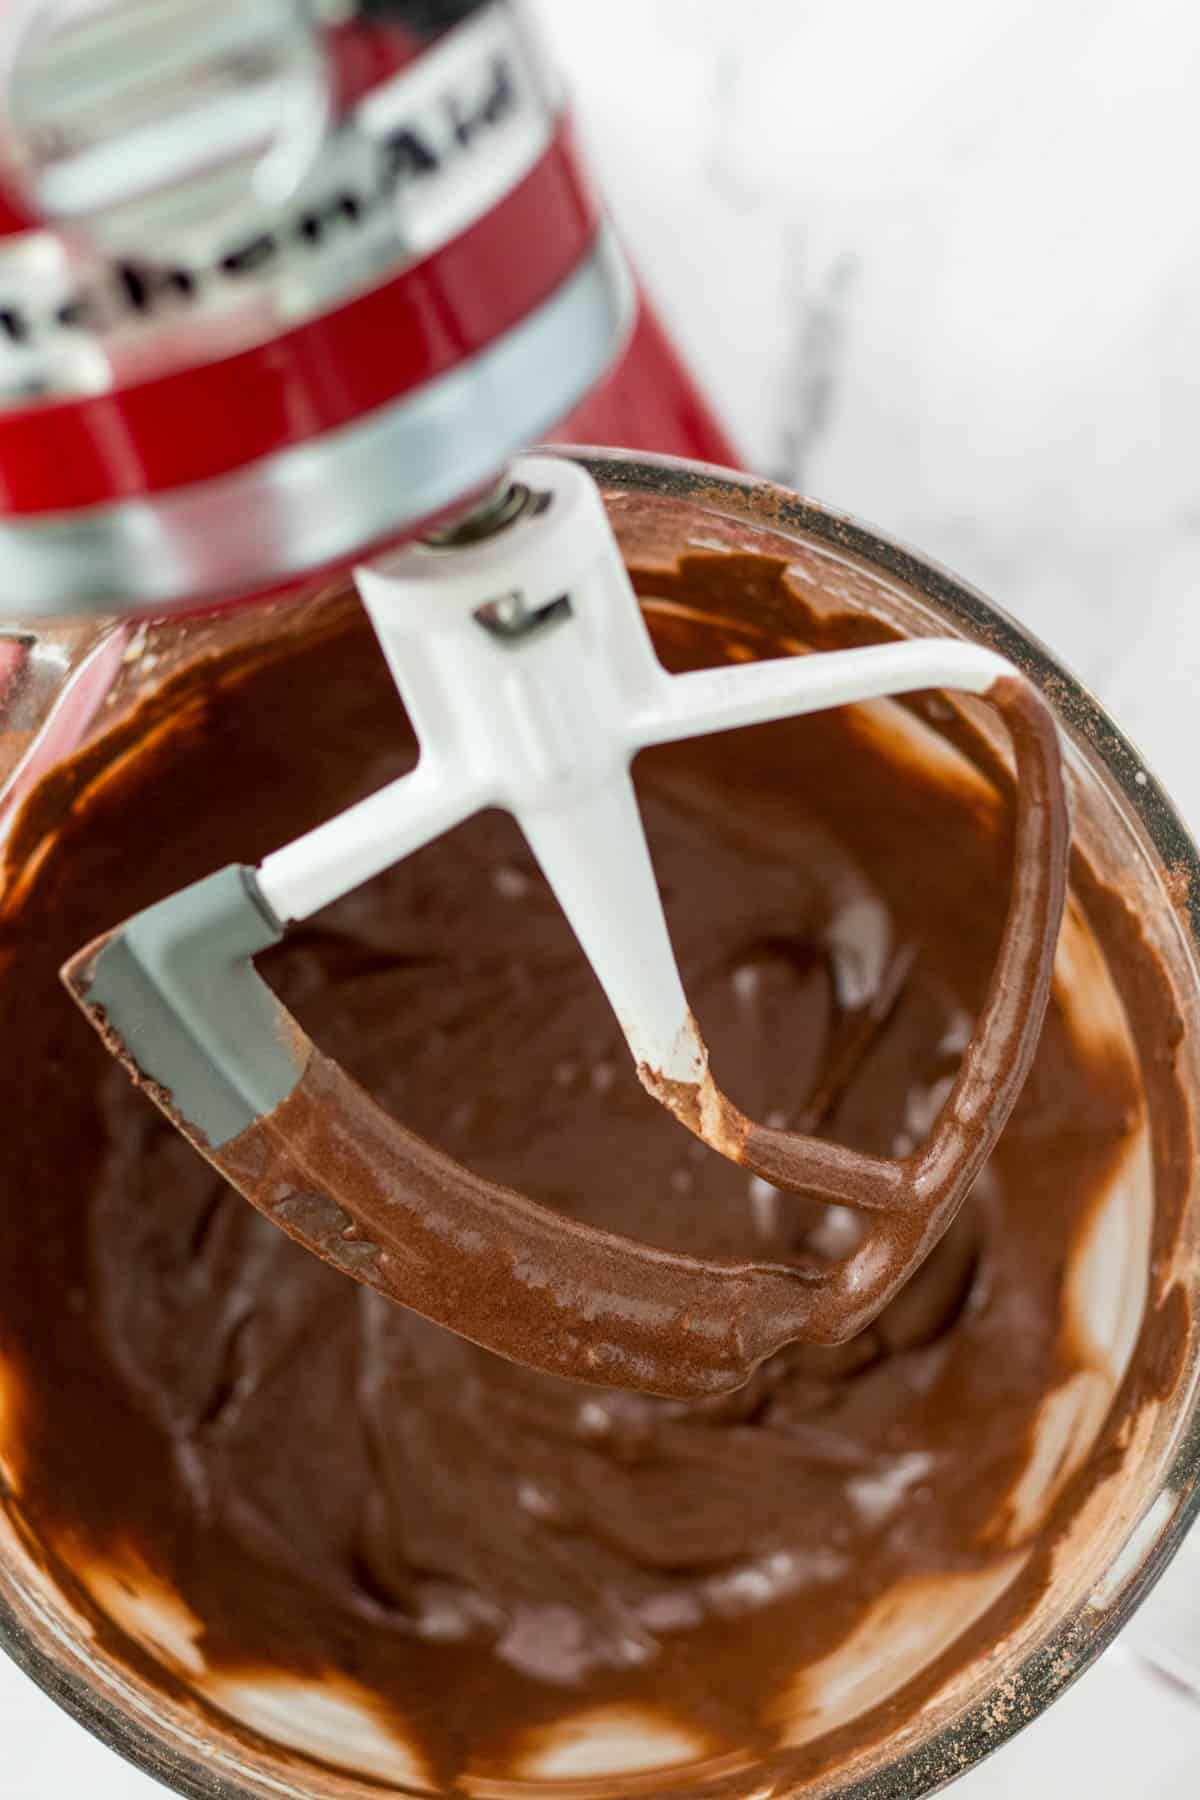
- Mix on low-medium speed until a thick batter has formed, scraping the sides as needed until there are no dry bits left.
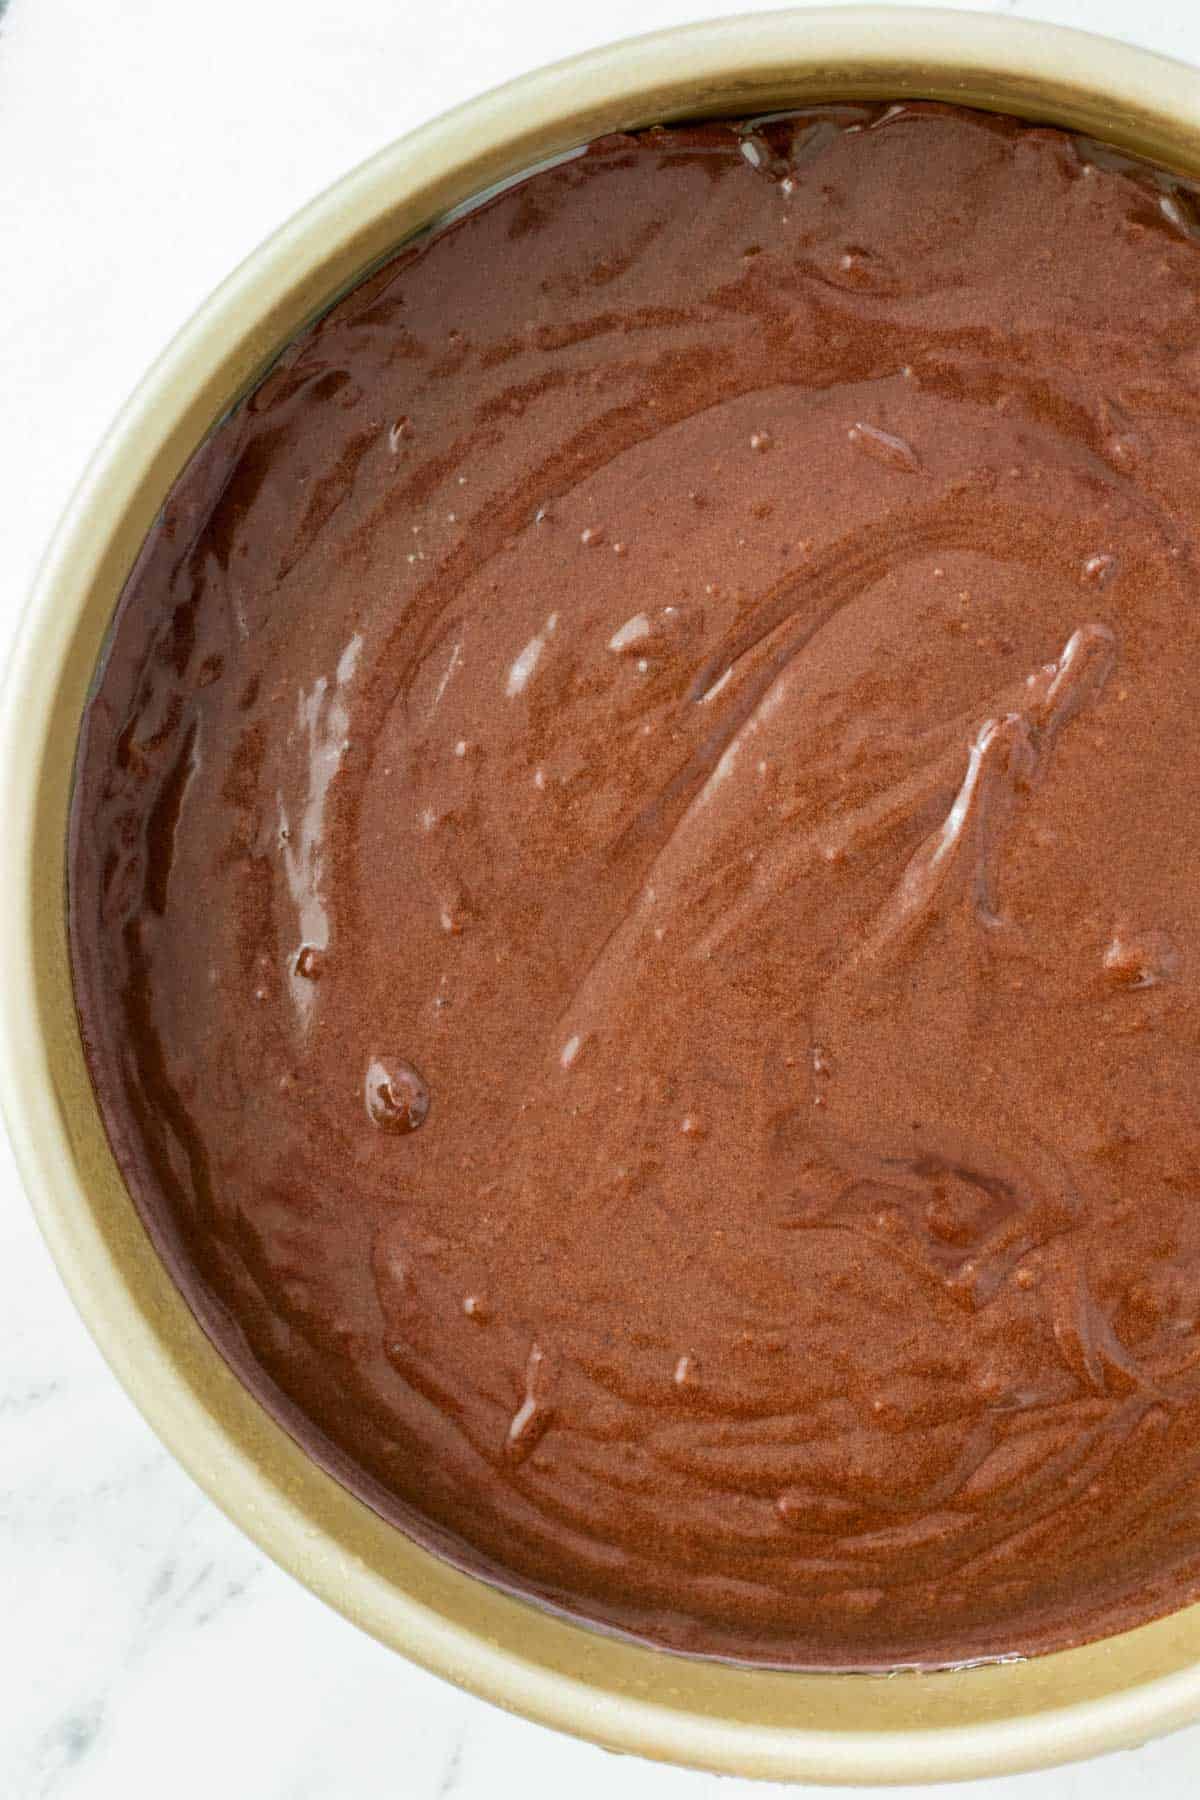
- Pour the chocolate cake batter into a greased 9" cake pan. Place into oven at 350°F.
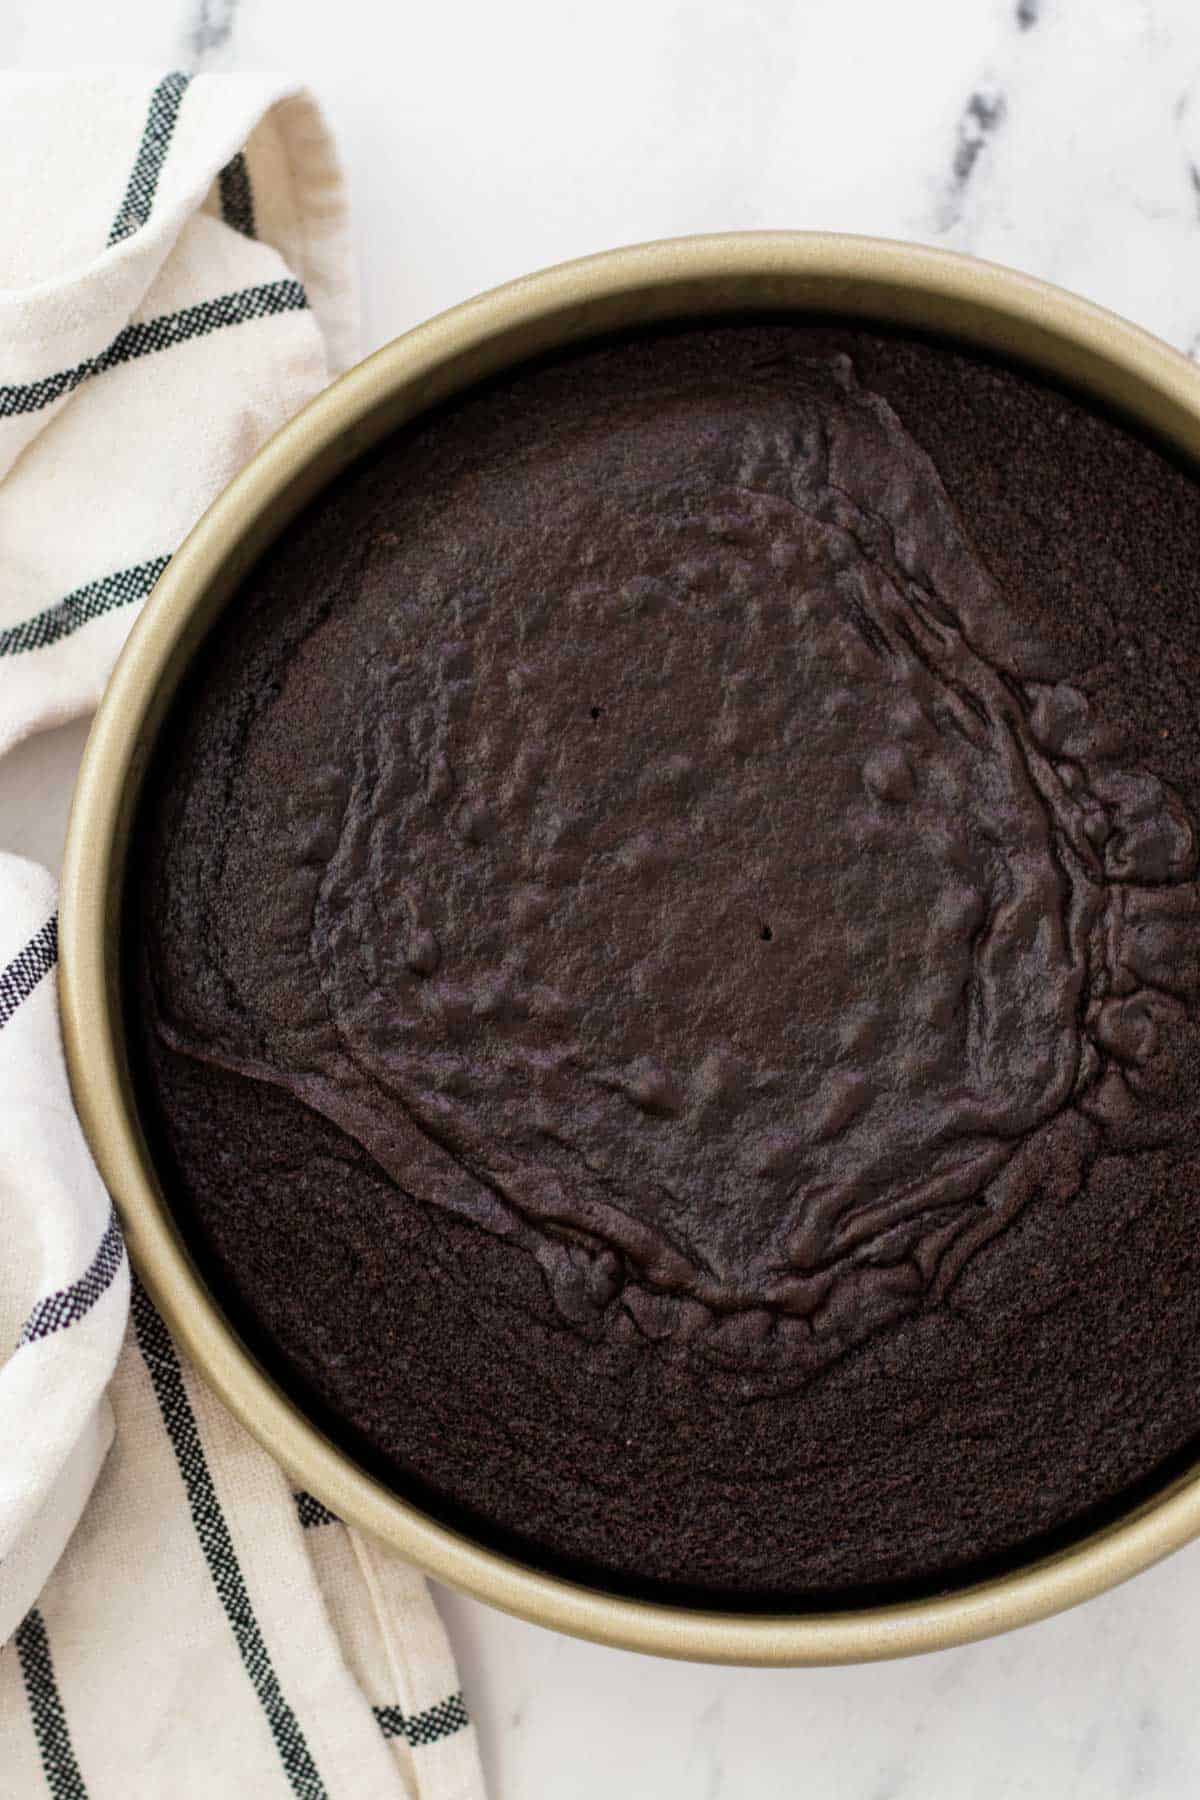
- Bake for 35 minutes, or until a toothpick inserted into the center of the cake comes out clean. Let the cake cool slightly in the cake pan, before moving to a cooling rack to fully cool.
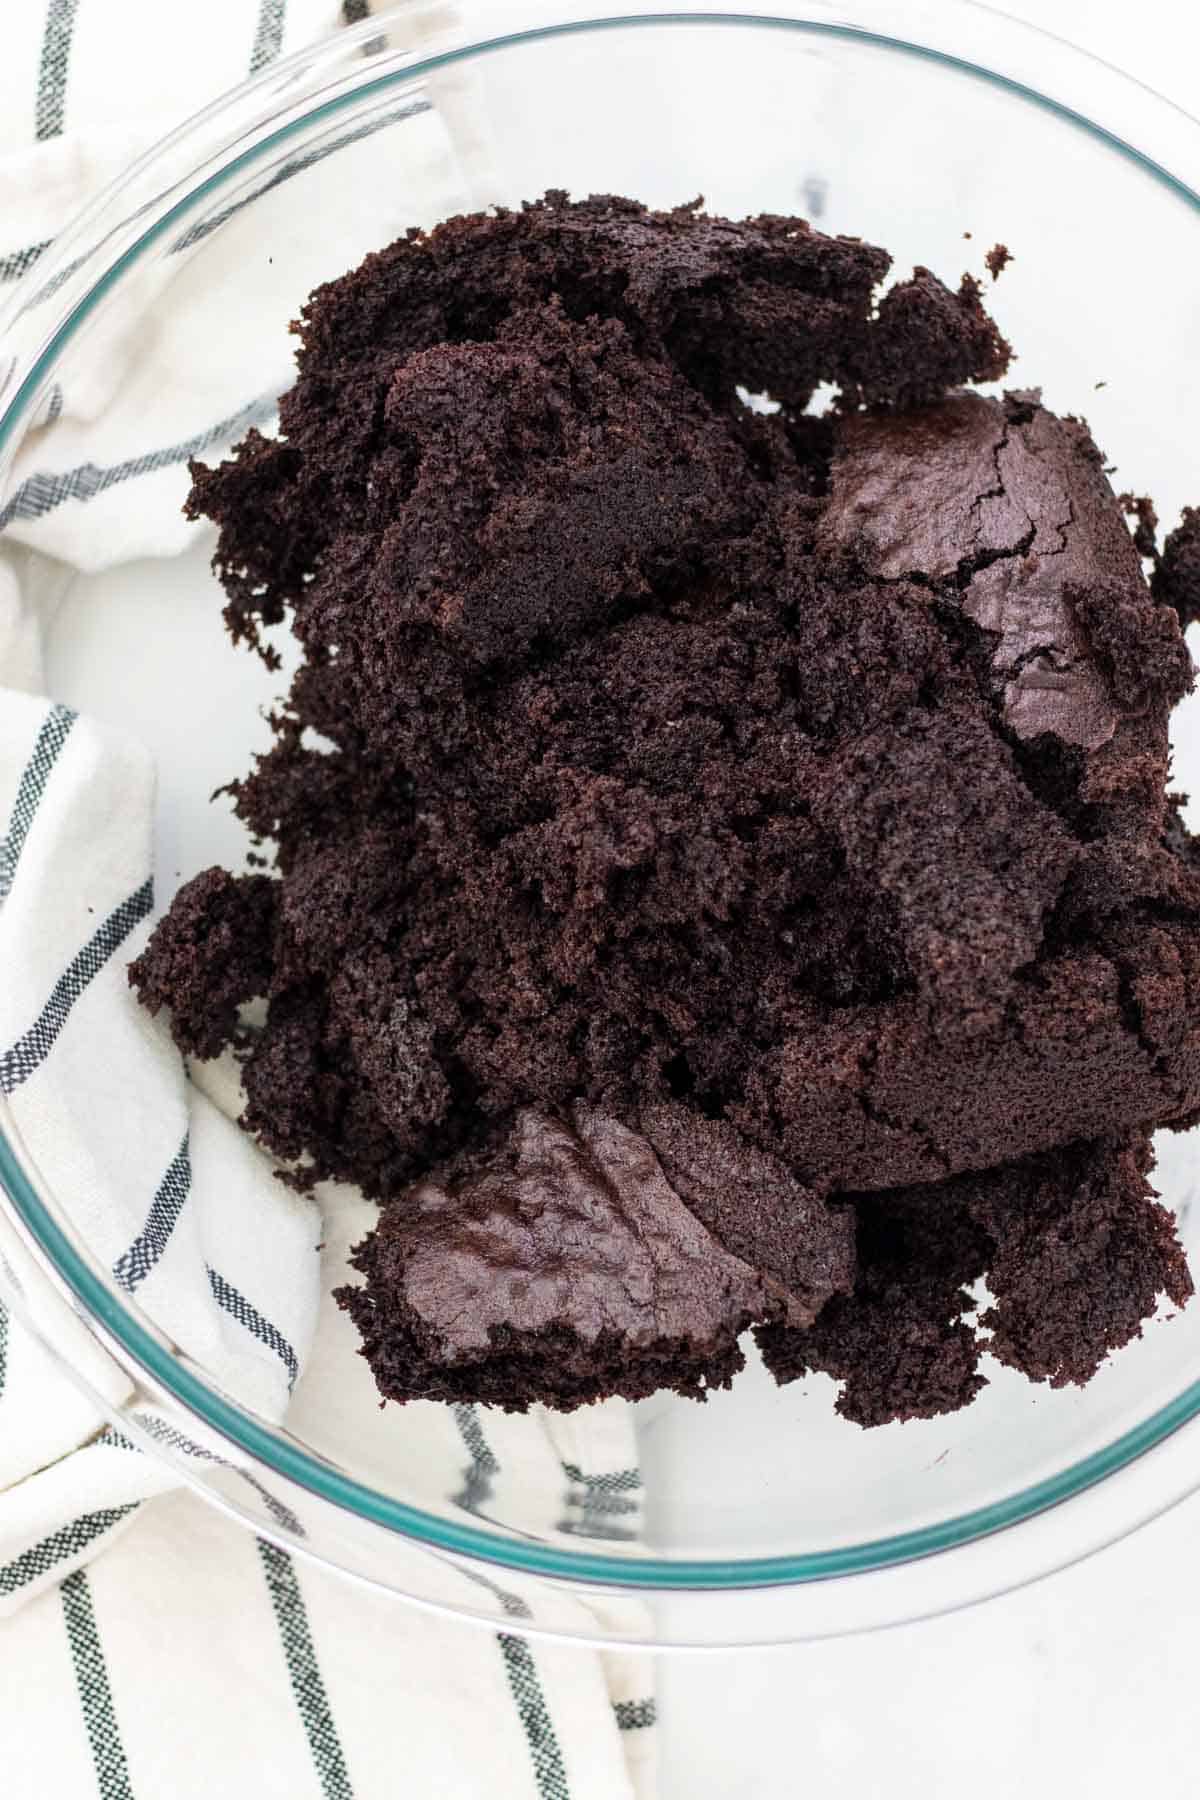
- When the cake has fully cooled, crumble it into a large bowl.
Buttercream Frosting for Cake Pops
Next up is the cake pop frosting that holds it all together.
Save This Recipe! 💌
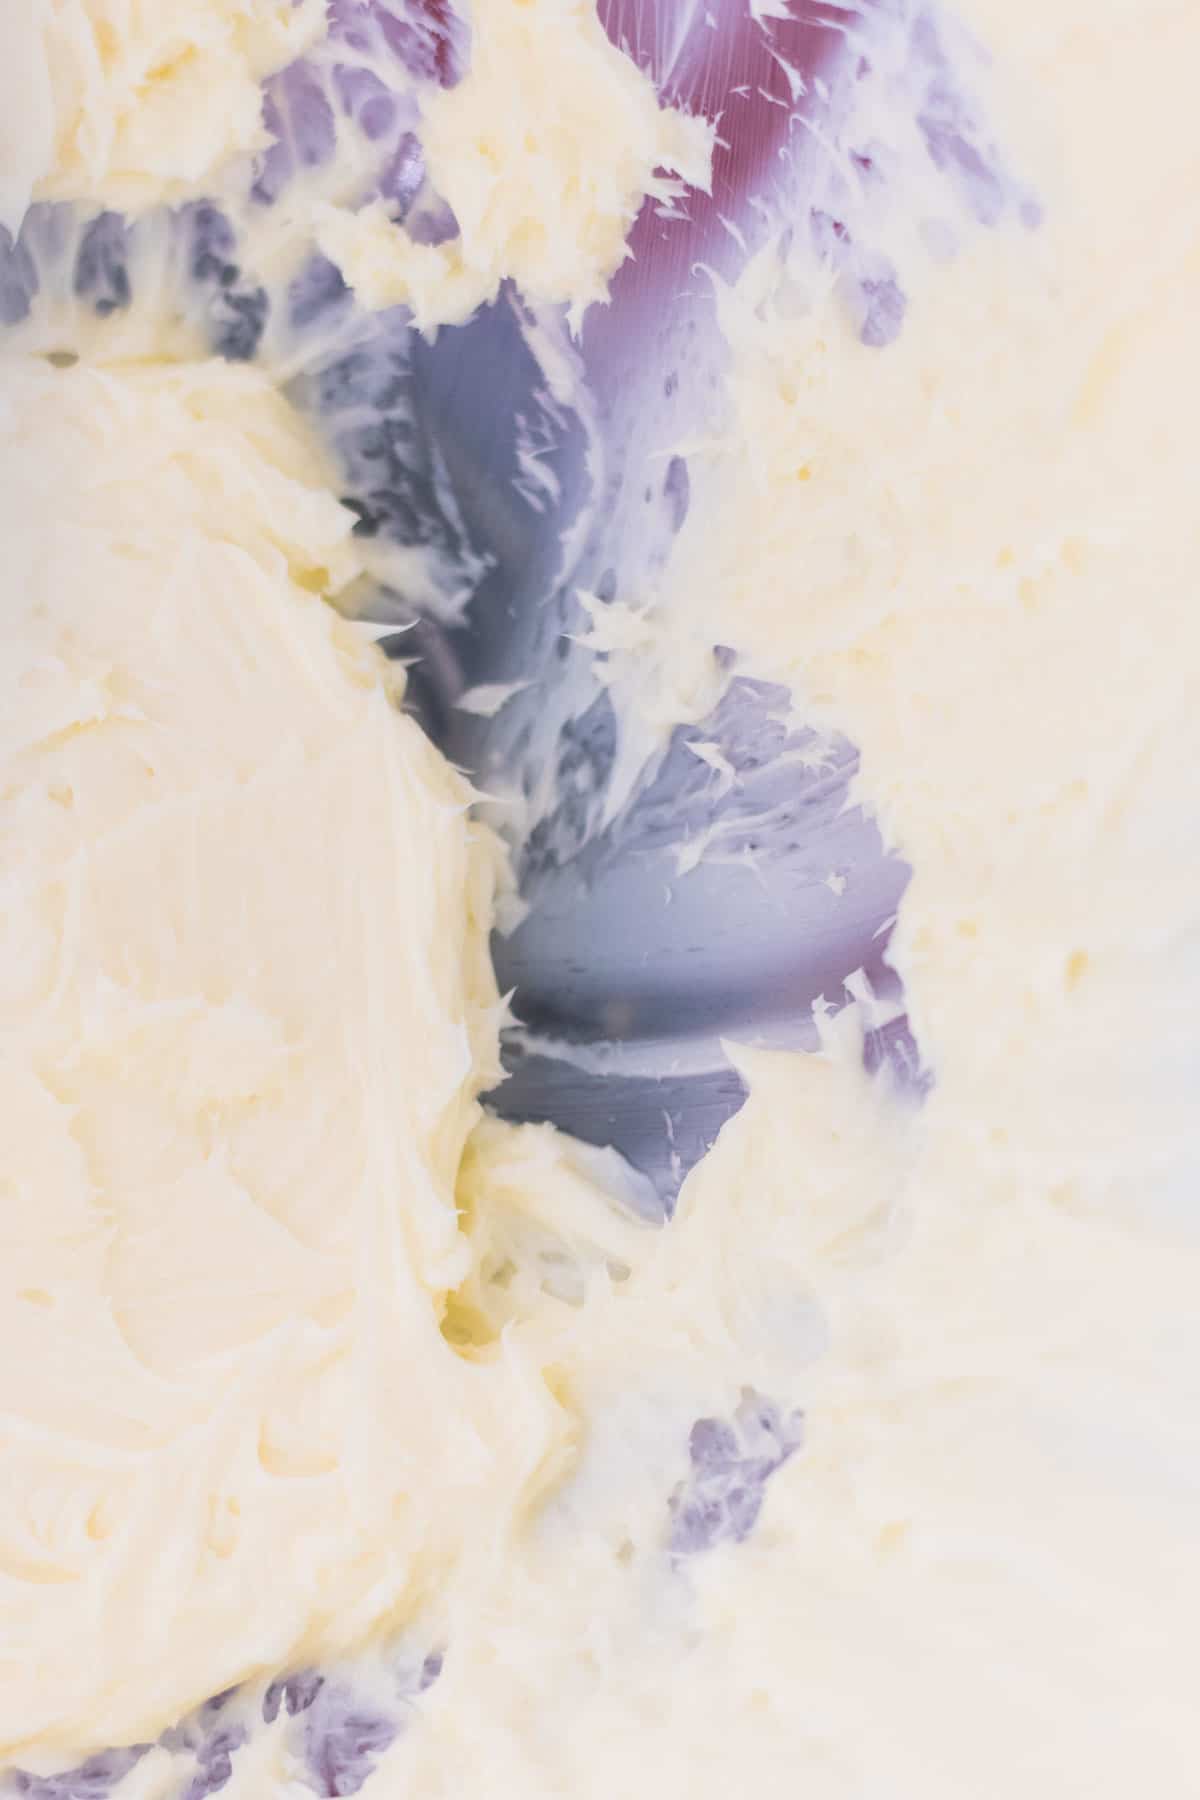
- In the bowl of a stand mixer, beat the butter on high speed until fluffy, this will take about 2 minutes.
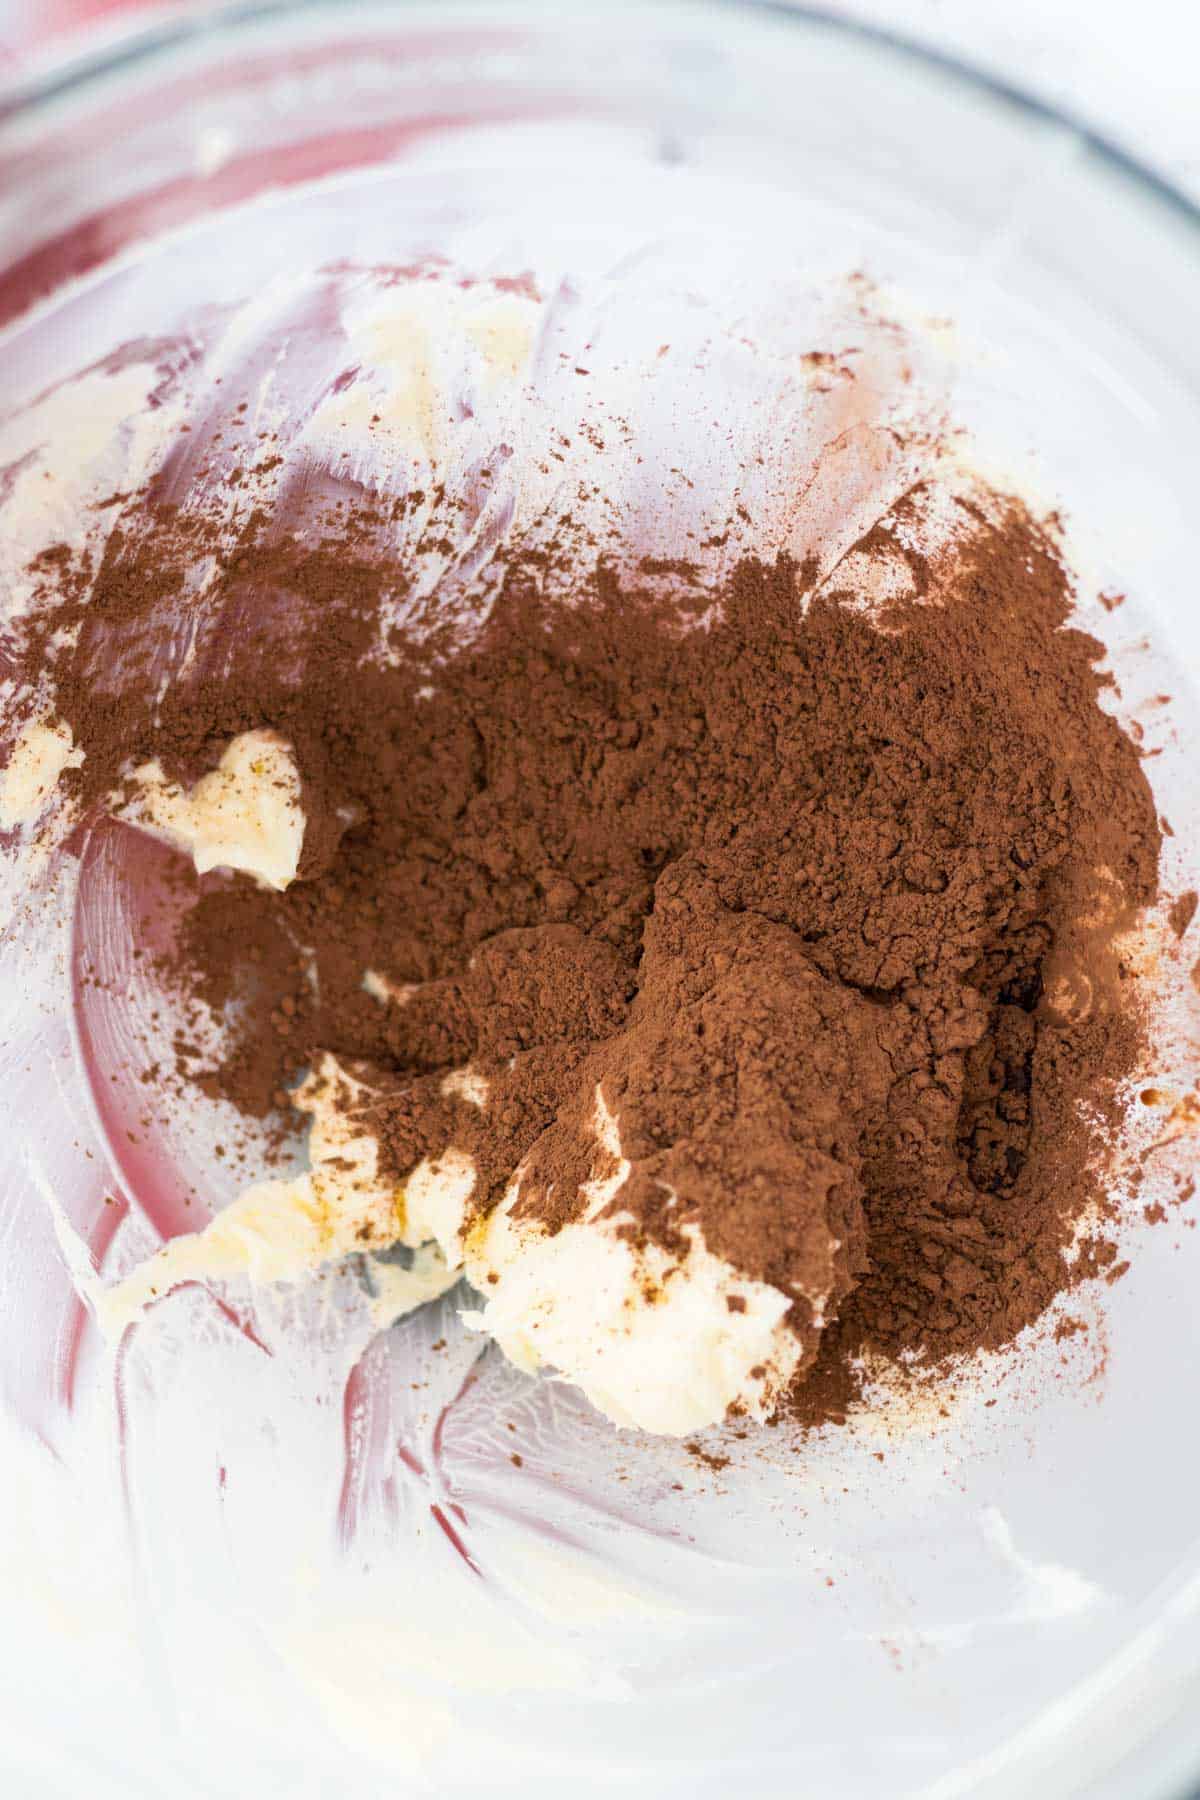
- Add the cocoa powder and beat until completely combined.
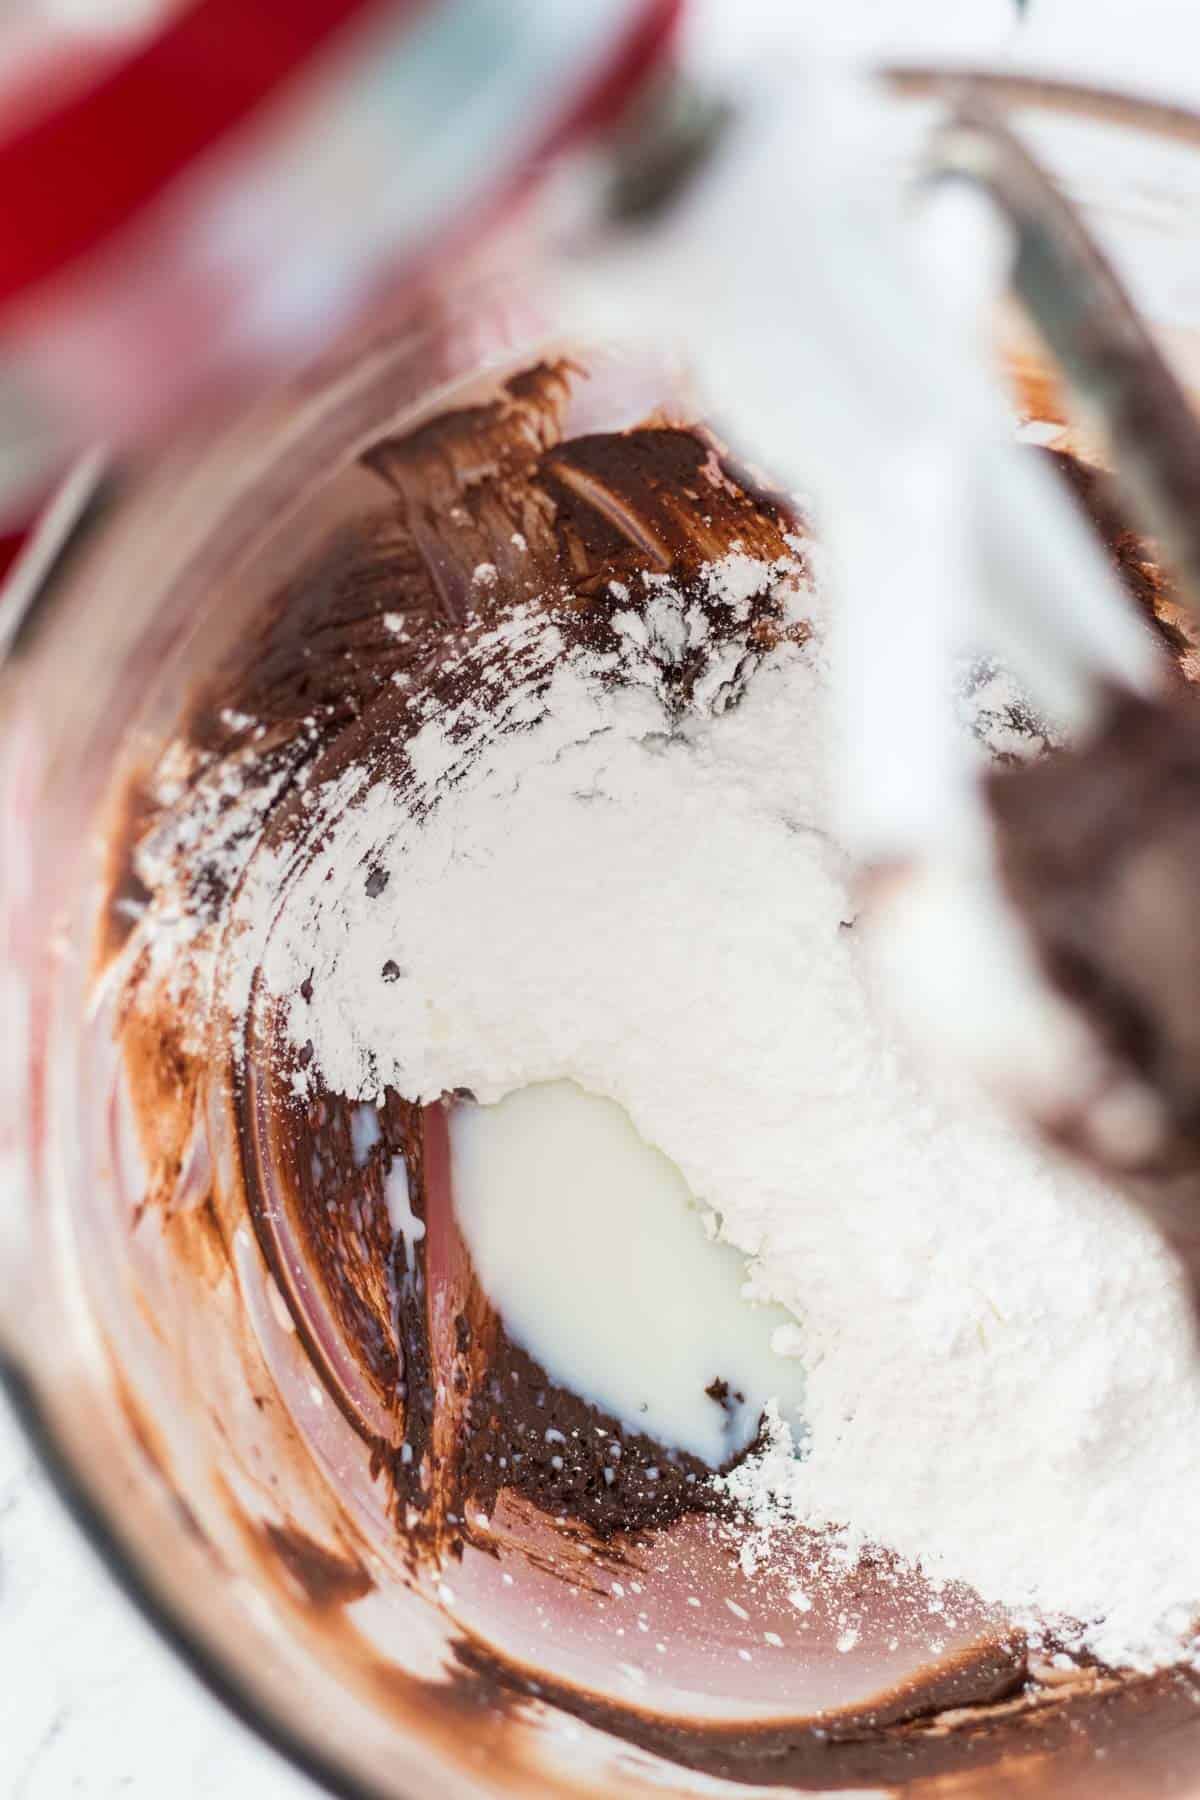
- Add the confectioners' sugar and a little bit of the milk. Beat until a thick and creamy buttercream forms. Add remaining milk as needed.
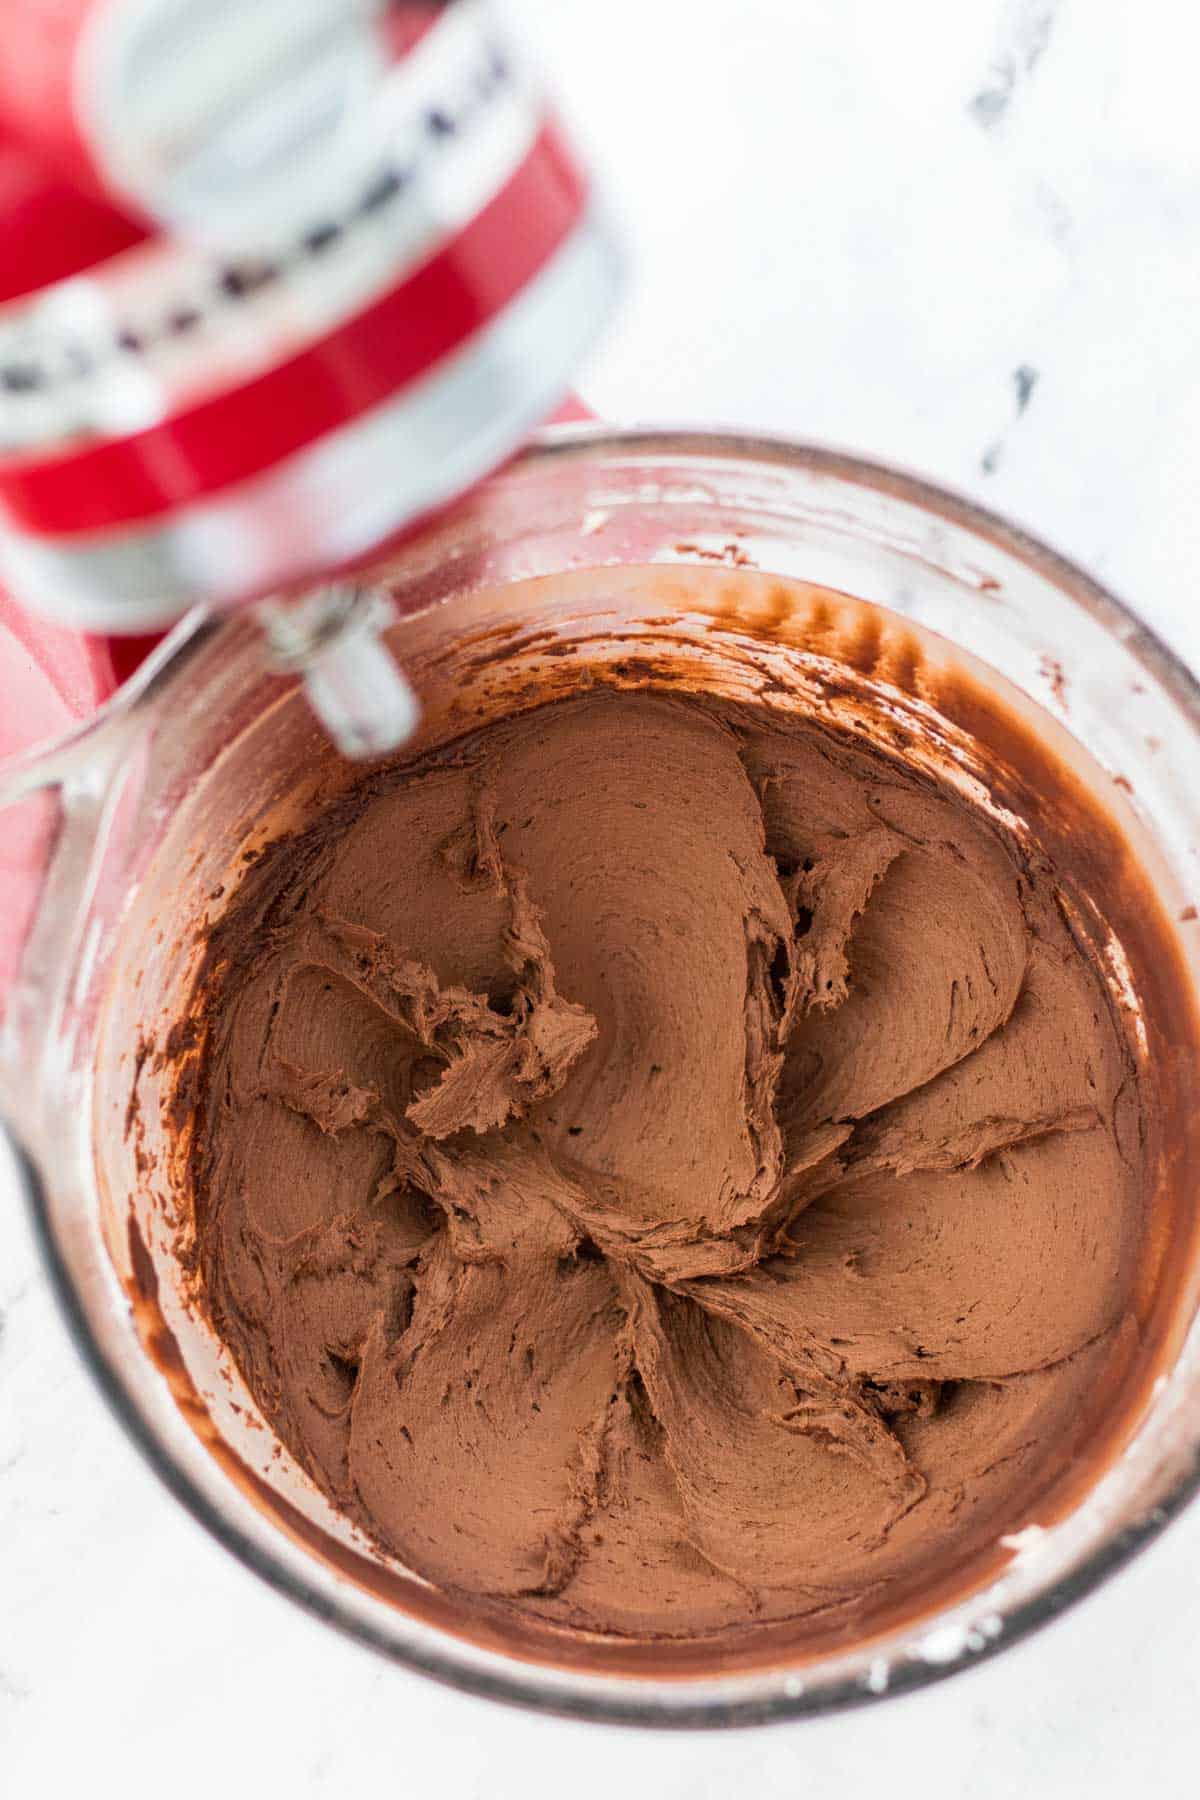
- The buttercream is done when it is smooth, thick, creamy and holds its shape firmly. If the buttercream is not firmly holding stiff peaks, add ¼ cup extra confectioners' sugar and beat until the buttercream holds stiff peaks, repeat as necessary.
How to Make Cake Balls and Attach to Sticks
To make the cake balls combine the buttercream frosting with the crumbled cake.
Roll the perfect cake balls by taking a scoop of the cake mixture and rolling it between your hands into a sphere. You can just eyeball the size, but I prefer to use a cookie scoop to evenly measure out the cake balls. The cake balls should be about the size of a golf ball.
Secure your perfect cake ball to a stick and dip it in chocolate.
Decorate your little chocolate-dipped cake ball with sprinkles.
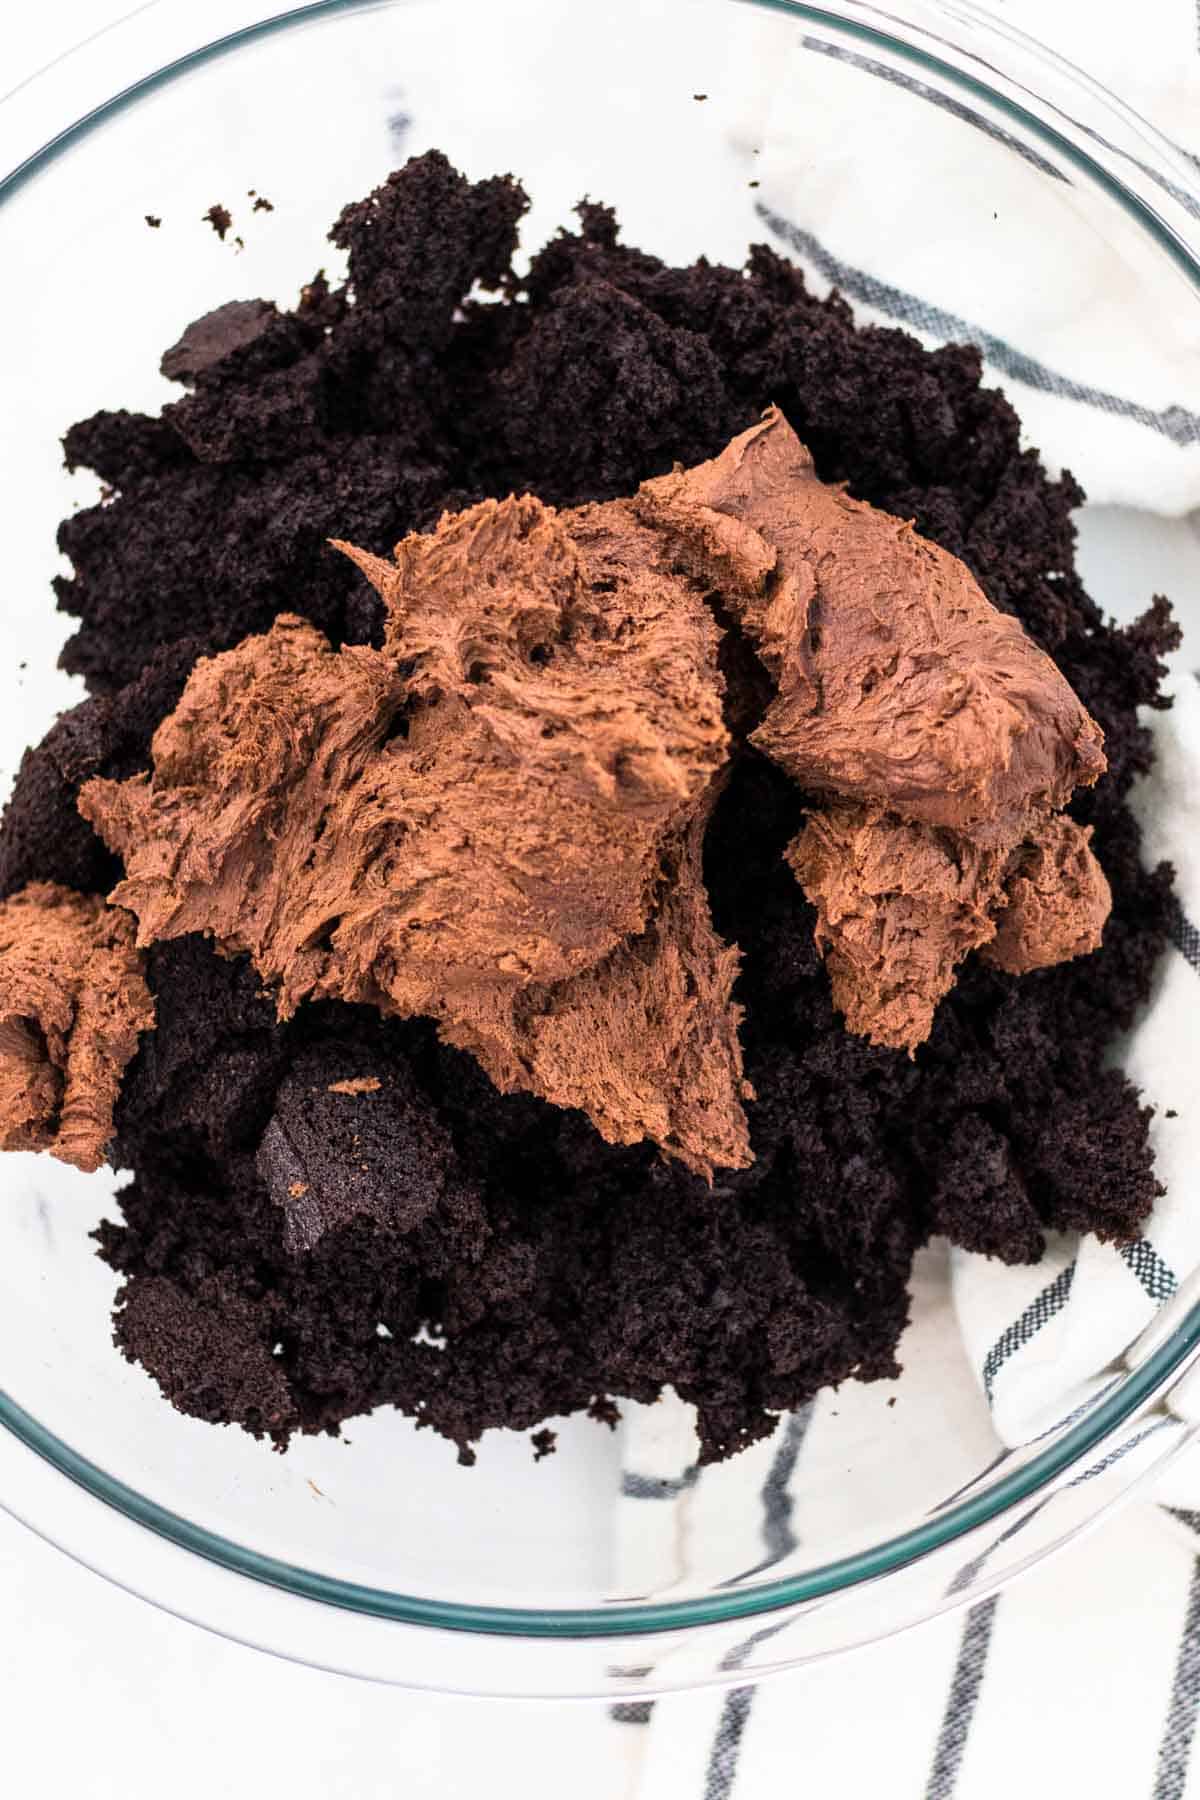
- Add the prepared buttercream frosting to the crumbled cake.
- Using a hand mixer, mix until the buttercream is fully incorporated into the crumbled cake.
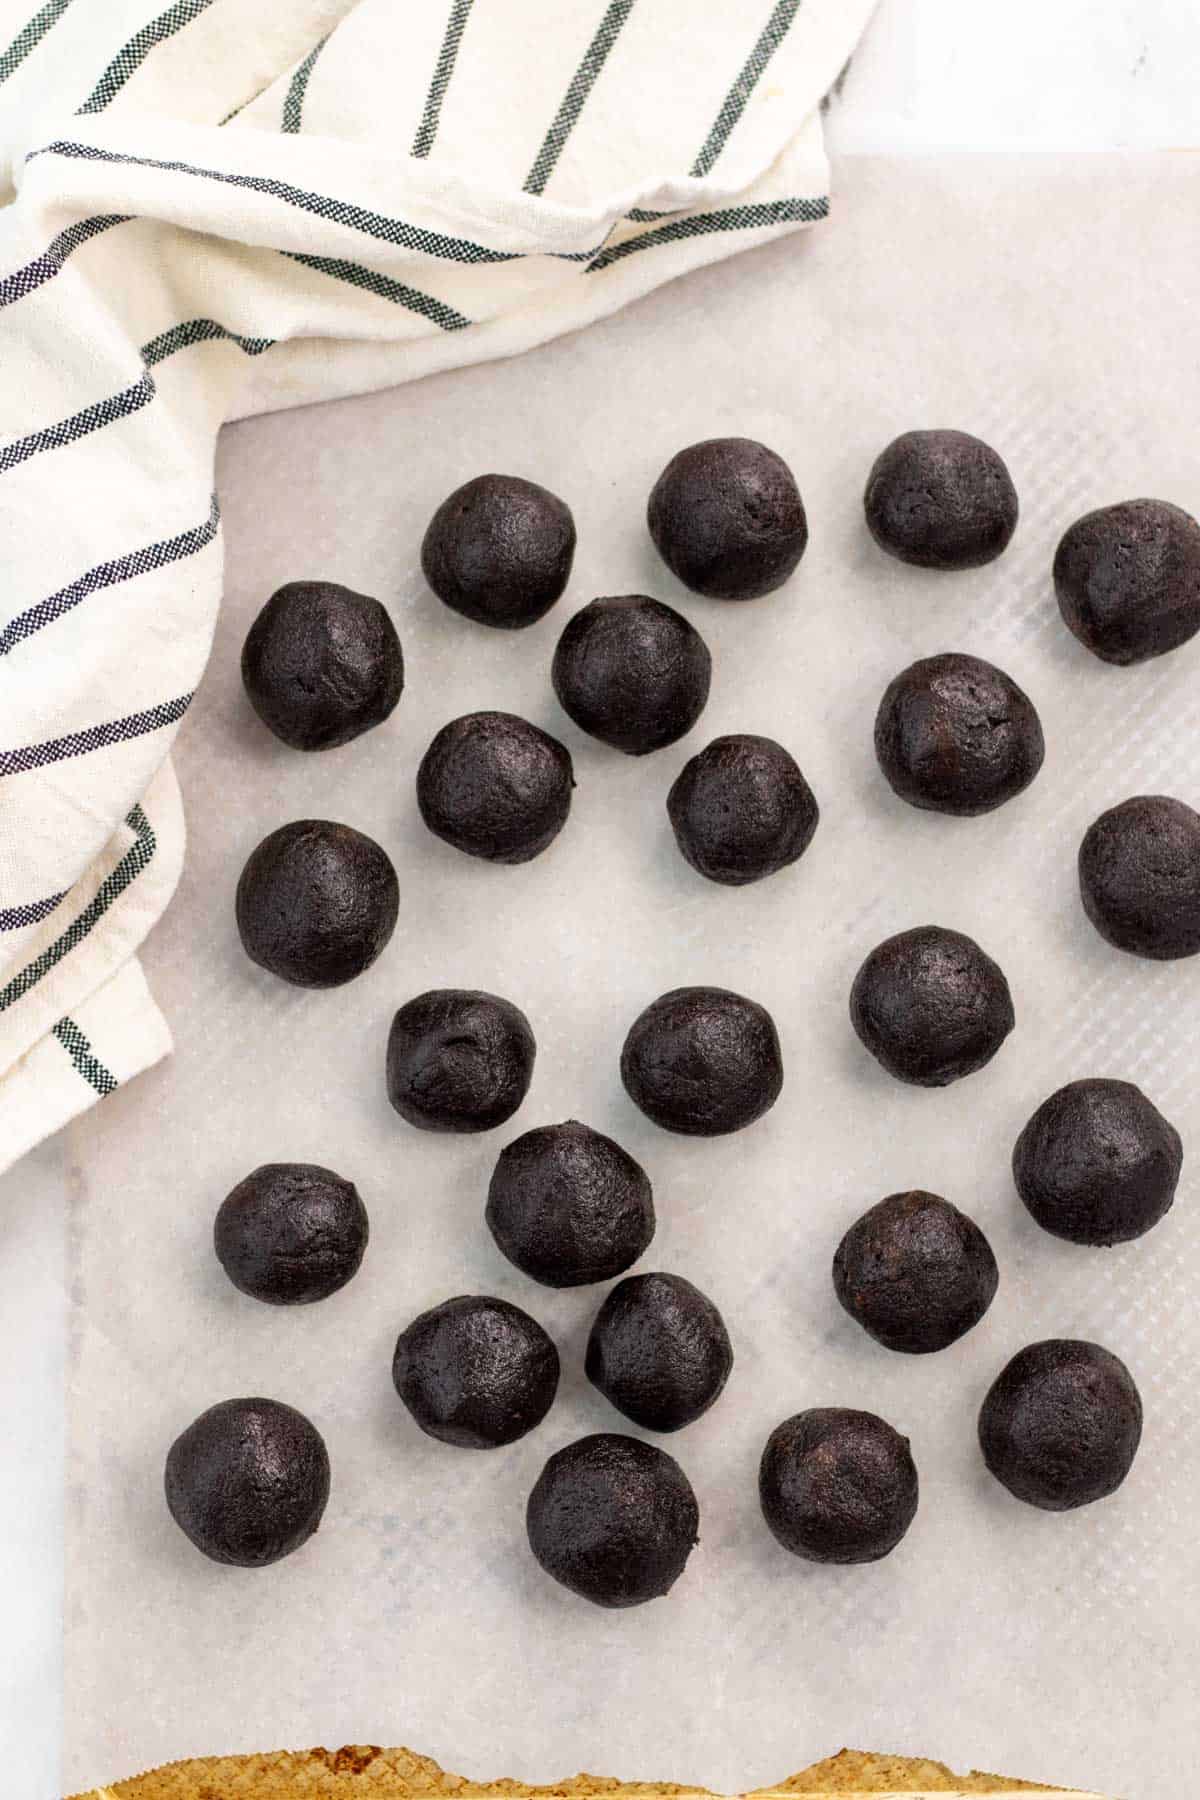
- Divide and shape the cake into 24 equally-sized balls. Roll the cake balls with your hands to make them perfectly round.
- Refrigerate until cold and hardened.
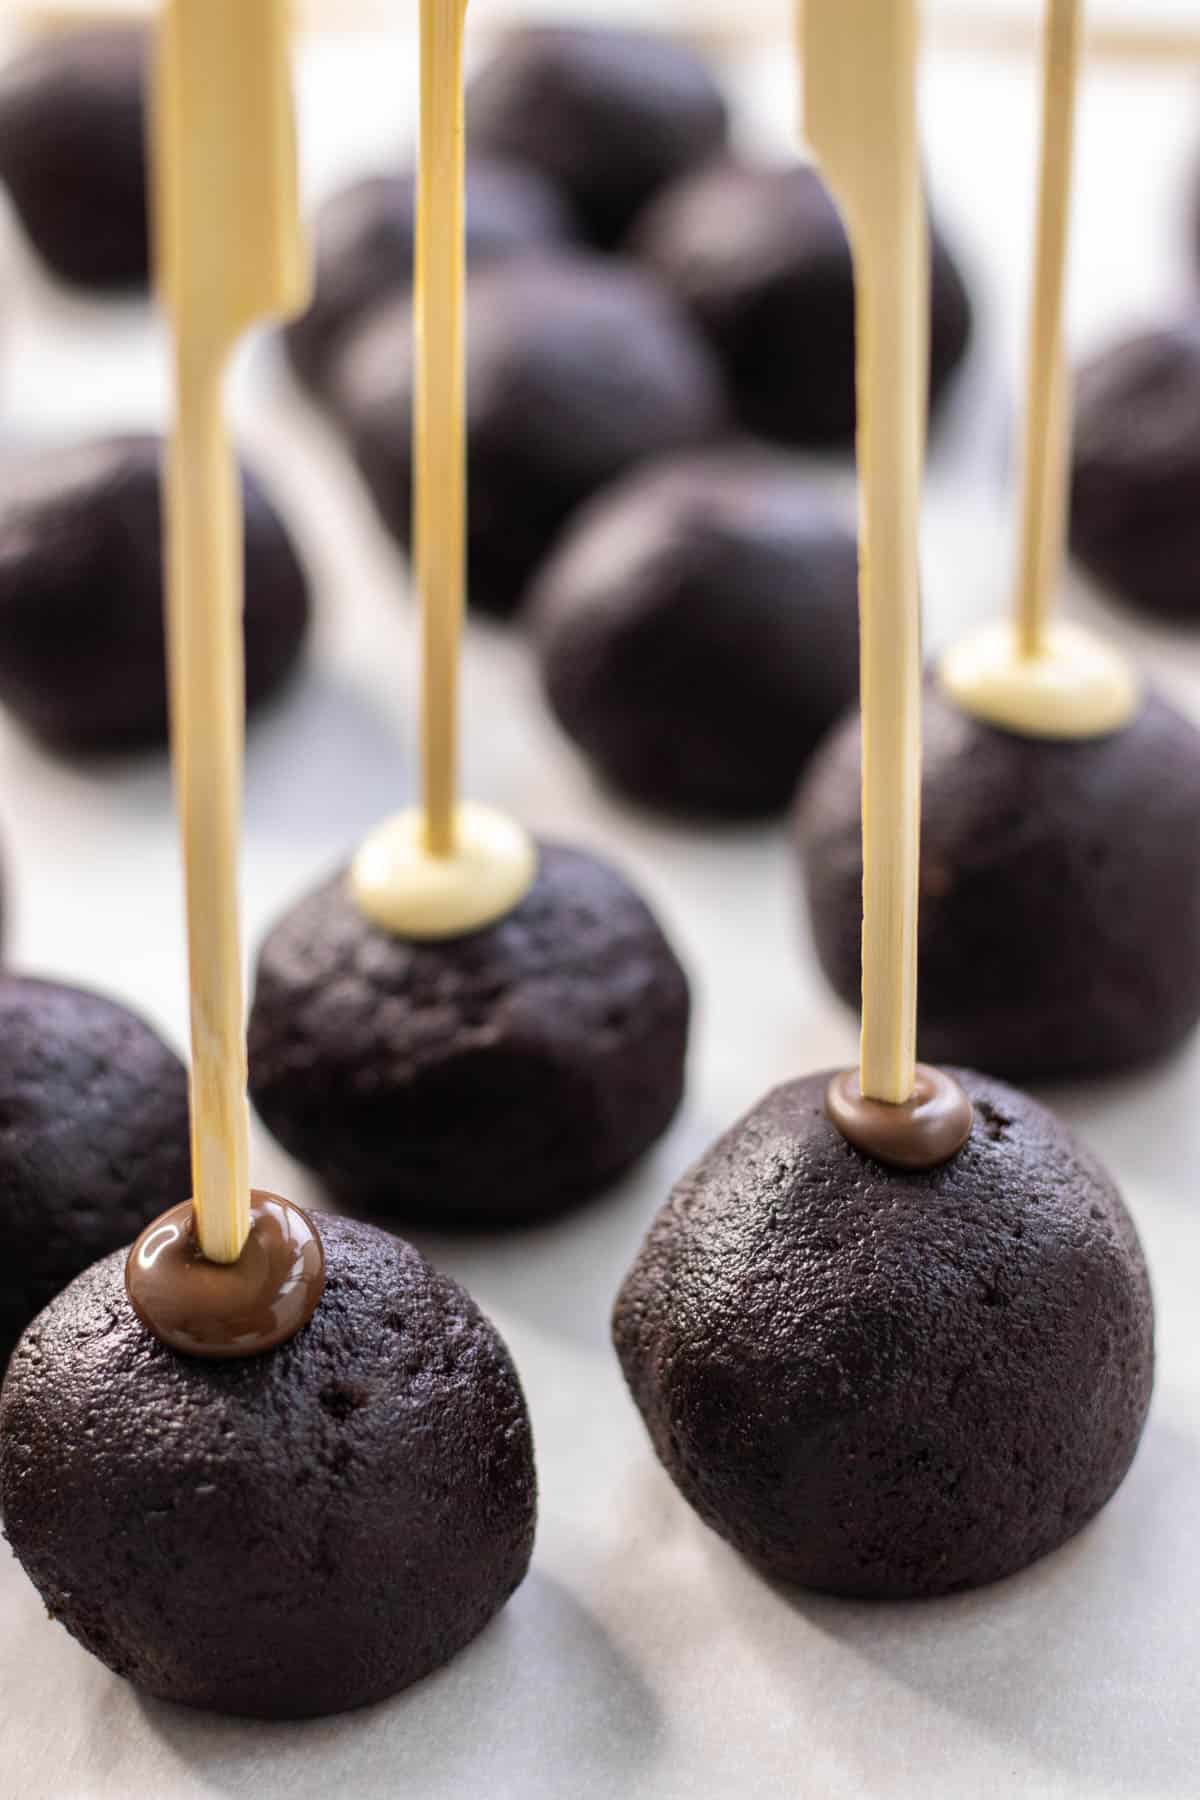
- To attach the sticks to the cake balls: remove the cake balls from the refrigerator. Dip the end of your stick of choice into a little bit of melted candy melts or chocolate. Insert the stick into the center of each cake ball.
- Return the cake balls to the refrigerator for 10 minutes to let the sticks set.
Using the freezer to speed up the cooling process
If you are in a rush and want to speed up the chilling processes in between these steps, you can place the cake balls in the freezer instead of the refrigerator. Don't let the cake balls fully freeze until you are ready to store them (see my notes on freezing below).
How to Dip Cake Pops in Chocolate

- Set up your dipping station by melting the candy melts or chocolate and have your sprinkles ready!

- While the cake balls are still cold from the refrigerator, dip them into the melted candy melts and twirl to coat them completely. Use a spoon to gently coax off any excess chocolate.
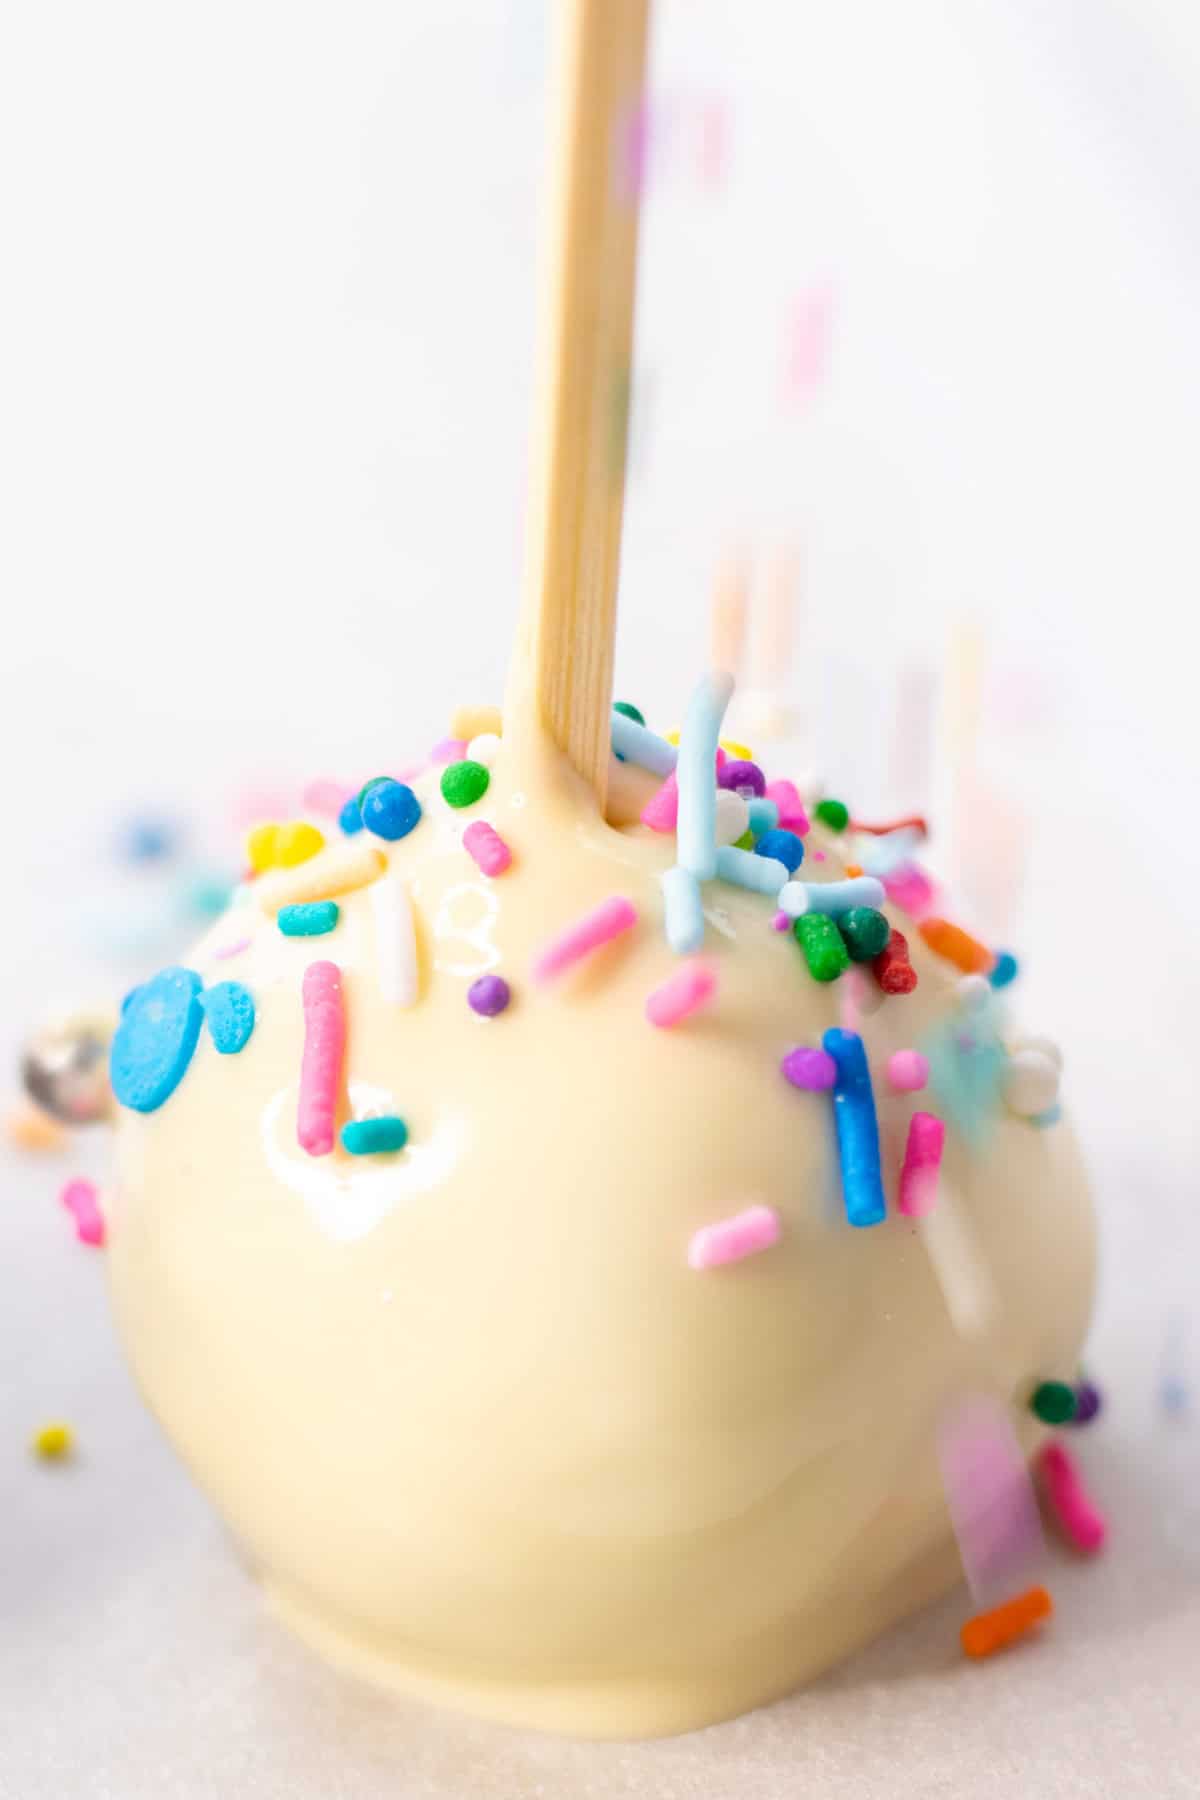
- Immediately after dipping the cake ball in chocolate, sprinkle on the sprinkles or any other decorations you want. The candy melts/chocolate will set up fast because the cake ball is still cold, so you have to work fast or your sprinkles will not stick to the chocolate.
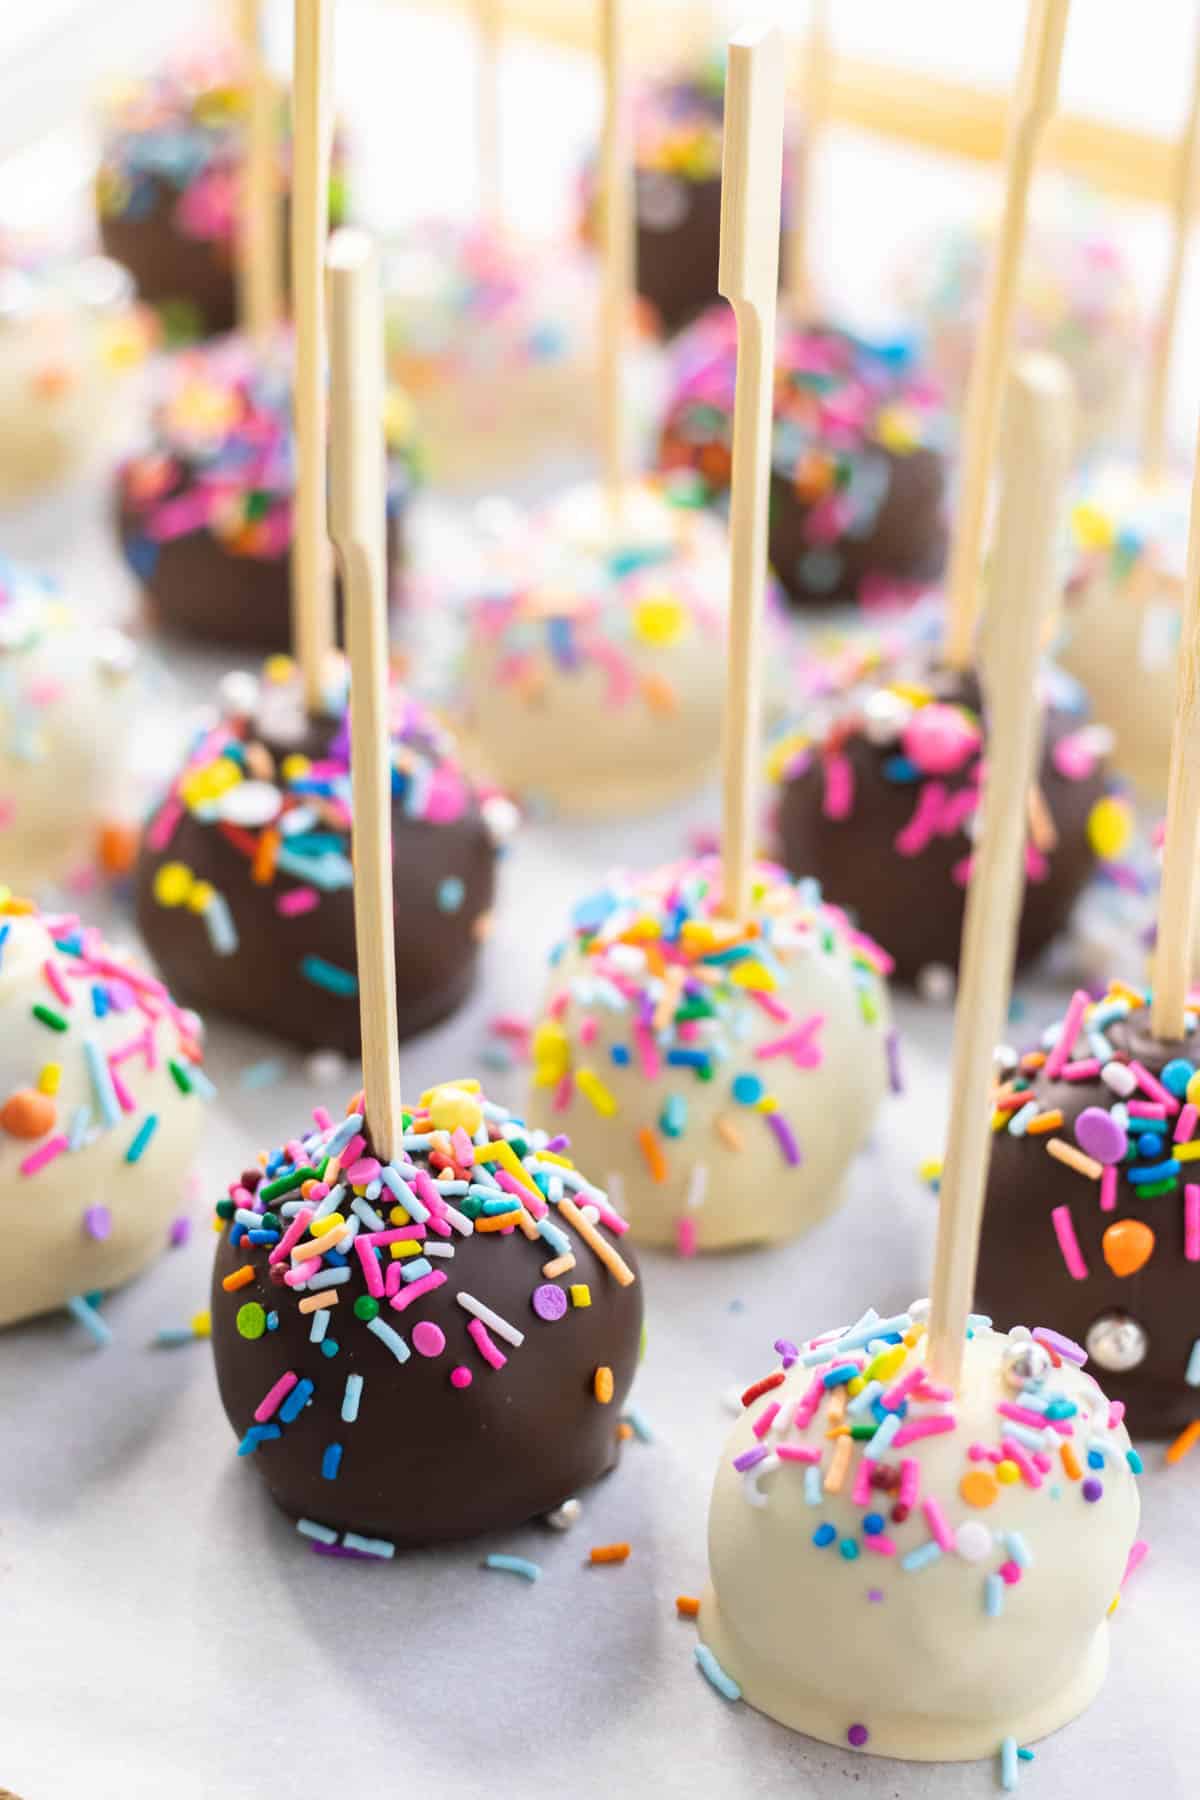
- Place the dipped and decorated cake pops back onto a clean piece of parchment paper and return them to the fridge to let the chocolate fully set.
Tip- Cake pops are best after being refrigerated for at least 12 hours or overnight before serving.
What is the secret to dipping cake pops?
The secret is you have to move relatively quickly when dipping and decorating your cake pops.
The cold cake balls will also cool the chocolate down as you dip them.
Once you notice the chocolate starting to get thicker and not so runny, reheat it a little using 10-20 second increments in the microwave, stirring in between until the chocolate is a thin consistency again.
I usually have to do this at least one time while dipping all of my cake balls.
How to Decorate Cake Pops
Cake pops can be decorated any way that you like.
The easiest way to decorate them is by placing them top-side down like I have below.
If you want your chocolate-coated cake pops to be decorated on the tops the easiest way to hold the sticks upright is by using a cake pop stand, piercing the sticks into a piece of styrofoam, or using a large bowl filled with rice to prop up the cake pops in.
Top Tip- The cake pops must be decorated as soon as they are dipped in the candy melts or chocolate, while the chocolate is still wet. The cold cake balls cause the chocolate to set up very fast and the sprinkles will not stick to the chocolate once it has hardened.

How to Store
Store leftover cake pops in an airtight container or bag in the refrigerator and enjoy within 4 days.
Freezing Cake Pops
To freeze cake pops, place them in an airtight container or a zip-top bag and freeze for up to 3 months.
Frequently Asked Questions
Cake pops are at their peak freshness if enjoyed within the first 1-2 days of making them. Cake pops can also be fully prepared and frozen in the freezer for up to 3 months.
More Dessert Recipes
Try these sweet little treats next:


If you made this Cake Pop Recipe or any other recipe on my website, please leave a 🌟 star rating and a 💬 comment and share it on Pinterest, Instagram and Facebook!
📖 Recipe
Easy Homemade Cake Pops
↑ click the stars to rate this recipe ↑
Print Recipe Pin RecipeIngredients
Chocolate Cake
- 1 cup All Purpose Flour
- ½ cup Dutch Processed Cocoa Powder 20%-22%
- 1 teaspoon Baking Soda
- ½ teaspoon Salt
- 1 cup Granulated Sugar
- ¼ cup Butter melted
- 1 Egg large
- 1 teaspoon Pure Vanilla Extract
- ½ cup Buttermilk
- ½ cup Strong Black Coffee cooled
Buttercream Frosting
- 2 cups Confectioners' Sugar
- ½ cup Butter softened
- ¼ cup Dutch Processed Cocoa Powder 20%-22%
- 6 teaspoons Milk divided
- 1 teaspoon Vanilla Extract
Chocolate Coating
- 2 cups Candy Melts or High-Quality Chocolate*
- 24 Lollipop Sticks or Bamboo Skewers
Instructions
Making the Cake
- Preheat oven to 350°F, lightly grease and line a 9" cake pan.
- In a large bowl sift together the flour, cocoa powder, baking soda, and salt. Set aside.
- In the bowl of a stand mixer fitted with the paddle attachement, beat the sugar, melted butter, egg, and vanilla until thick and creamy.
- Pour in the buttermilk and cooled coffee. Mix lightly until just incorporated.
- Add the sifted dry ingredients to the wet ingredients and beat on medium speed until the batter is thick and smooth.
- Pour the batter into the prepared cake pan, and bake for 35 minutes, or until a toothpick inserted into the center comes out clean.
- Remove the cake from the cake pan onto a cooling rack and let the cake cool completely.
Making the Buttercream Frosting
- In the bowl of a stand mixer fitted with a paddle attachment, beat the butter on medium speed for 2 minutes, until creamy. Scrape down the edges with a spatula as needed.
- Add the cocoa powder and vanilla. Beat on low-medium speed until incorporated, about 1 minute.
- Add 1 cup of the confectioners' sugar and 3 teaspoons of milk, and beat on high for 2 minutes. Scrape down the sides and add the remaining confectioners' sugar and milk, beat on high for 2 more minutes.The buttercream should be a smooth and creamy consistency but also hold stiff peaks.
Making the Cake Balls
- Line a baking sheet with parchment paper and set aside.
- In a large bowl, crumble the cooled cake with your hands.
- Scrape all of the buttercream into the bowl of cake crumbs and beat with a hand mixer until completely combined.
- Using a cookie scoop or a spoon, scoop out balls of dough, about the size of a golf ball. Roll into a ball with your hands and place it on the cookie sheet.
- Refrigerate the cake pop balls for at least 30 minutes before continuing to the next step.
Melting the Chocolate
- There are two ways of melting the chocolate. Option 1- Melt the candy melts or chocolate in the microwave in 20-30 second increments, stirring in between until chocolate is a smooth consistency. Option 2- Melt the chocolate using a double broiler on the stove. Place a double broiler over simmering water (make sure the bottom of the double broiler is not touching the water). Fill the double broiler with chocolate and melt, stirring consistently until smooth. Remove the chocolate from the heat as soon as it is smooth or it will overcook and burn.
Attaching the Sticks to the Cake Balls
- Remove the cake balls from the refrigerator.
- Dip the end of the stick into the melted chocolate and insert the stick into the middle of the cake ball. Repeat until all of the cake balls have sticks attached.
- Return the cake pops to the refrigerator to let the sticks set for 10 minites.
Dipping the Cake Pops in Chocolate and Decorating
- While the cake balls are still cool, dip them in the melted chocolate, twirling to coat them completely. Use a spoon to gently remove any excess chocolate.
- Decorate the cake pop with sprinkles right after it has been dipped in chocolate, while the chocolate is still wet. The chocolate will set up fast because the cake pop is cold and sprinkles will not stick to the cake pop once the chocolate has hardened.
- Place the cake pop down on a clean piece of parchment paper or prop up in a styrofoam block, cake pop stand or a large bowl filled with rice.
- Let the cake pops set in the fridge for 12 hours or overnight before serving.
Save This Recipe! 💌
Video
Notes
- Cake: If you prefer to use a boxed cake mix to make the cake, prepare it as per the directions on the box. Do not use the included frosting package. You must make your buttercream.
- How to make quick buttermilk: Add 1 ½ teaspoons of white vinegar or lemon juice into a liquid measuring cup. Fill the measuring cup with enough milk to measure ½ cup. Stir and let stand for 5 minutes before using.
- Chocolate: Candy melts work the best for this recipe. If you prefer to use a chocolate bar, melt the chocolate in a double broiler and add 1-2 tablespoons of melted coconut oil. The coconut oil will help to thin out the chocolate and it will help the chocolate firm up once it has been coated on the cake pop.
- How to store: Store cake pops in an airtight container in the refrigerator and enjoy within 4 days. Cake pops can be frozen for up to 3 months.
Nutrition
The nutritional information provided is an estimate based on an online nutrition calculator and it will vary based on the ingredients that you use.


Allison says
Can't wait to make these for valentines day.
Jessica says
I would love to know how they turn out and what you think!
Turisno_Crisk says
The result is a delicious, melt in your mouth, death by chocolate gluten-free dairy-free cake pop that pretty much anybody will enjoy. The bonus is it’s perfectly portioned! It’s just the right amount of treat without going overboard. And, of course, the kids asked for their favorite Juicy Juice flavor to enjoy with their personally picked pop!
Kellie says
They are so beautiful! Thanks!
Jessica says
Thank you 🙂