


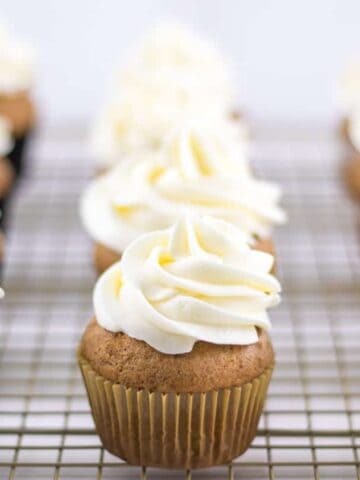
Say hello to fall with these flakey pumpkin spice scones, they are pillowy soft, deliciously fluffy and buttery. Drizzled with a creamy vanilla cream cheese icing, they are a truly delectable treat. Scones are easy but impressive and can be enjoyed as a breakfast pastry, a mid-day treat or even dessert.

Jump to:
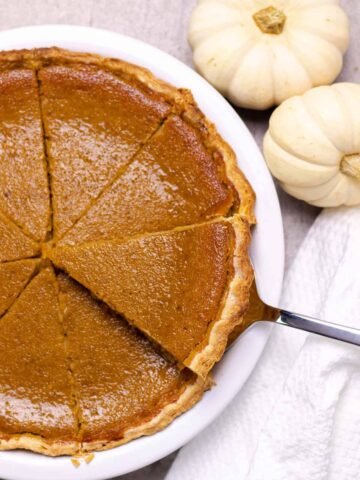
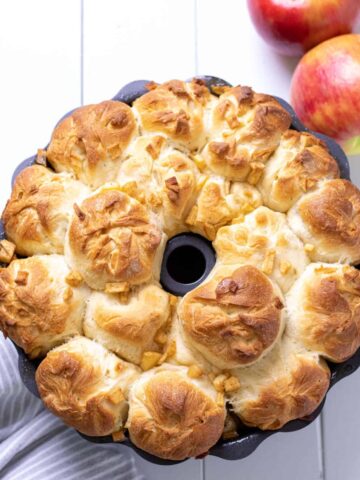
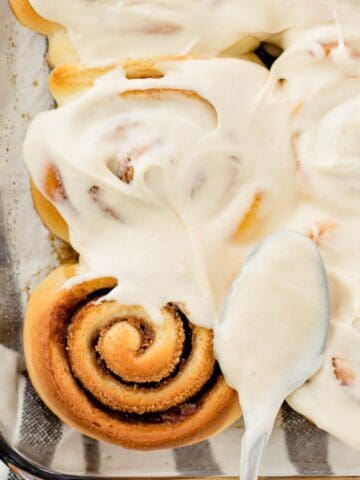
As the chilly fall weather starts to roll in it's time to start baking those comforting recipes. If you love fall baking as much as I do, you have to make my incredibly unique apple rum monkey bread and my pumpkin pie that is made with real sugar pumpkins and my delicious apple crumble cheesecake!
Why You'll Love This Recipe
- It doesn't require any advanced skills. Scones are one of the easiest and most impressive coffee shop pastries.
- They are perfect to share with family and friends, pack one in your lunch for a delicious mid-day treat or serve at your next brunch.
- Scones come together quickly and can be served warm. They are a great recipe if you don't have hours to spend in the kitchen.
Pumpkin Spice Scone Ingredients


- Pumpkin Pie Spice - You can easily make this pumpkin pie spice mix homemade or you can use a store-bought pre-mixed pumpkin spice blend.
- Pumpkin Puree - Use canned pure pumpkin puree or make your own using sugar pumpkins like I do in this pumpkin pie recipe.
- Butter - Like any flaky pastry, cold butter is a must. Cutting in the cold butter and leaving it in little pea-sized chunks in the batter is what forms those perfect flaky and buttery layers in a finished scone.
- Baking Powder - No, it is not a typo, you really do need to use 1 tablespoon of baking powder to get those fluffy, flaky scones to rise.
A full ingredient list with the exact quantities can be found in the recipe card below.
Recipe Modifications
- Milk - For the richest flavor, I recommend using whole milk, but any dairy alternative may be substituted for the milk in this recipe.
- Vanilla Extract - May be substituted for almond extract.
- Gluten Free - Scones are one of the easier desserts to make gluten-free, as they don't depend on gluten to be held together. To make these pumpkin spice scones gluten-free, use a 1 to 1 gluten-free flour blend in place of the regular flour and ensure all of the other ingredients are gluten-free also.
Creating A Fluffy Perfect Scone
- Ensure you are working with cold ingredients, most importantly cold butter. The goal is to make sure the butter doesn't melt into the dough as you are mixing and kneading. This will cause the gluten in the flour to develop, resulting in a dense scone.
- Use a pastry cutter to cut the butter into the dry ingredients. This will help ensure the butter doesn't get too warm and is cut down to the correct size. If you want to be extra careful, refrigerate the pastry cutter for 20 minutes before you use it.
- Make sure to thoroughly mix your dry ingredients so everything is evenly distributed in the mixture, ensuring fluffy scones all around.
- Use a floured knife or bench scraper to cut the scones. Simply dip the sharp edge of the knife or scraper in flour before making each cut. This ensures a perfect cut and helps to seal the edges of the scone.
- Lastly, refrigerate the scones before baking them. Just like making a pie crust, this will harden the butter in the dough, which will help the scone maintain its structure during baking, forming those irresistible flaky layers.
Vanilla Cream Cheese Icing
The vanilla icing is completely optional.
No Icing - If you do not want to use the icing, I recommend sprinkling the tops of the scones with some demerara sugar before baking to create a crispy and crunchy top.
Using Icing - If you are planning on using the icing, ensure the scones are cooled completely, otherwise, the icing will melt and run off the scones.
Icing on the Side - If you are planning on serving the pumpkin scones warm, place the icing in a small container on the side and drizzle over the top right before eating.
Save This Recipe! 💌
How to Make Pumpkin Spice Scones
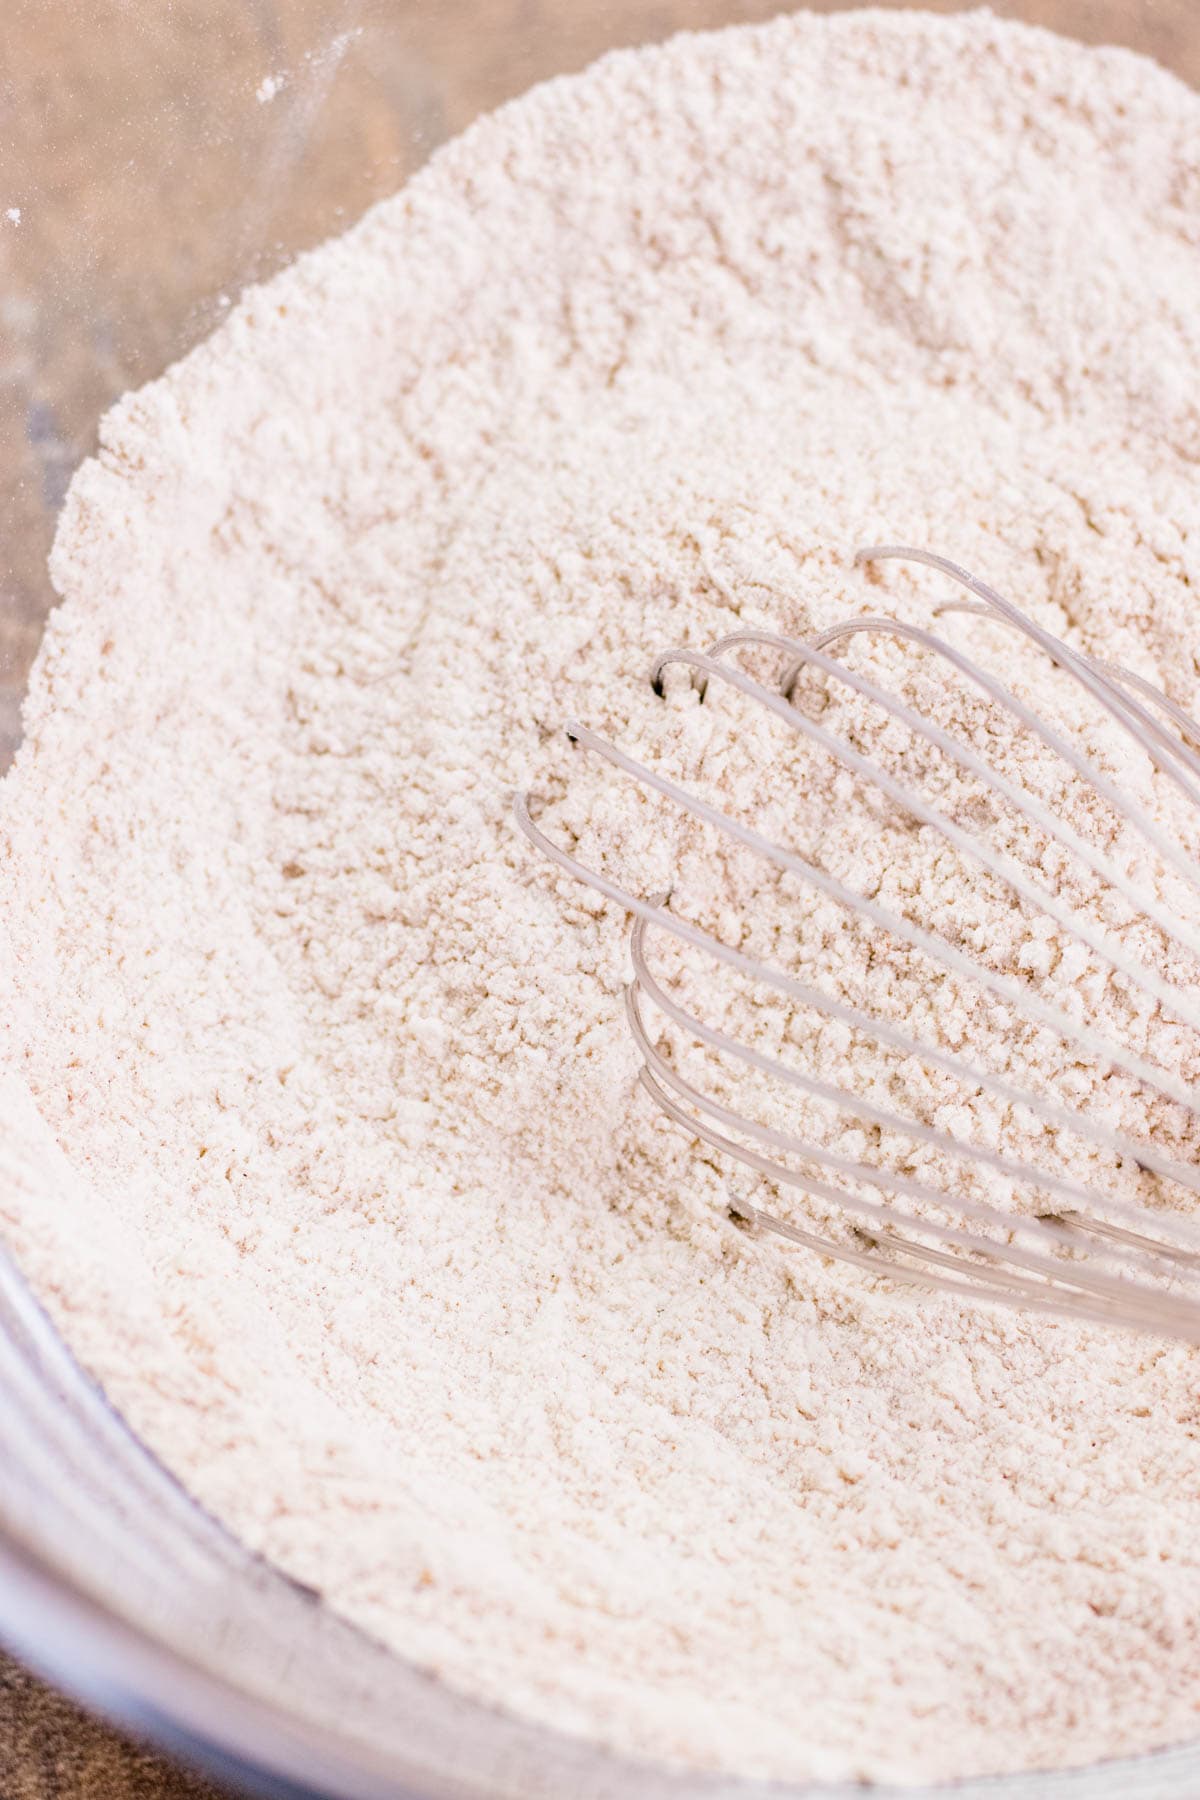
- In a large mixing bowl, combine the flour, baking powder, pumpkin pie spice, and salt.

- Using a pastry cutter, cut in the cold butter until the butter chunks are roughly the size of a pea (this doesn't have to be perfect).

- In a separate mixing bowl, add the brown sugar, granulated sugar, eggs, milk, pumpkin puree, and vanilla extract.

- Using a spatula, gently fold the wet ingredients into the dry until a shaggy dough forms.

- Transfer the dough to a lightly floured work surface and gently gather the dough into a ball. Using your hands, press the dough ball into a flat circular disc, roughly 9" in circumference.
You can see in the photo above that the butter pieces are still visible in the dough. This is what you want for a fluffy and flaky scone.

- Using a floured knife or bench scraper, cut the dough into 8 equal triangles.

- Transfer the scones to a baking sheet, separating them so there is plenty of room in between. Refrigerate for 20 minutes before baking.

- Bake the scones at 400°F for 15-17 minutes until they puff up and are lightly golden brown. Transfer them to a baking rack to cool completely before adding the frosting.
- Prepare the icing and, using a piping bag or a ziplock with the corner snipped off, drizzle the icing overtop of the scones.
Scones may also be served warm. In this case, serve the icing on the side and drizzle it on top right before eating.
Expert Tip!
Be careful not to knead or work the dough too much. Working the dough too much can cause the butter to melt into the dough. If the butter melts into the dough, you will be left with a dense scone, rather than a fluffy and flaky one.
Frequently Asked Questions
I highly recommend using a pastry cutter. Using a pastry cutter will allow you to work fast with the cold butter, and as a bonus, you can chill the pastry cutter before you begin to help keep the butter cold, too!
Keeping the butter chunks intact while forming the dough is imperative. If the butter melts in the dough, you will be left with a dense bread-like scone instead of a flaky one!
Scones are best eaten the day that they are made. The quality deteriorates quite quickly, but for the best chance at keeping them fresh, store them in an airtight container at room temperature and enjoy within 3 days.

More Fall Inspired Recipes
If you made these pumpkin spice scones or any other recipe on my website, please leave a 🌟 star rating, a 💬 comment and share it on Pinterest, Instagram and Facebook!
📖 Recipe

Pumpkin Spice Scones
↑ click the stars to rate this recipe ↑
Print Recipe Pin RecipeEquipment
Ingredients
- 2 cups All Purpose Flour + more for dusting
- 1 tablespoon Baking Powder
- 2 teaspoons Pumpkin Pie Spice
- ½ teaspoon Kosher Salt
- ½ cup Butter cold and cut into ½" cubes
- ½ cup Brown Sugar
- ¼ cup Granulated Sugar
- 1 Egg
- 1 Egg Yolk
- ½ cup Whole Milk
- ⅔ cup Pure Pumpkin Puree
- 1 teaspoon Vanilla Extract
Vanilla Cream Cheese Icing
- 4 oz Cream Cheese softened
- ¾ cup Confectioners Sugar
- 1 ½ teaspoons Whole Milk
- 1 teaspoon Vanilla Extract
- Pinch Salt
Instructions
- In a large bowl combine the flour, baking powder, pumpkin pie spice, and kosher salt. Stir ingredients together well.
- Add cold, cubed butter to the dry ingredients. Using a pastry cutter, cut the butter into the dry ingredients until it resembles coarse pea-sized cubes. Set aside.
- In another small mixing bowl combine the brown sugar, granulated sugar, egg, egg yolk, milk, pumpkin puree, and vanilla extract. Whisk until smooth.
- Fold the wet ingredients into the dry ingredients using a wooden spoon or sturdy spatula until a shaggy dough has formed. Transfer the dough to a lightly floured work surface and with floured hands work the dough into a ball. Be mindful not to work the dough too much, you don't want the butter to melt.
- On a floured surface, flatten the dough ball into a 9-inch round disc.
- Using a knife or bench scraper dipped in flour, cut the disc into 8 pie-shaped pieces.
- Place the scones on a baking sheet, leaving space in between and refrigerate for 20 minutes.
- In the meantime, preheat the oven to 400°F.
- Bake the scones for 15-17 minutes or until the bottoms are golden brown.
- Transfer to a wire rack and let cool completely before adding the vanilla cream cheese icing.
Vanilla Cream Cheese Icing
- In a small mixing bowl add the softened cream cheese and blend with a hand mixer until creamy, about 2 minutes.
- Add the confectioners' sugar, milk, vanilla extract, and salt. Blend until smooth.
- Transfer the icing to a piping bag or a ziplock bag and drizzle over top of the scones.
Save This Recipe! 💌
Notes
- Any kind of milk may be substituted for the whole milk in this recipe.
- Easily make a homemade pumpkin pie spice blend to use in these scones.
- The butter must be cold and kept cold throughout the whole scone-making process. You want to see little chunks of butter in the dough. If the butter warms and incorporates with the dough your scones will be dense.
- Yes, you really do need to use 1 tablespoon of baking powder. This will ensure the scones rise properly and have those delicious flakey layers.
- Cut the scones with a floured knife to ensure a sharp and perfect cut, this will also help seal the edges of the scone.
- Refrigerating before baking will re-harden the butter chunks and help the scone keep its shape during baking.
- Scones are easily made gluten-free. Use a 1 to 1 gluten-free flour blend in place of the all-purpose flour and make sure that all of your other ingredients are gluten-free, especially the baking powder.
- The icing is optional, if you are planning on using the icing, let the scones cool completely before adding it so it sets properly. If you want to serve the scones warm, serve the icing on the side and drizzle the icing on top right before serving.
Nutrition
The nutritional information provided is an estimate based on an online nutrition calculator and it will vary based on the ingredients that you use.

Cheryl Lebakken says
I am enjoying these scones but am wondering why the dough was so loose that I had to add nearly another cup of four to bring the dough together. Did is misunderstand your recipe?
Tami Blystone says
I just made these and this not an accurate recipe.... I had to add over a cup of flour to get the right consistency.. hopefully they turn out good!