






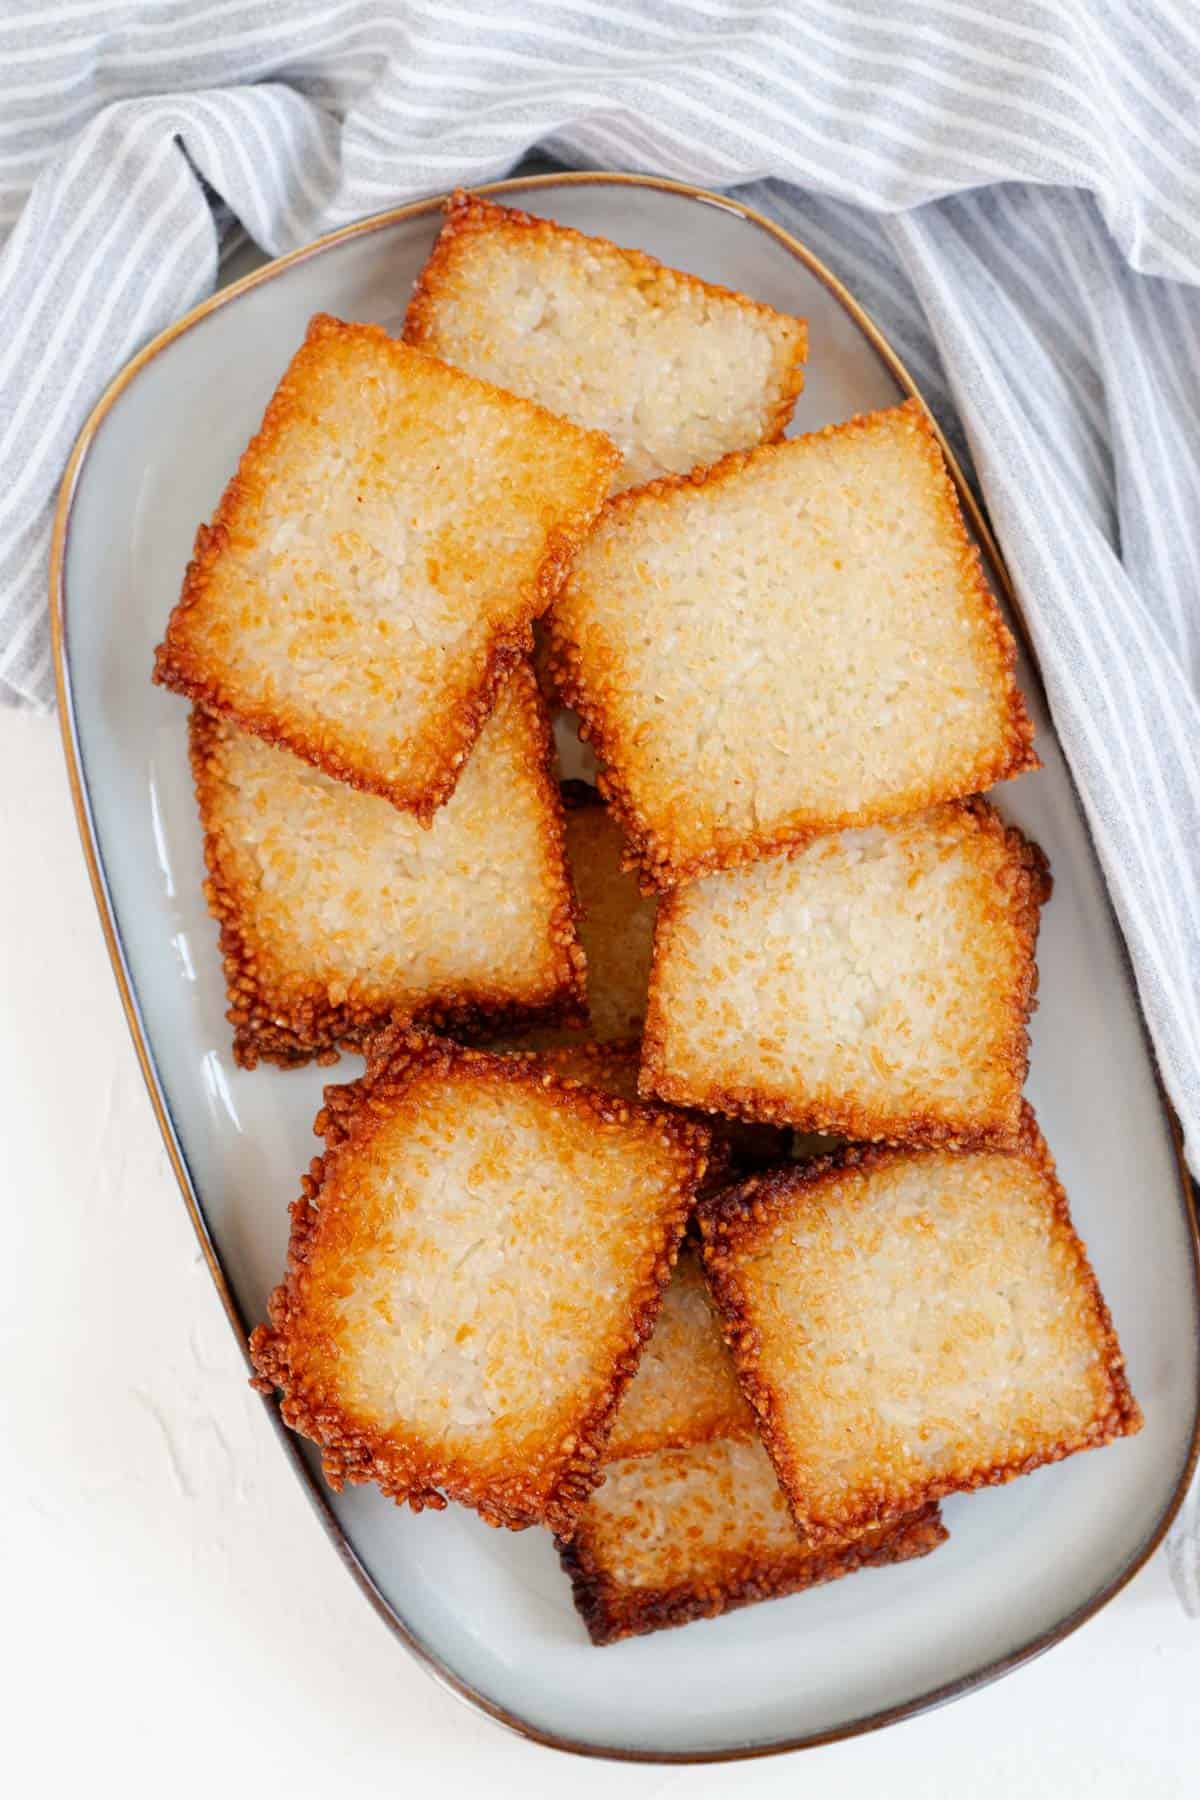
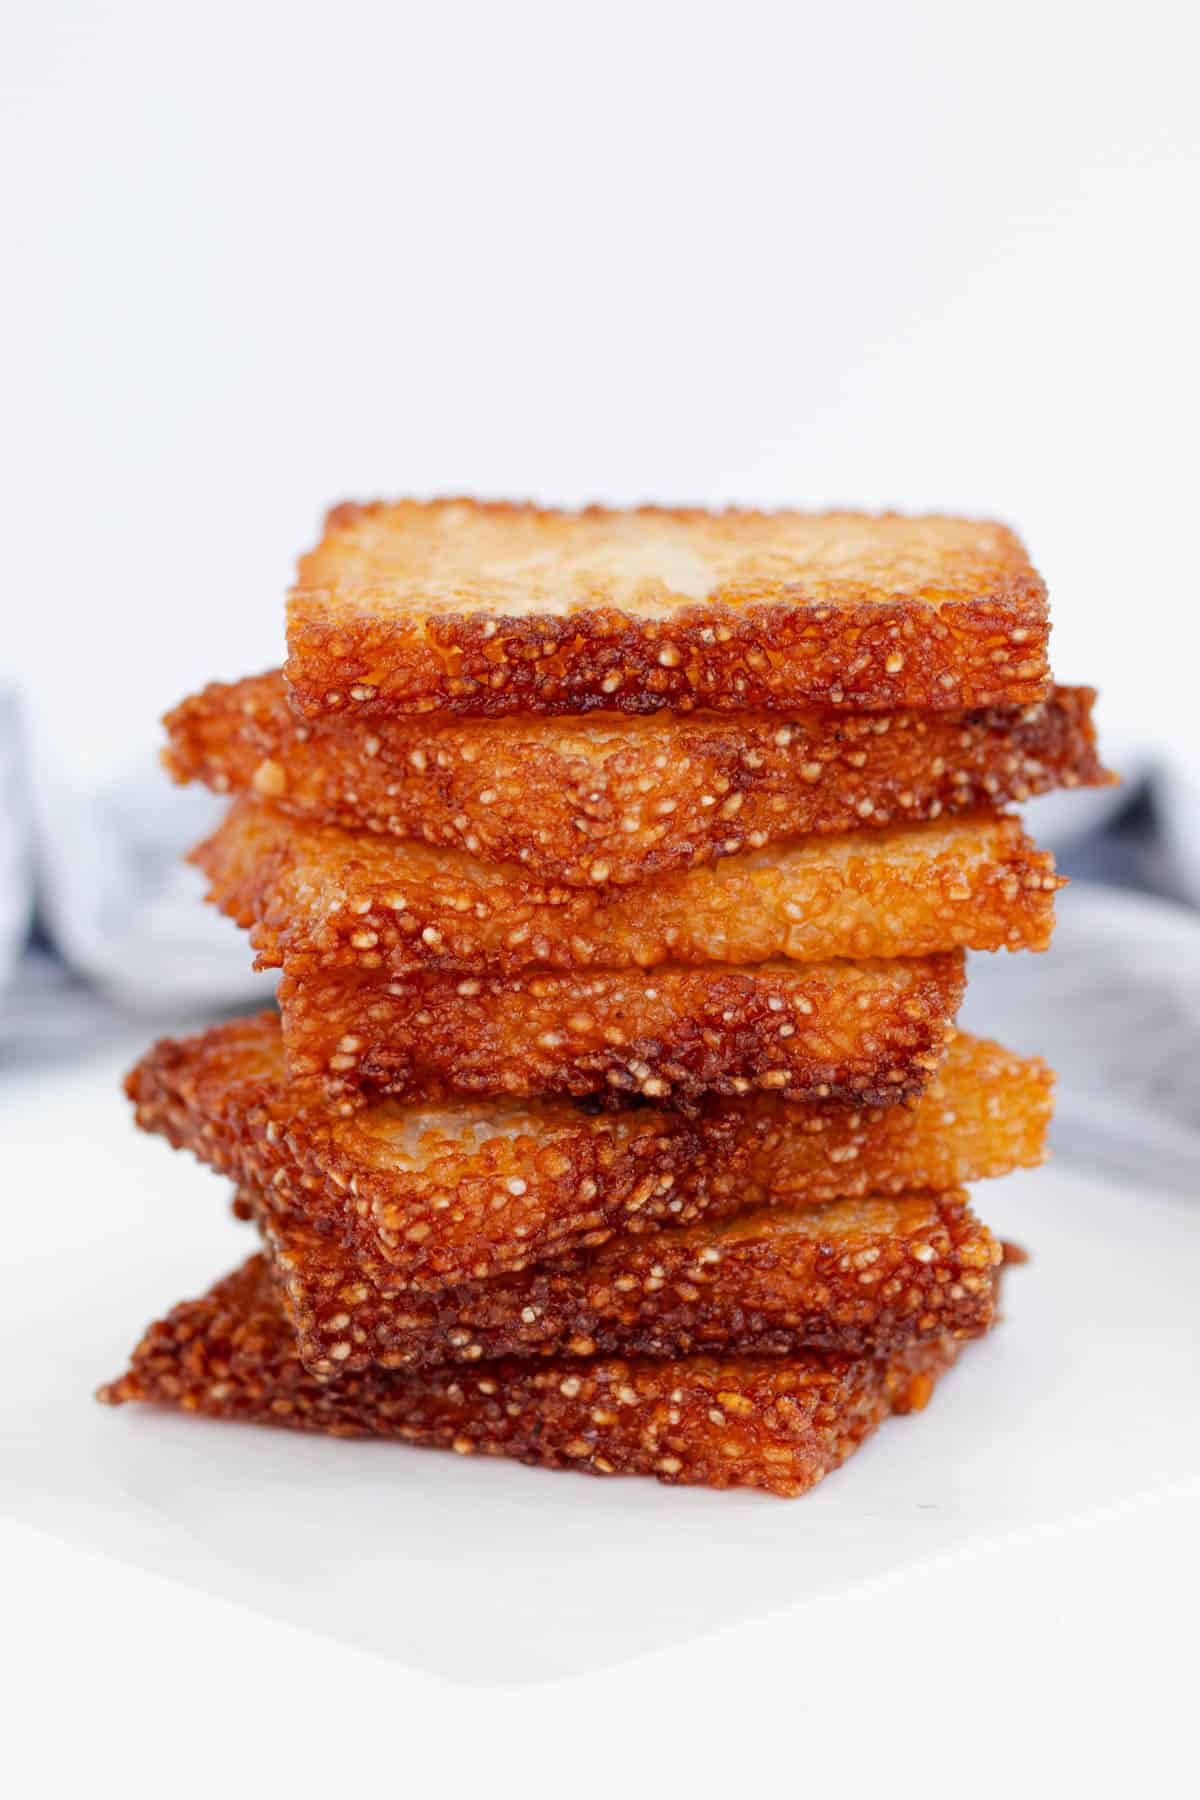
Here's the thing no one tells you about Crispy Sushi Rice Squares: they're not that difficult to make, they're barely even a recipe. If you can make homemade sushi rice, you're already 90 percent of the way there. The rest is just pressing it into a pan, letting it set, and frying it off until the edges turn deep golden brown and crackly. Once you've got a batch of these crispy rice squares ready, you can top them with pretty much anything!
Jump to:
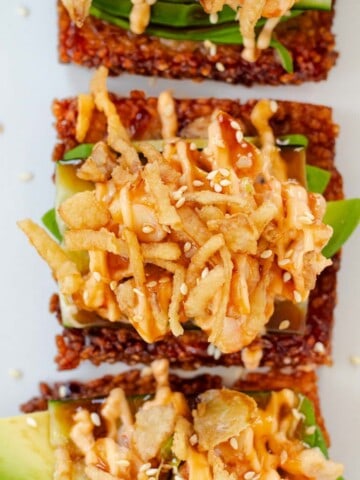
This recipe starts with my sushi rice recipe, which is the exact base I use here, so if you haven't made it before, that's your starting point. Once your crispy rice squares are ready, use them as the base for my dynamite sushi bites. Try toppings like honey garlic salmon bites, garlic butter shrimp, or any toppings from my sushi salmon bowls, and don't forget my spicy mayo drizzle and homemade eel sauce recipe, too!
What are Crispy Sushi Rice Squares?
Crispy sushi rice squares are exactly what they sound like, and also somehow more impressive than that description makes them seem. Think of them as crispy rice cakes for sushi, a sturdy little base built to hold up whatever you decide to pile on top. No sushi mat, no rolling, no small crisis over whether your roll looks presentable, just rice, a hot pan, and something delicious on top!
Why You'll Love This Recipe
- A restaurant-style appetizer at home. These crispy rice squares for sushi taste like the appetizer you'd order out, but instead, you're making them in your own kitchen.
- Just a few pantry staples. Sushi rice, rice vinegar and oil for frying, that's the core of the recipe.
- They are an endlessly customizable base. Top them with spicy tuna, avocado, salmon, or whatever you've got in the fridge, just don't forget the spicy mayo and eel sauce for drizzling!
Summarize and Save This Recipe Using:
Ingredients You'll Need
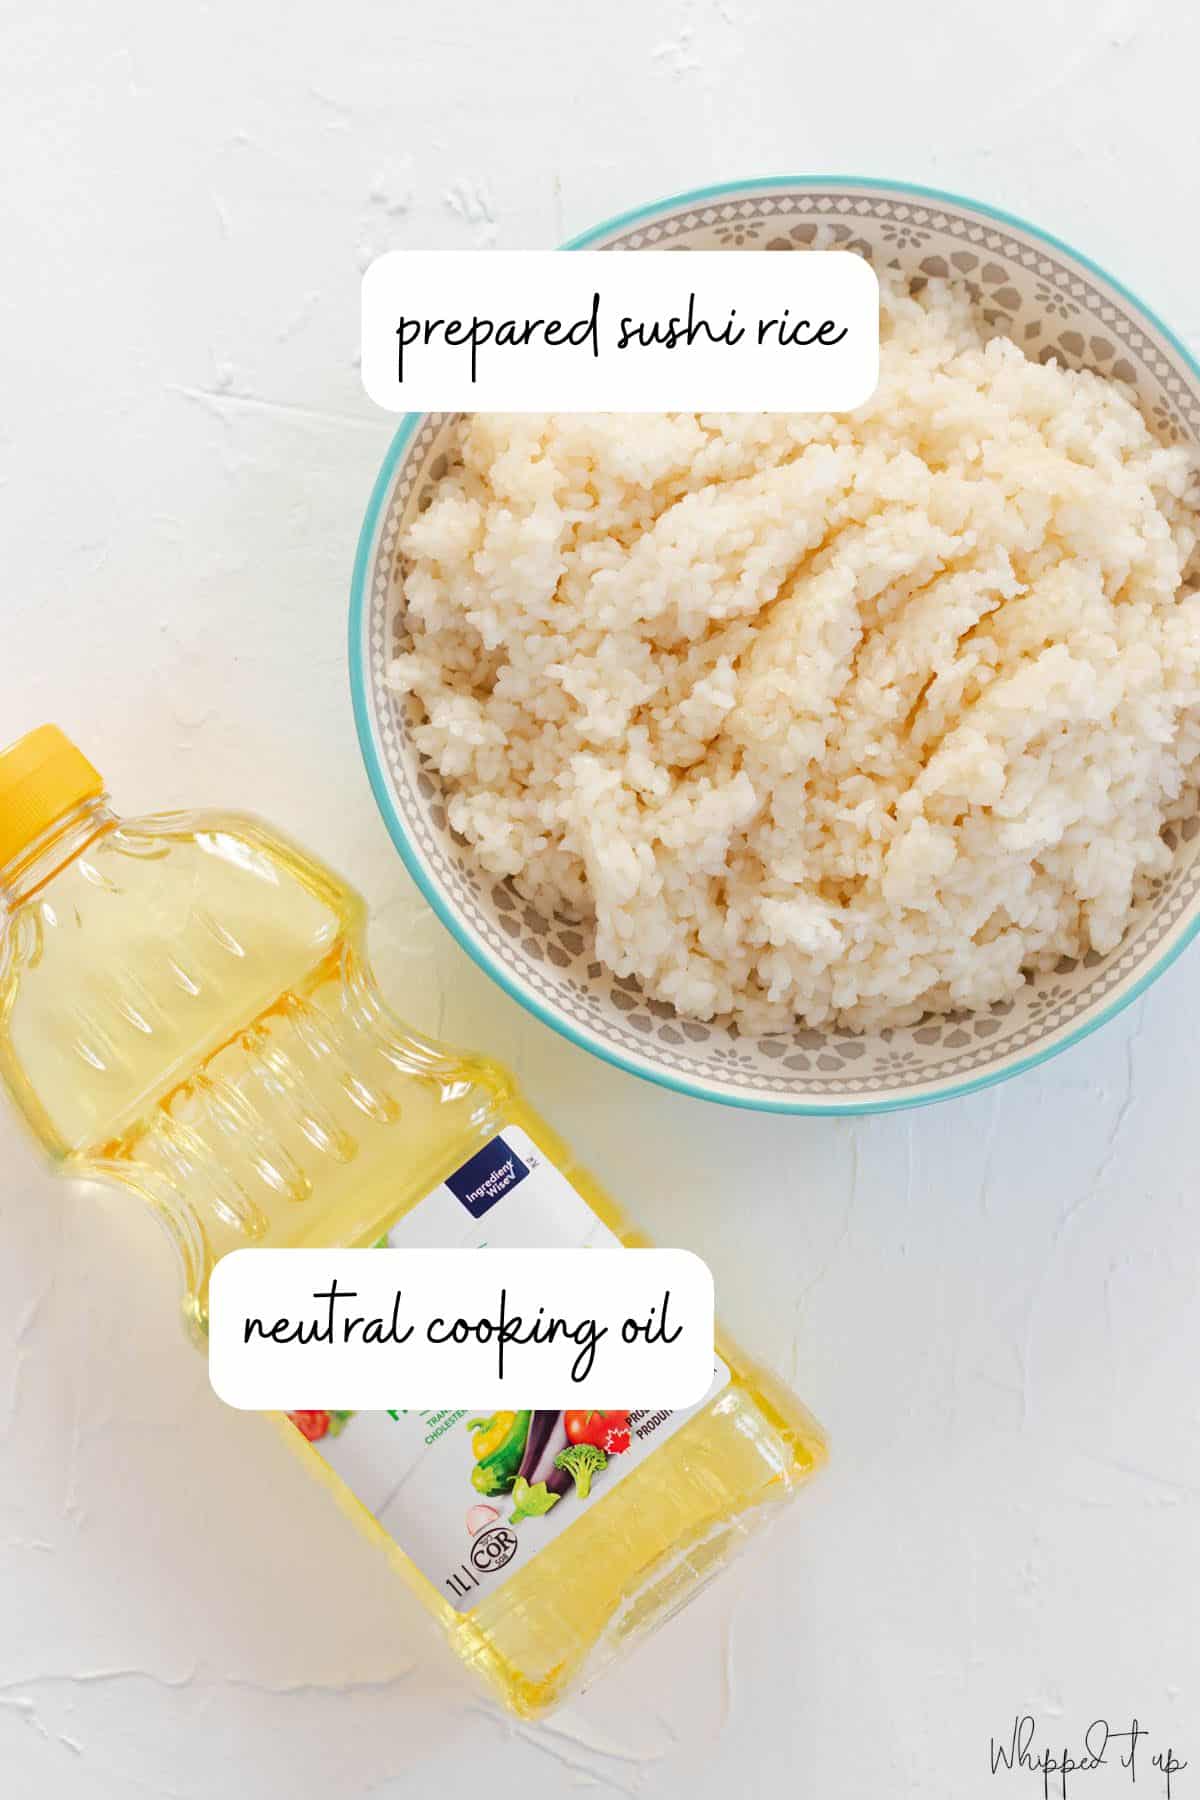
- Prepared Sushi Rice: To make sushi rice at home, you'll need sushi (or Calrose) rice, rice vinegar, maple syrup and a splash of cooking oil.
- Neutral Cooking Oil: Use something with a high smoke point like avocado oil, canola oil, or grapeseed oil.
The full list of ingredients with measurements is on the recipe card below.
Easy Crispy Rice Toppings
- Spicy Tuna Topped - Dice sushi-grade ahi tuna and toss it with spicy mayonnaise for the classic version.
- Dynamite Style - Pile these with all the classic dynamite roll toppings for a bolder, spicier bite. Check out my Dynamite Sushi Bites recipe for the exact combo I use!
- Extra Crunch - Press toasted sesame seeds or crushed nori sheets directly into the rice before frying.
- Vegetarian Version - Top with avocado, cucumber, and a drizzle of spicy mayo instead of fish.
Save This Recipe! 💌
How To Make Crispy Sushi Rice Squares
Step 1
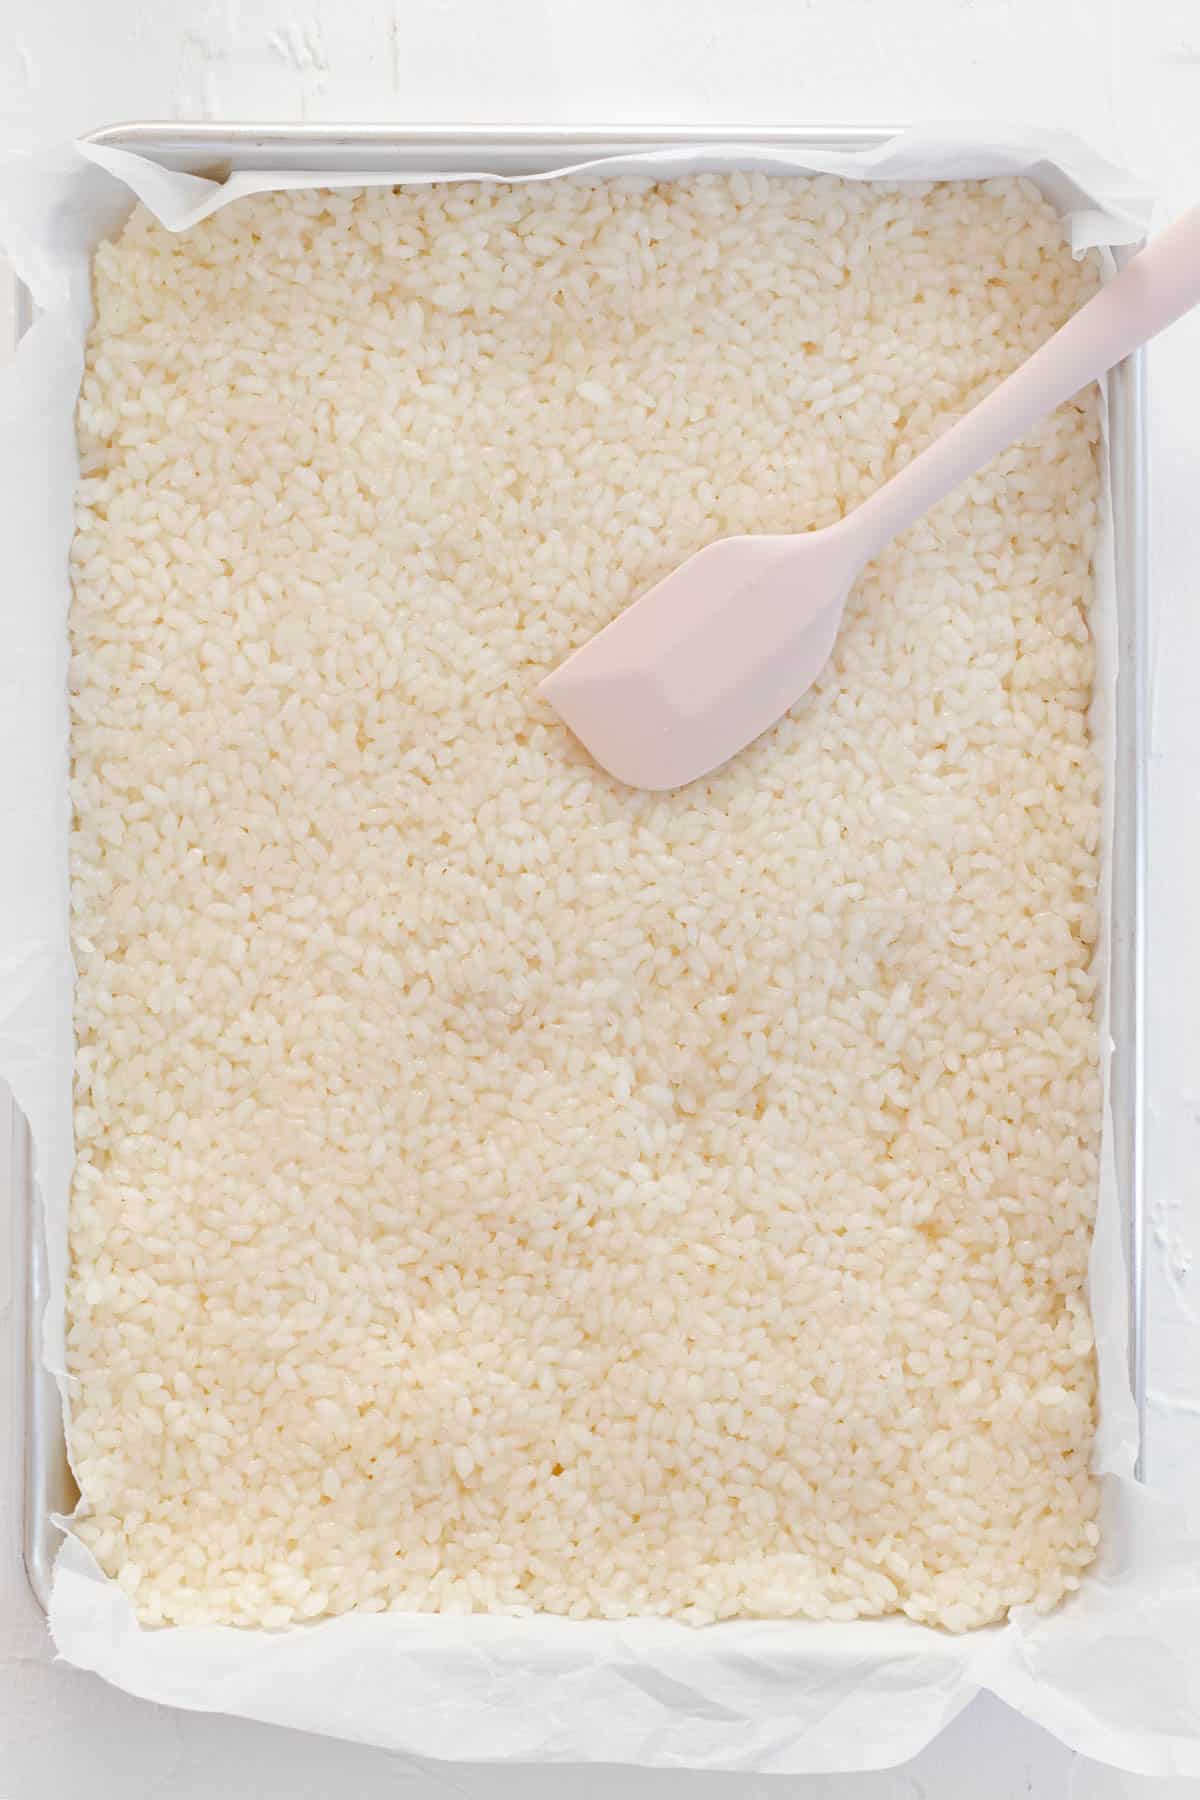
Prepare the sushi rice and let it cool to room temperature before pressing it into a quarter sheet pan that's been lined with parchment paper.
Step 2
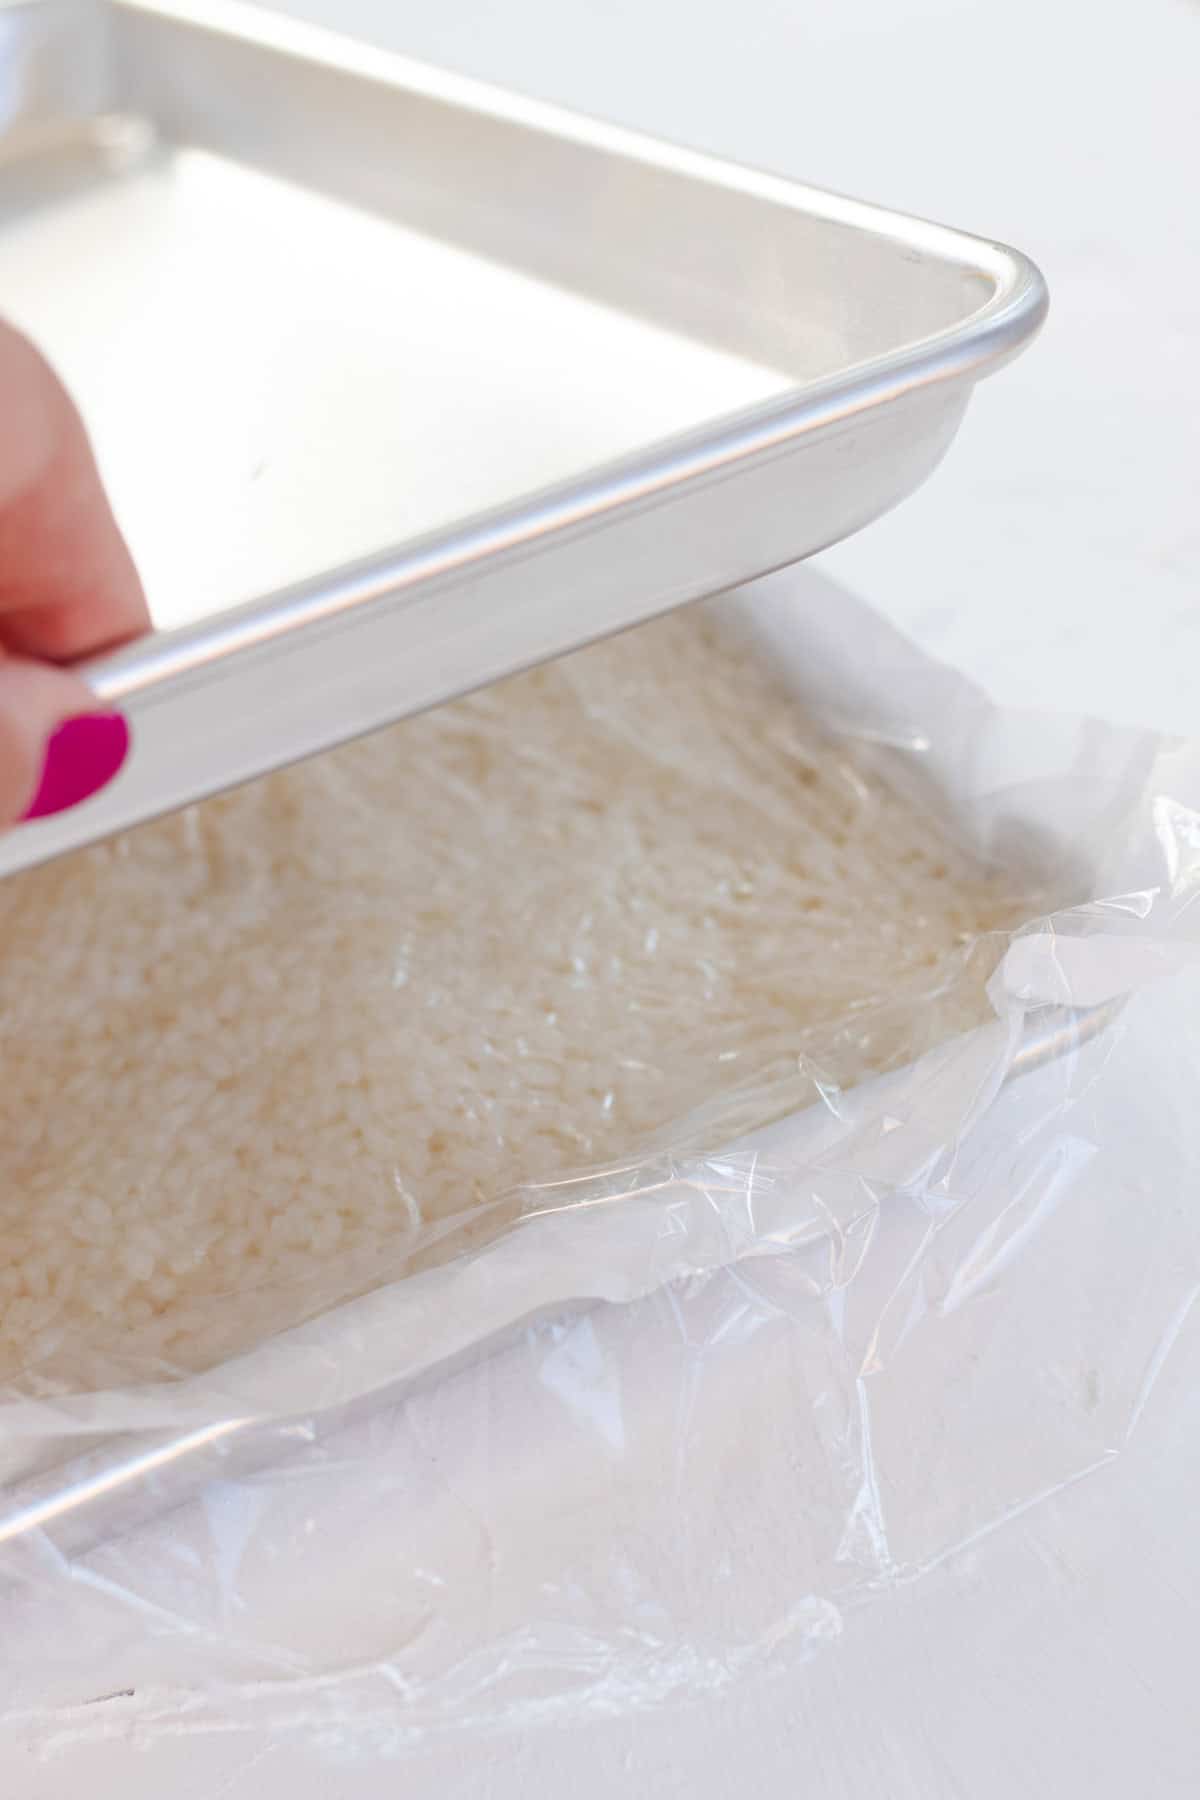
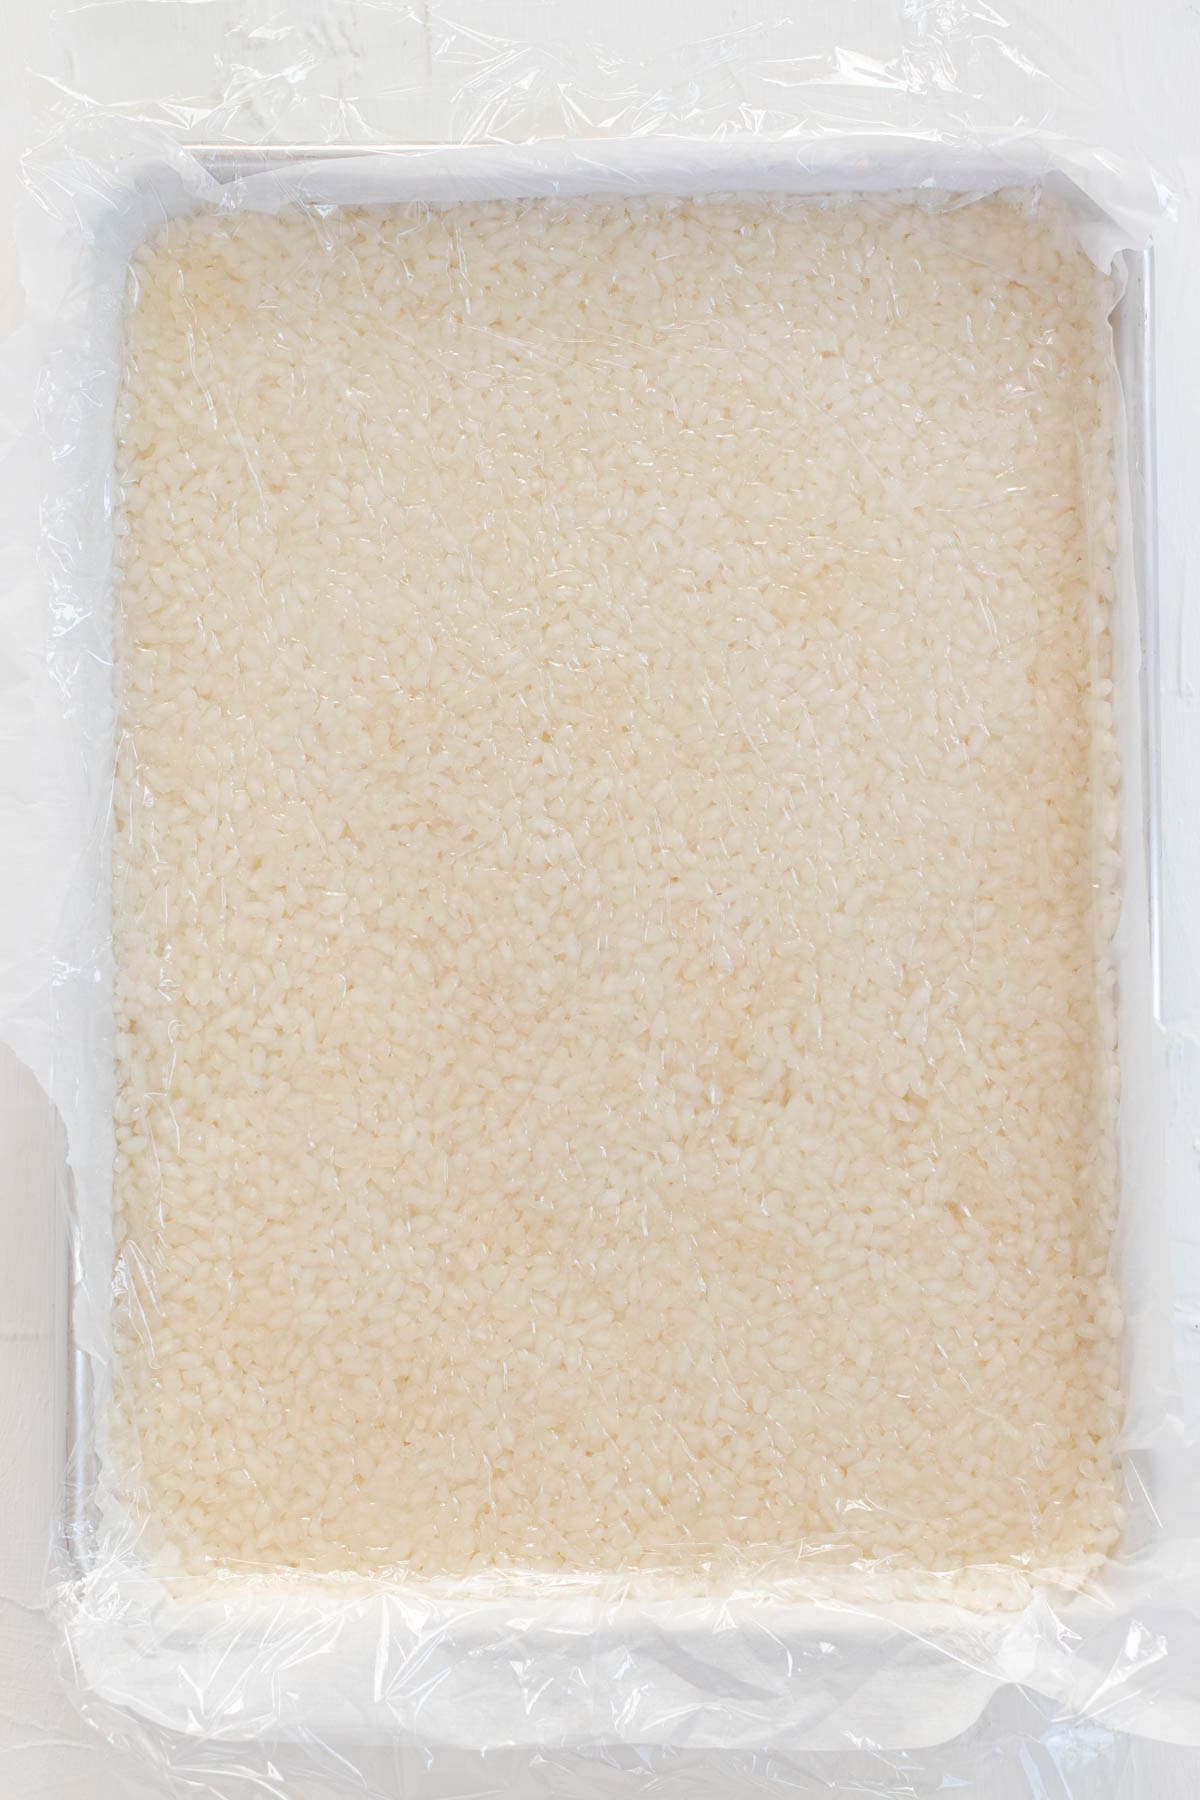
Cover the top of the rice with a sheet of plastic wrap and, using a second quarter sheet pan, press firmly to compress and pack the rice tightly.
Step 3
Transfer the rice to the fridge for a minimum of two hours to thoroughly chill. Avoid freezing the rice as a shortcut because it can change the texture.
Step 4
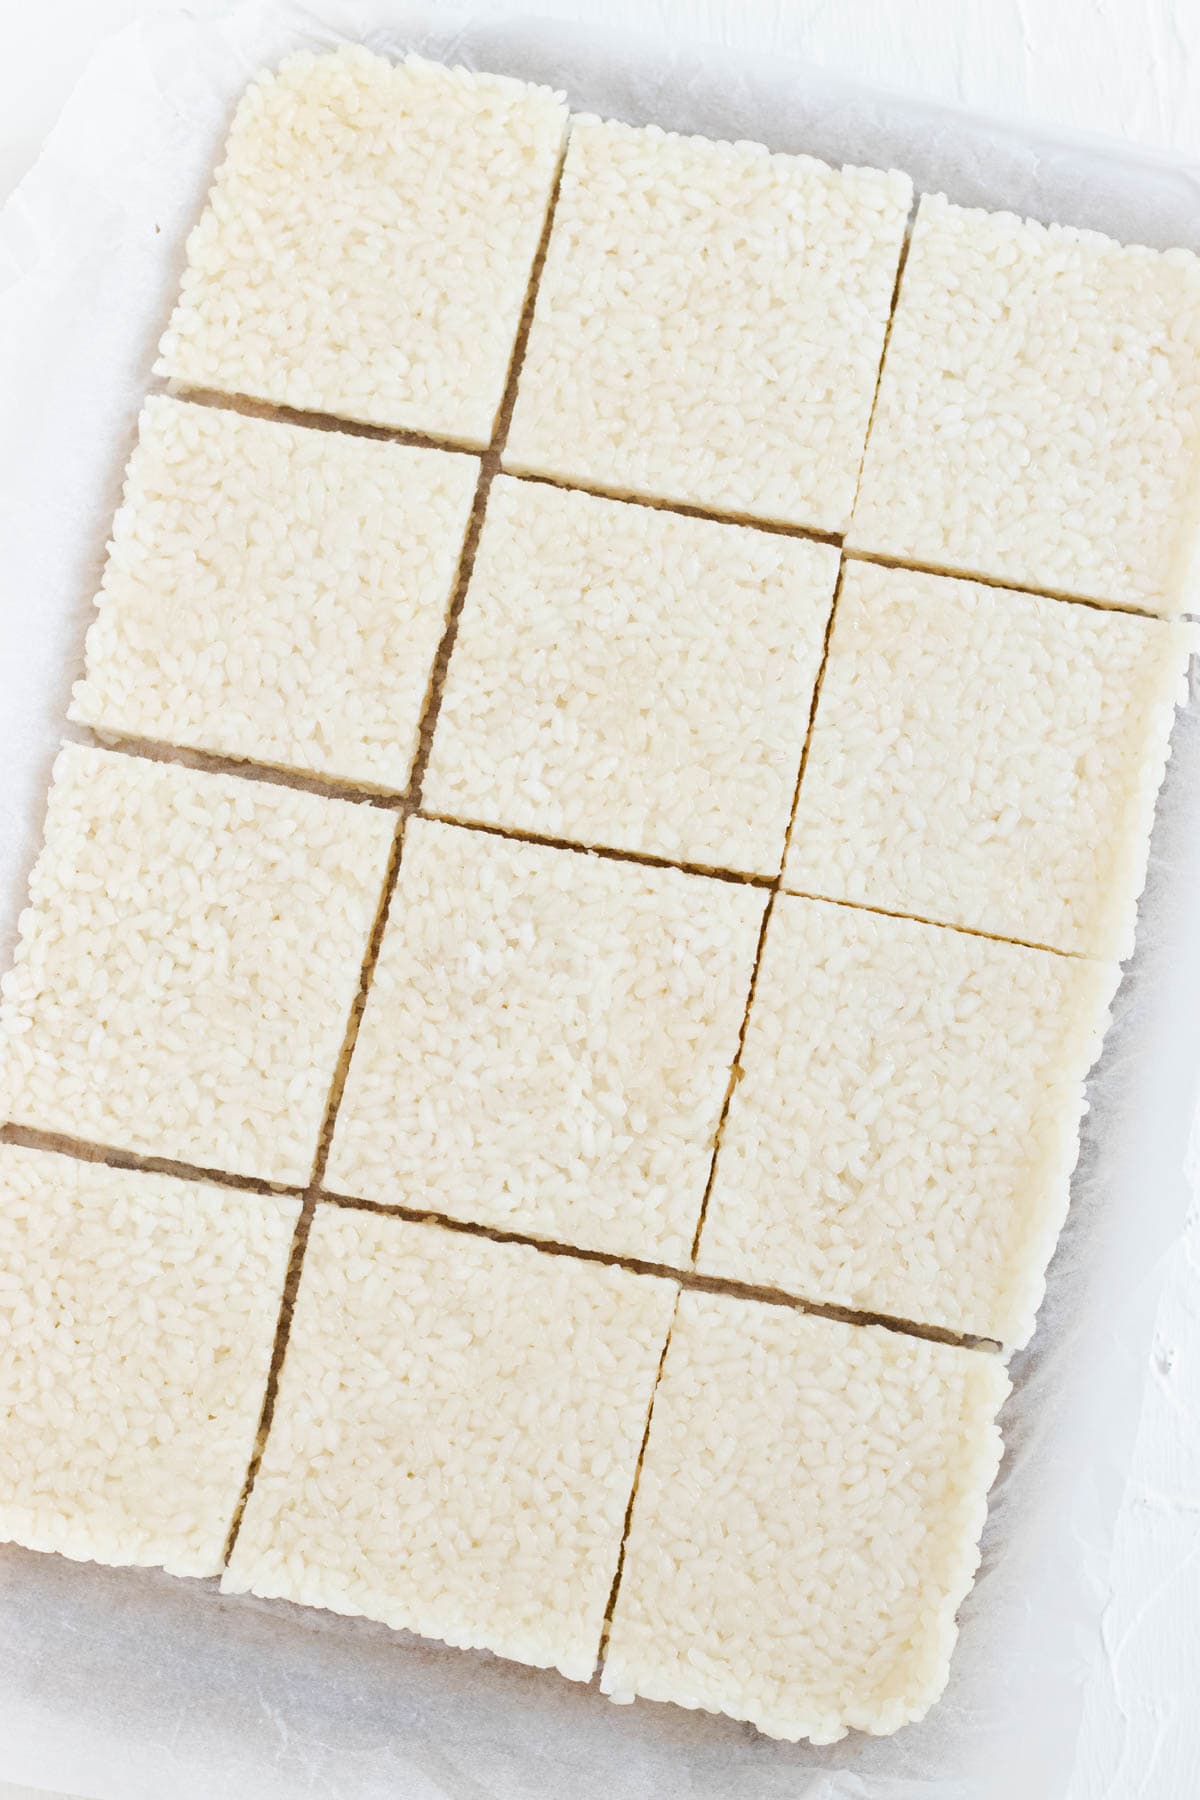
Once the rice is fully chilled and firm, turn it out onto a cutting board and cut it into 12 equal-sized squares.
Step 5
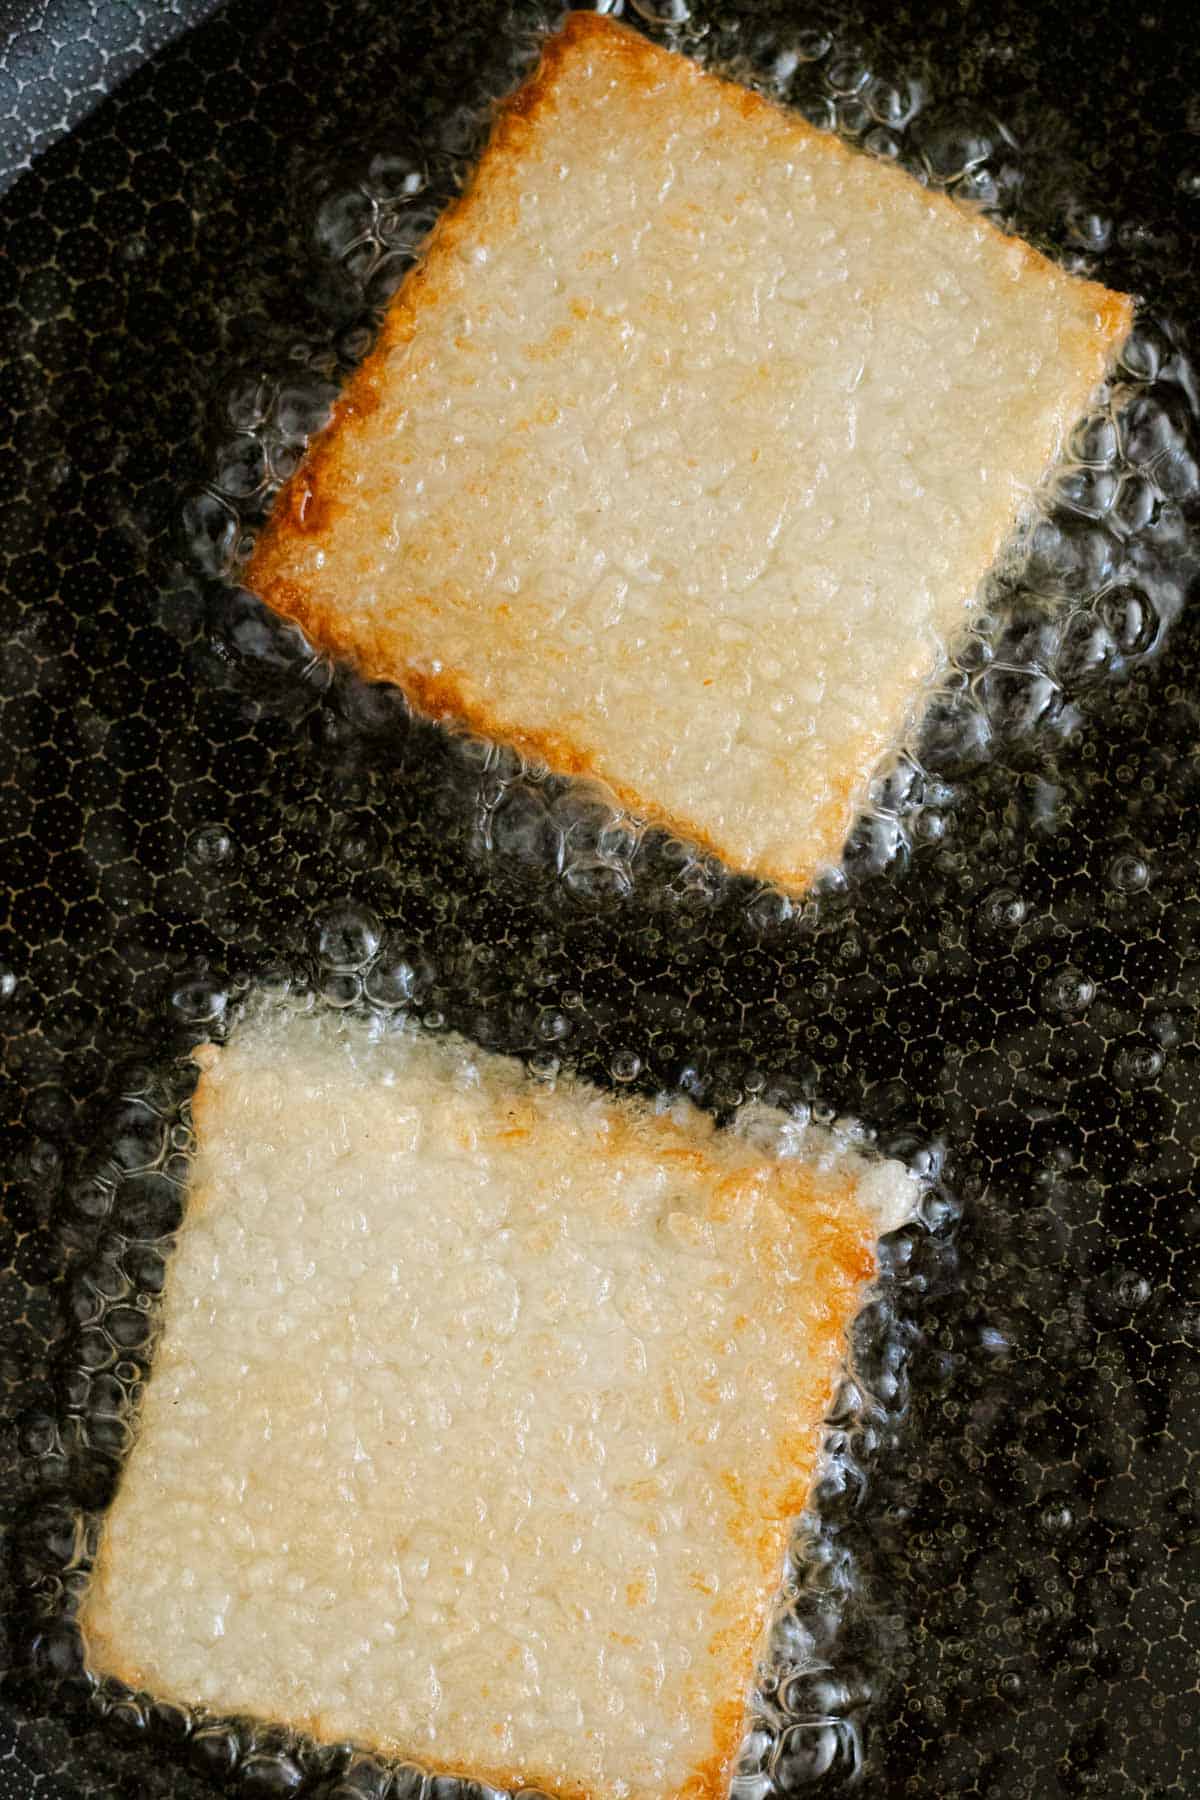
Heat a thin layer of cooking oil in a non-stick frying pan. Give the rice squares a quick fry for three to four minutes per side, until they are golden brown and crispy.
Step 6
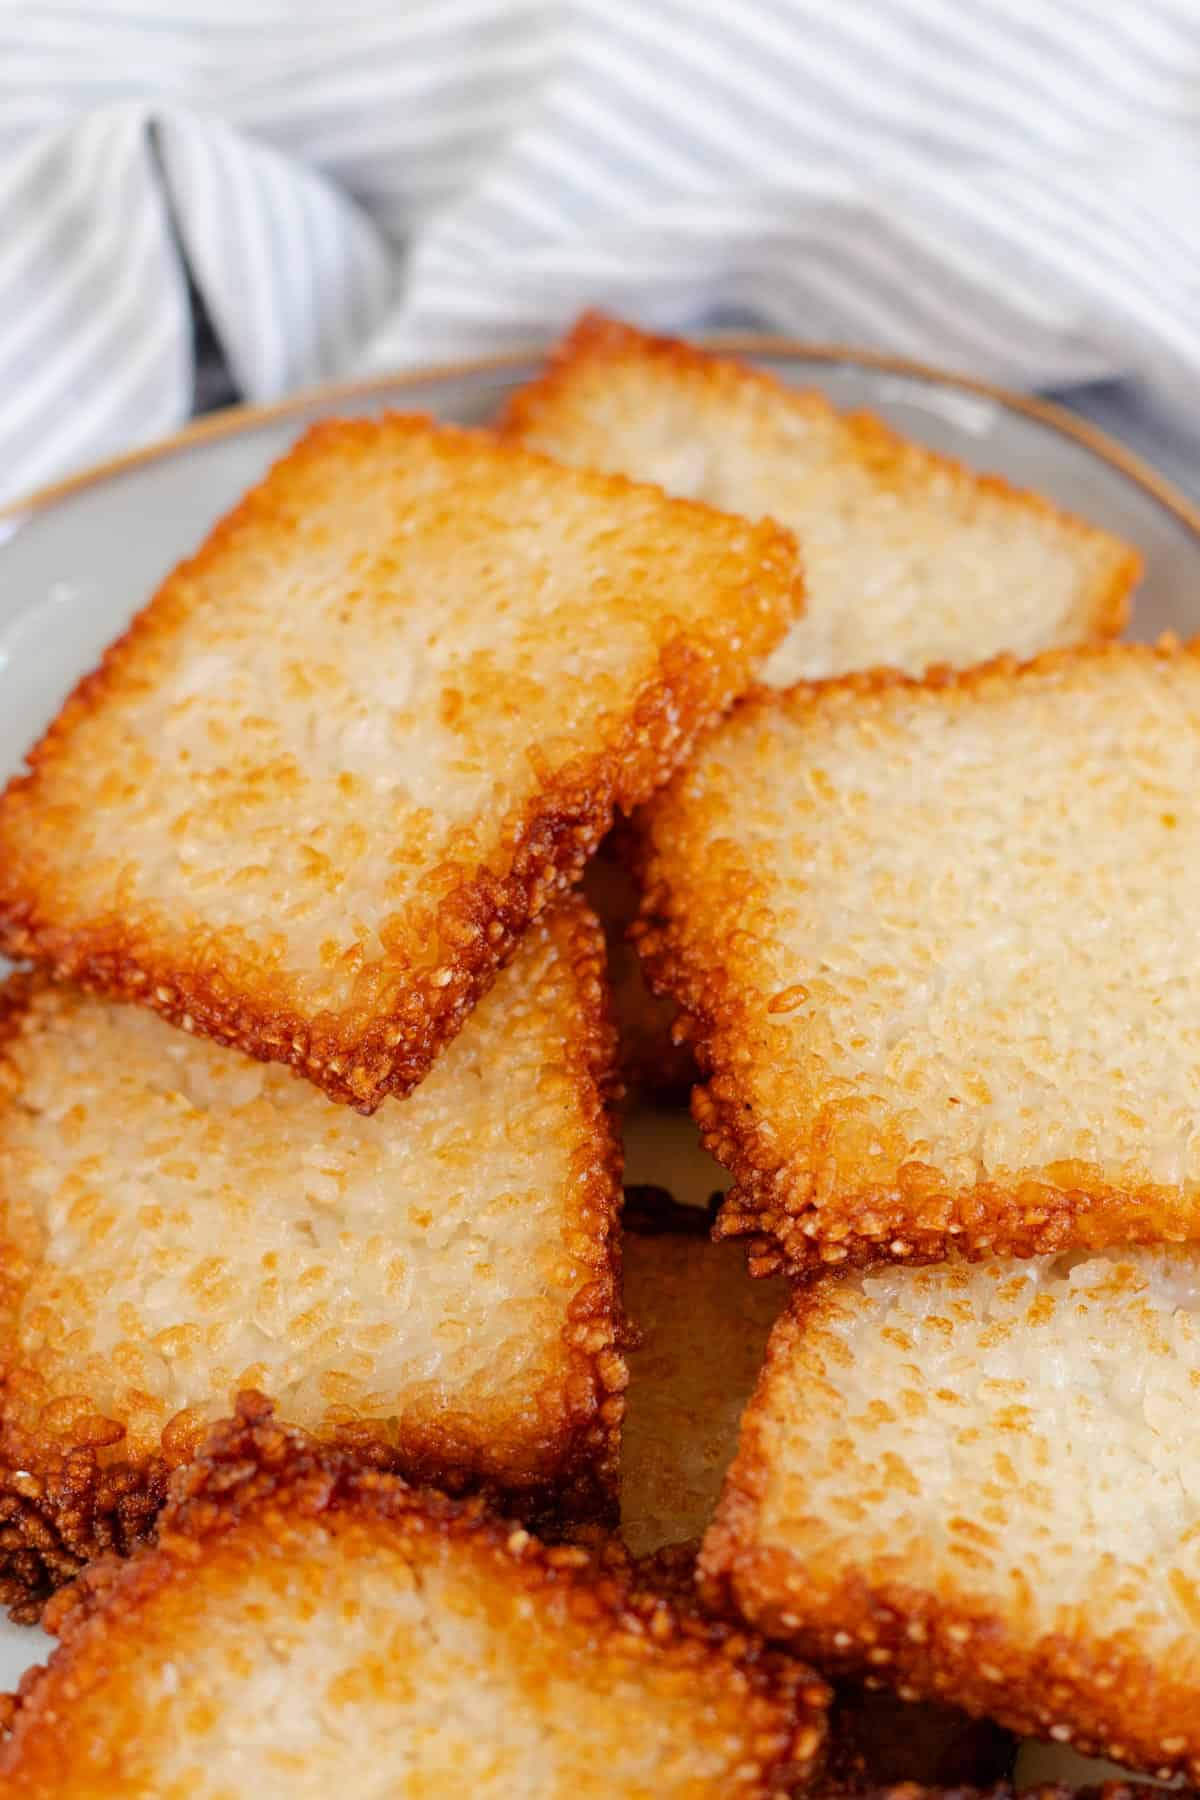
Transfer crispy rice squares directly to a wire rack or paper towel-lined plate to drain and cool slightly before topping and serving.
Expert Tips For Perfectly Crispy Rice Squares
- Don't skip the chill time. Rice that isn't fully firm will fall apart the moment it hits the hot oil.
- Give the squares room in the pan. Overcrowding lowers the oil temperature and results in soggy rice squares.
- Use a non-stick pan when frying. Frying these rice squares in stainless steel or cast-iron pans can lead to the rice squares sticking and falling apart.
How To Store & Reheat
Store leftover crispy rice squares (without toppings) in an airtight container in the fridge for up to 3 days. To reheat and bring back the crunch, pop them in a hot skillet with a small amount of oil for a couple of minutes per side.
Frequently Asked Questions
Short grain sushi rice is the best choice because its higher starch content helps the grains stick together, which is what allows these crispy rice squares to hold their shape while being pressed and fried.
This usually means the rice wasn't chilled long enough before cutting and frying. The squares need to be completely firm all the way through, so give them a full 2 hours or more in the fridge, and make sure the rice is pressed firmly into the pan to begin with.
Yes! You can press and chill the rice up to a day in advance, then cut and fry it right before serving so it's crispy and warm.
You can air fry them for a lighter version with less oil (line the air fryer basket with parchment paper and spray the squares lightly with cooking spray to prevent sticking). Pan-frying will give you the most even, deeply golden crust, though.
Classic toppings include spicy tuna, salmon, or avocado, but they're versatile enough for pretty much any sushi topping you'd like! Don't forget to include a drizzle of spicy mayonnaise and eel sauce. I've also got a Dynamite Sushi Bites version coming next week that piles on all the classic dynamite roll toppings, so keep an eye out for those!
More Appetizer Recipes You'll Love
Looking for more appetizer recipes like this? Try these:


If you made these Crispy Rice Squares or any other recipe on my website, please leave a 🌟 star rating, a 💬 comment and share it on Pinterest, Instagram and Facebook!
📖 Recipe
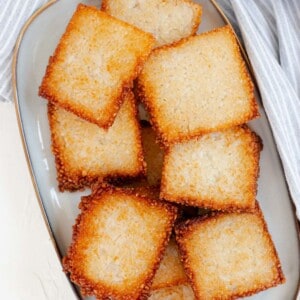
Crispy Sushi Rice Squares
↑ click the stars to rate this recipe ↑
Print Recipe Pin RecipeIngredients
Sushi Rice
- 2 cups Water
- 1 ½ cups Sushi Rice (or Calrose rice)
- ¼ cup Rice Vinegar
- ¼ cup Maple Syrup
- 1 Tablespoon Neutral Tasting Oil
Crispy Rice Squares
- High Smoke Point Frying Oil like canola, vegetable, avocado, or grapeseed oil
Instructions
Make the Sushi Rice
- To make the sushi rice for these crispy rice squares, cook the sushi rice in water and toss it with the rice vinegar, maple syrup, and one tablespoon of oil rice seasoning until it's glossy and evenly seasoned. Let the rice sit until it cools to room temperature. 👉 See detailed instructions on my full sushi rice recipe here
Make the Crispy Rice Squares
- Line a quarter-size sheet pan (or 9x13 baking dish) with parchment paper. Transfer the cooled, seasoned sushi rice to the pan and press firmly into an even layer using a spatula or the back of a spoon. Cover the top of the rice with a piece of plastic wrap and, using a second quarter sheet pan, press firmly to tightly pack the rice. Leave covered and refrigerate for a minimum of 2 hours.
- Once chilled, carefully lift the rice out of the pan using the parchment paper and cut into 12 equal-sized squares.
- Heat a thin layer of oil in a non-stick frying pan over medium-high heat until shimmering. Add the rice squares in a single layer, leaving space between each piece, and fry for 3-4 minutes per side until they are a deep golden brown and crisp. Transfer to a wire rack or a plate lined with paper towel to drain any excess oil and cool slightly.
- Add desired toppings and serve warm or cold.
Save This Recipe! 💌
Notes
- Topping Ideas: The classic spicy tuna topping or try other favorites like California roll filling, dynamite roll toppings, salmon, or avocado. And for sauces, use my spicy mayo and eel sauce combo for a classic drizzle.
- Use short-grain sushi rice (or Calrose rice). Long-grain rice doesn't have enough starch to hold the squares together.
- Press the rice firmly and evenly into the pan. Loosely packed rice will fall apart when fried.
- Refrigerate, do not freeze. Chill for at least 2 hours, or overnight, before frying. Freezing will change the rice's texture and can make it crumbly.
- Fry in batches. Overcrowding the pan drops the oil temperature and can cause soggy rice squares.
- Keep leftovers in the fridge for up to 3 days. Reheat in a skillet, oven, or air fryer, or serve cold.
Nutrition
The nutritional information provided is an estimate based on an online nutrition calculator and it will vary based on the ingredients that you use.



Jessica says
These crispy rice squares are to die for! They are so delicious topped with spicy tuna or my personal favortie, all the fillings of a dynamite roll!!