
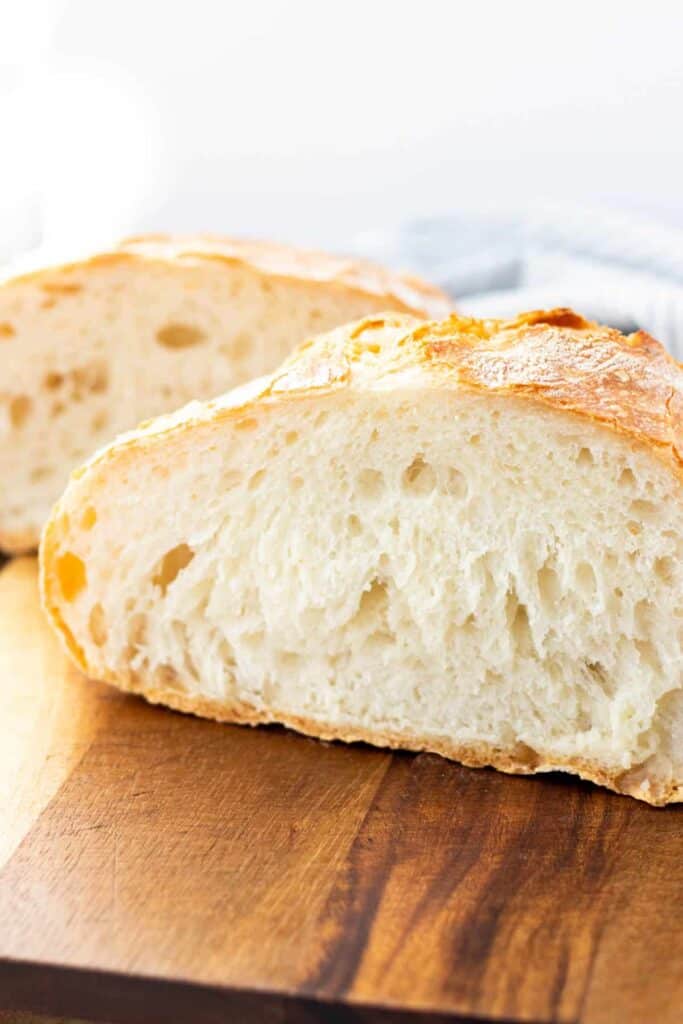
If this is your first time making no knead bread, make sure that you read this entire article. I am not here to bore you to death with a story about bread. This article is the complete guide of how to achieve an artisanal loaf of bread in your own home. It is packed full of everything you need to know about the process and how to produce a perfect final product. Fair warning, it's long. So grab a snack, bring a drink, and learn all about how to make the most perfect No Knead Bread!
Jump to:
Looking for ways to use this bread? It works wonderfully in my Christmas morning casserole, for these classic club sandwiches, or to make these delicious apricot brie chicken sandwiches!
First of all, you might be wondering "no knead, why is it called no knead?" Well, unlike traditional bread recipes, you literally couldn't knead it if you tried. This dough has a lot of water in it and is extremely sticky. The amount of water provides adequate moisture for the yeast to ferment and for fermentation to take place, and for this to happen, it needs to rest for long periods of time.
Let's start by answering a few FAQ's
What does traditional kneading do for the bread?
Traditional kneading gives the dough strength and forms strands of gluten in the bread. The formation of gluten is what makes the bread puffy and stand up. Obviously with not kneading the bread you can't rely on traditional methods to form the gluten. Instead the gluten in no knead bread is formed during the long fermentation time, making no knead bread dependent on the long fermentation time and gentle handling.
What happens if you knead no knead bread?
It will resemble a brick.
Jokes aside though, the dough will be incredibly dense and it will take forever to cook.
Back to what we talked about above though. Regular bread recipes, that require kneading, also have about 8x the yeast in them. All that extra yeast makes the bread rise faster and allows for kneading of the dough to speed up the gluten process. Also, in regular bread recipes, after the rise, you have to "punch down" the dough to release the gasses in the bread. This results in the final product having many many more smaller "bubbles" in the texture of the bread.
No knead bread relies on the long fermentation process and gaseous bubbles that are formed during that process, making it a much more delicate bread to work with. Unlike regular bread, you do not want to "punch it down" and release the gasses trapped inside. Instead, you will have to try your best to preserve these bubbles. This will result in a bread that has more air pockets and bigger "bubbles" in the final texture of the bread.
Long story short; Do not knead no knead bread, as the yeast content is greatly less than a regular loaf, and it will destroy the purpose of all of the long resting times.
How long can you let no knead bread rise?
These times are not set in stone. No knead bread can rise much longer than the directions in the recipe.
The first rise can be left up to 18 hours before starting the process of folding/shaping the bread. Each hour-long wait time outlined in the recipe can be left up to 2 hours or more before moving on to the next step. No knead bread is incredibly flexible with resting times.
You should note that the longer the bread is rested, the more fermentation will take place. This could result in a stronger tasting final product, but it is all delicious!
Why is my no knead bread dense?
You kneaded it, didn't you?
There are a few reasons why your bread might have turned out dense.
Firstly, your yeast might be dead. Yeast is delicate and can be killed in the first step of bread making if the water is too warm. Your "lukewarm" water should be no warmer than 110°F before the yeast is added to it. If you are unsure, or unable to measure the temperature of the water, use water that is room temperature.
Second, if your yeast is not the culprit. Then it is likely that the dough was not handled carefully enough. Dough is resilient, but you do want to do your very best to refrain from flattening or popping the air bubbles that were created during the fermentation/rise times.
Cost per Loaf
This is kind of cool to work out.
Because of the small amount of ingredients used to make this no knead bread, it actually is incredibly cheap to produce!
Obviously this will vary depending on where you live. These prices reflect the prices in our area in Canada.
We buy 10 kg bags of flour from Costco and the all purpose flour goes for about $7.00/bag here.
We buy our yeast in bulk, but I am using the active dry yeast packets for this example. They are sold in a sleeve of 3 packets, each packet containing 2 ¼ teaspoons of yeast. These packages sell for around $2.50/sleeve.
So, out of each single package you'll get 9 loaves of bread… NINE… per pack. (that's 27 total loaves if you used all 3 packages to make no knead bread…)
As for the flour, each cup of flour should weigh around 120 grams. So, 120 grams x 3 cups = 360 grams per loaf.
One 10kg bag of flour works out to 10,000 grams. So, 10,000 grams divided by 360 grams = 27 loaves.
So one 10kg bag of flour and one sleeve of active dry yeast, will produce TWENTY SEVEN loaves of bread.
$7.00 (price of 10kg bag of flour) + $2.50 (price of sleeve (3 packets) of active dry yeast) = $9.50.
$9.50 divided by 27 loaves = $0.35 per loaf! That's right, one loaf of bread costs around 0.35 cents!!!
An important note about yeast
One more thing to note is that yeast should be stored in the refrigerator. Always. No matter what. Yeast is very sensitive to heat, air, and moisture. Keeping it in the refrigerator in a glass container or an airtight container will ensure that your yeast will stay active for a long long long time.
No Dutch Oven?
So, the reason that this no knead bread is baked in a dutch oven is that the dutch oven, with the lid, holds in moisture and provides equal and even heat distribution around the whole loaf. This is what keeps the bread moist and fluffy on the inside of the loaf. After the lid is removed, the crust has already "sealed" the moisture into the loaf. The additional cooking time with the lid off, allows the dough to build up a nice sturdy crust around the entire loaf.
You can try and emulate the environment of a dutch oven by using a cast iron skillet and aluminum foil. You will have to place the aluminum foil carefully around the loaf and parchment paper well still leaving room for the loaf to expand, and then tightly secure the foil around the cast iron skillet. This can be tricky with a hot skillet, so you will have to use oven mitts, and be careful not to burn yourself.
Or, another option you can try is baking the bread in an oven safe casserole dish or pot that has a lid. Please make sure that the casserole dish or pot is rated to at least 425°F. There also needs be be adequate room for the bread to rise, so the dish will have to be at least 4" deep.
If you are in the market for a dutch oven this is one that is similar to the one that I use and LOVE. Dutch ovens come in extremely useful for soups, stews, and one of the biggest bonuses, is it can go from the stove top straight into the oven, lid and all. I use my dutch oven probably 5 out of 7 days a week on average. It is definitely a cooking tool that I think every home chef should have!
Step-by-step how to make no knead bread
Step One- Mix the dough + 12 hour fermentation/rise
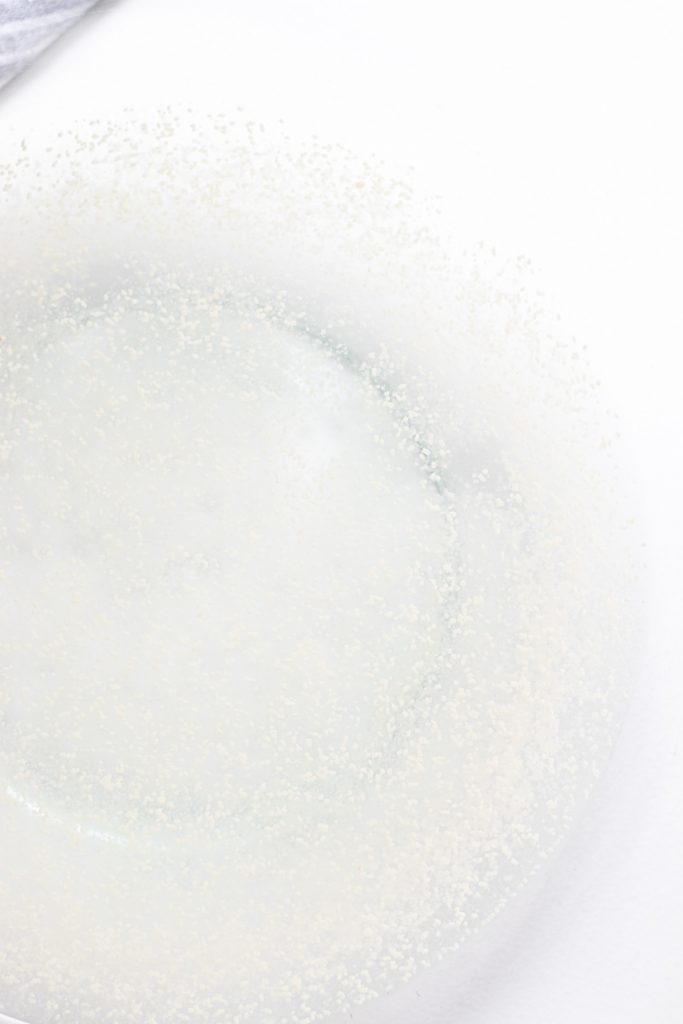
In a large glass bowl add the water, sprinkle the yeast on top of the water. Let sit for 2-3 minutes until the yeast blooms and the water turns cloudy.
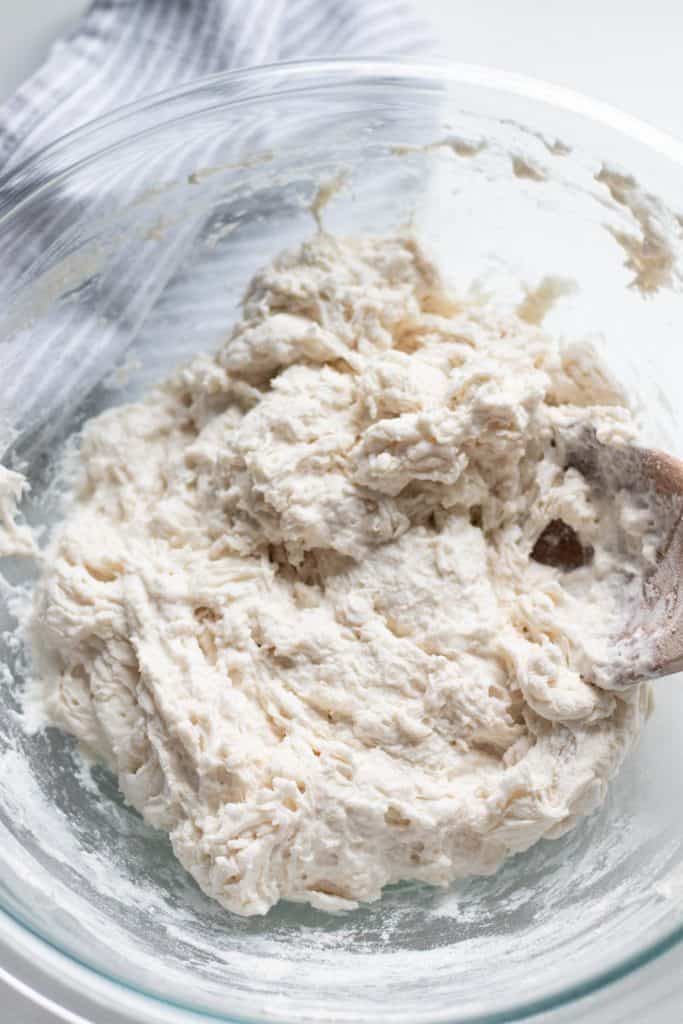
Now, add 3 cups of the flour on top of the water, sprinkle the salt on top of the flour. You never want to let the salt and yeast mix directly. If salt comes in direct contact with the yeast it can kill the yeast. Once the yeast is dead, there is no bringing it back.
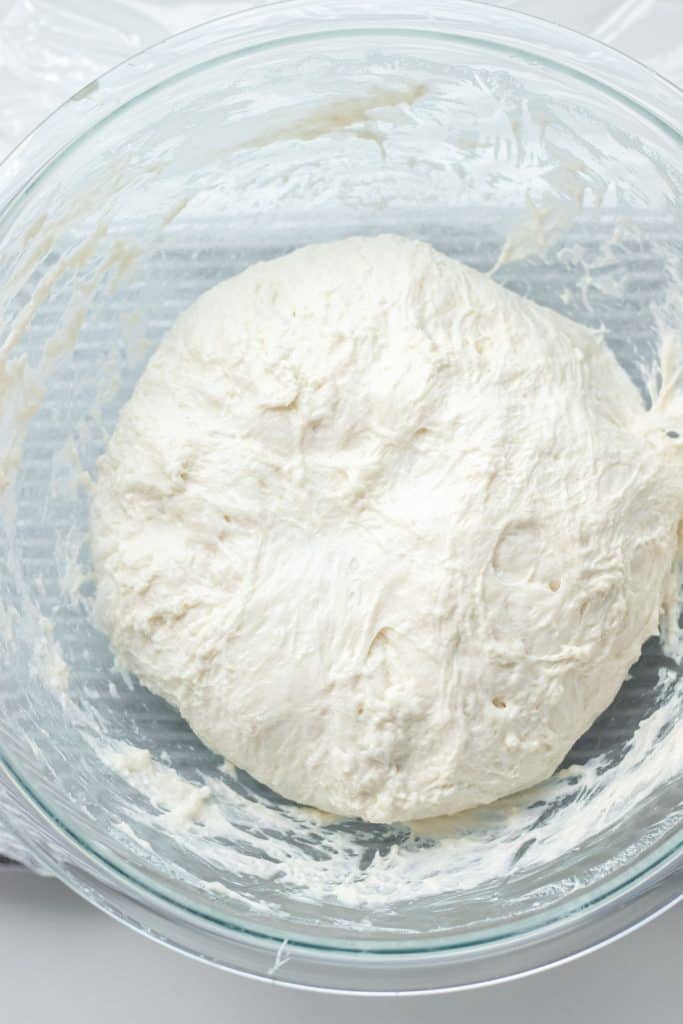
Stir with a wooden spoon until fully combined. The dough will be super sticky when combined.
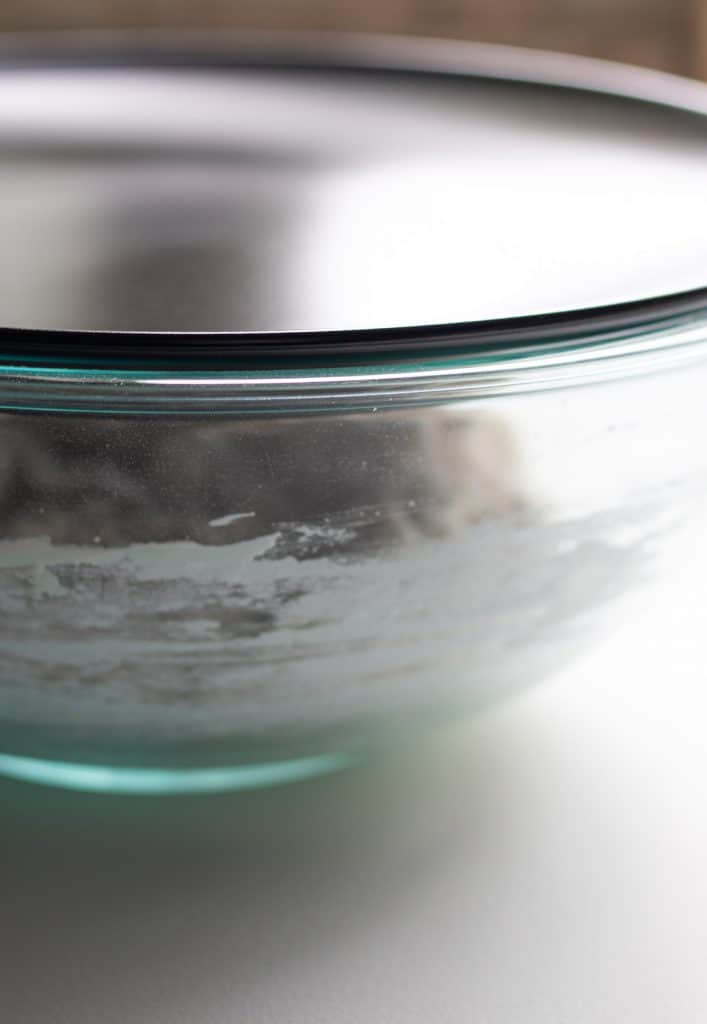
Place a large plate (big enough to fully cover the top of the bowl) on top and leave the dough in a warm place and let it rise for 12 hours. The warm place can be your countertop, as long as your house is not freezing cold the dough will be ok. If it is cold outside, avoid setting the bowl next to a window, as that could hinder the rise also.
Step Two- First Fold + 1 hour rise
DO NOT USE FLOUR when folding the dough in these next two steps.
The dough will be extremely sticky, but it will be workable with your fingers. Also, remember to be gentle with the dough. Being too rough or working the dough too much will make the air bubbles pop, and that could result in the bread turning out dense.
When the first rise time/fermentation has elapsed, carefully peel the plate off the top of the dough. The dough will likely have attached to the plate. If there is a lot of dough on the back of the plate, rub the dough on the back of the plate in small circular motions to pull it off, and place the extra dough in the bowl.
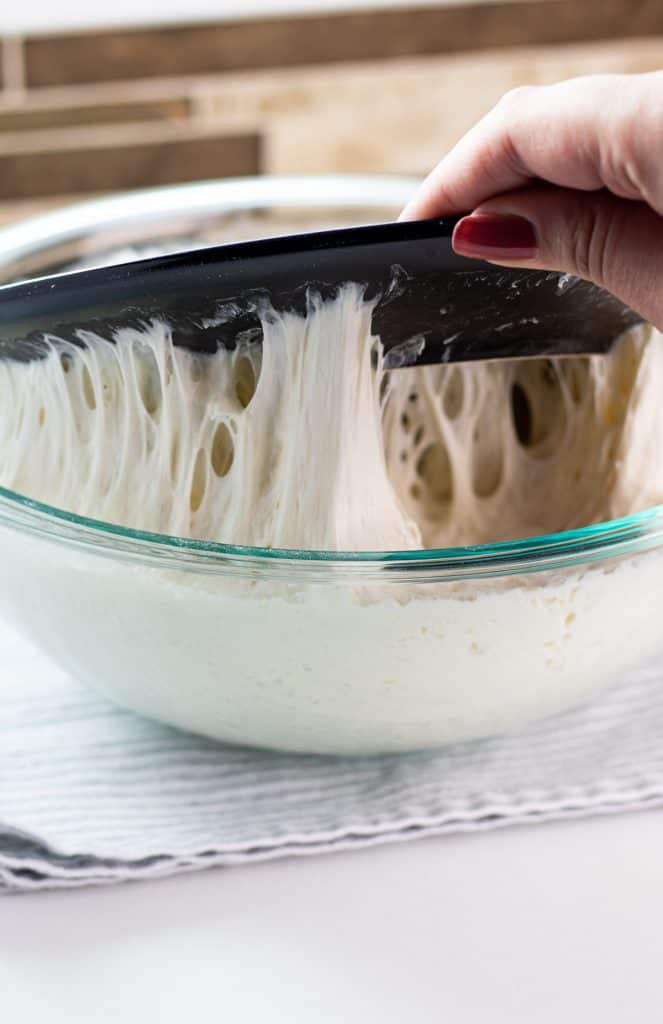
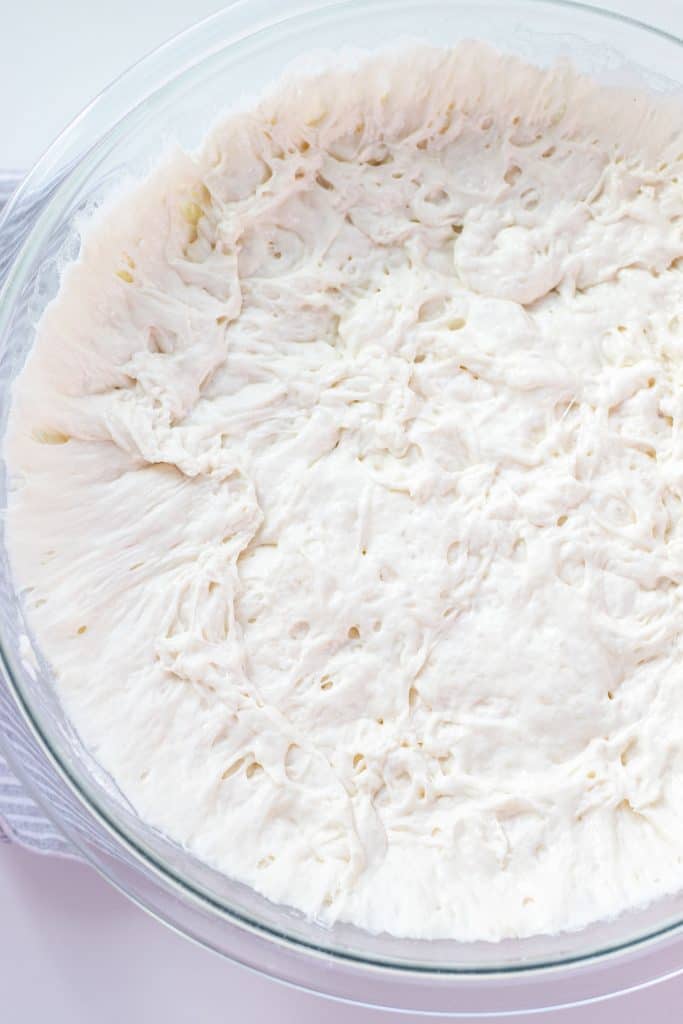
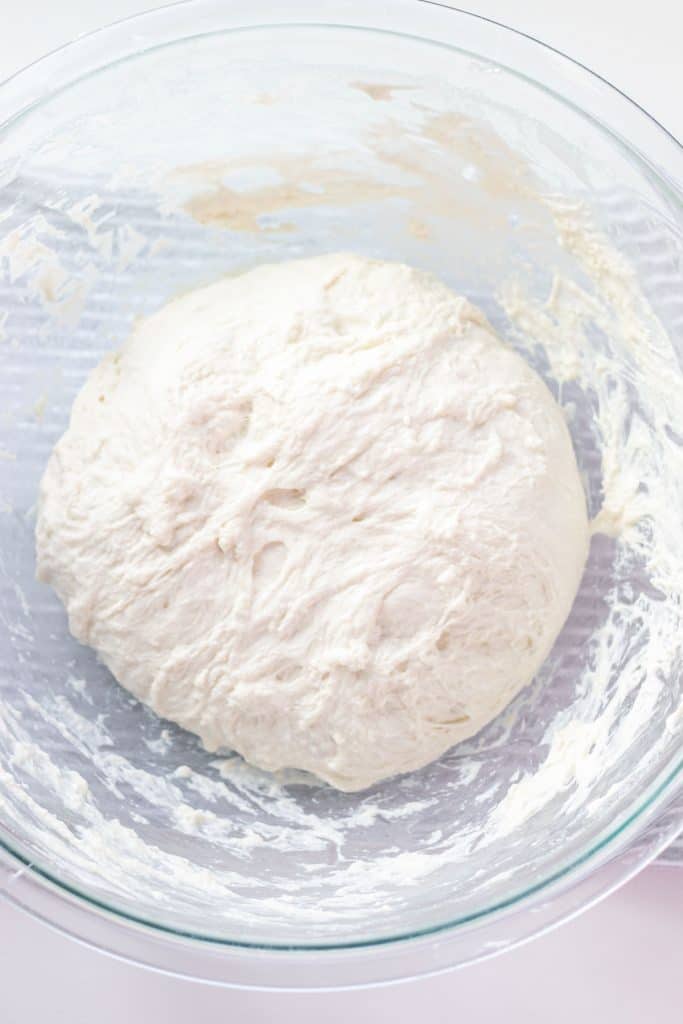
Now, using your fingers only, peel the dough away from the sides of the bowl first, folding it into the center as you work your way around the bowl. Wiggle your fingers under one side of the dough and pull/fold it into the center. Work around the bowl in this same fashion until the dough resembles a rough round loaf.
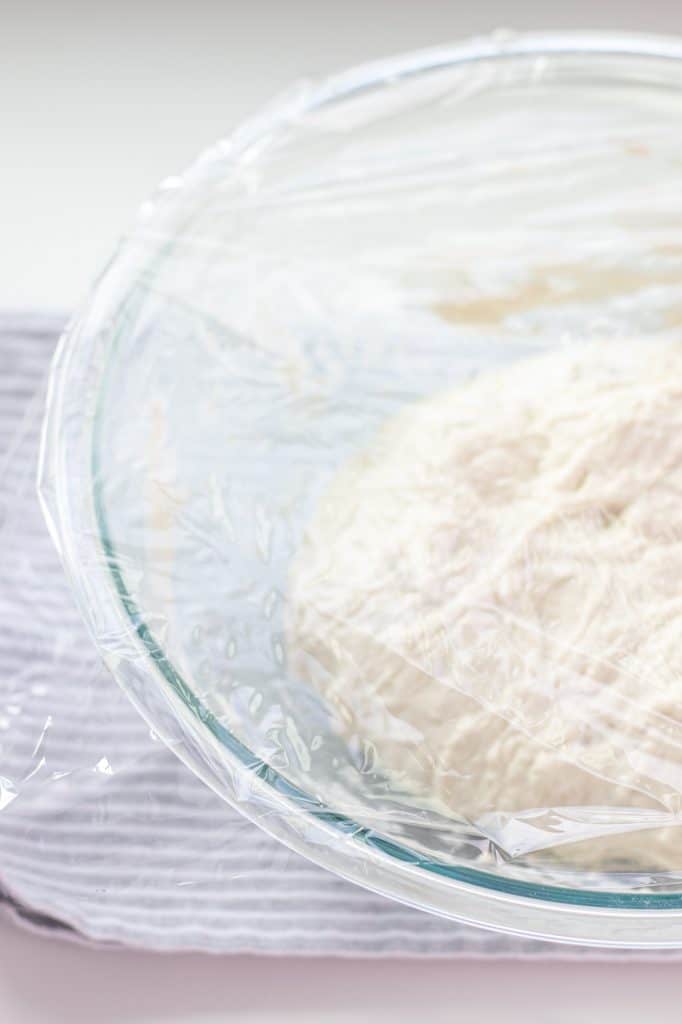
Cover the bowl loosely with plastic wrap and let sit for 1 hour.
Step Three- Second Fold + 1 hour rise
Repeat step two, working your way around the bowl, pulling/folding the dough into the middle.
Save This Recipe! 💌
Let the dough rise again, loosely covered for another hour.
Step Four- Shaping the Dough + 1 ½ hour rise
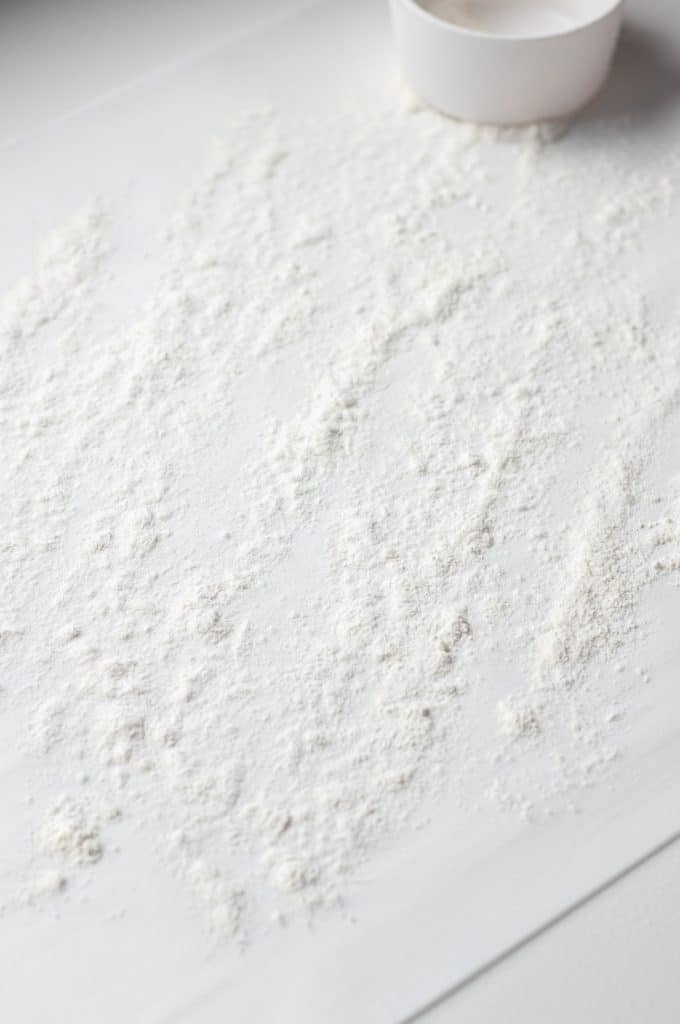
The dough is now ready to shape! Place a large piece of parchment paper on your work surface and dust generously with flour.
Very gently turn the dough out onto the parchment paper and do not put flour on the top of the loaf. To shape the loaf, using your fingers, pull/fold the edges of the dough into the center of the loaf, pinching them together if needed. Pulling/folding up the dough will move the flour up the sides of the loaf. If you find that the dough is sticking where it is in contact with the parchment use some extra flour as needed.
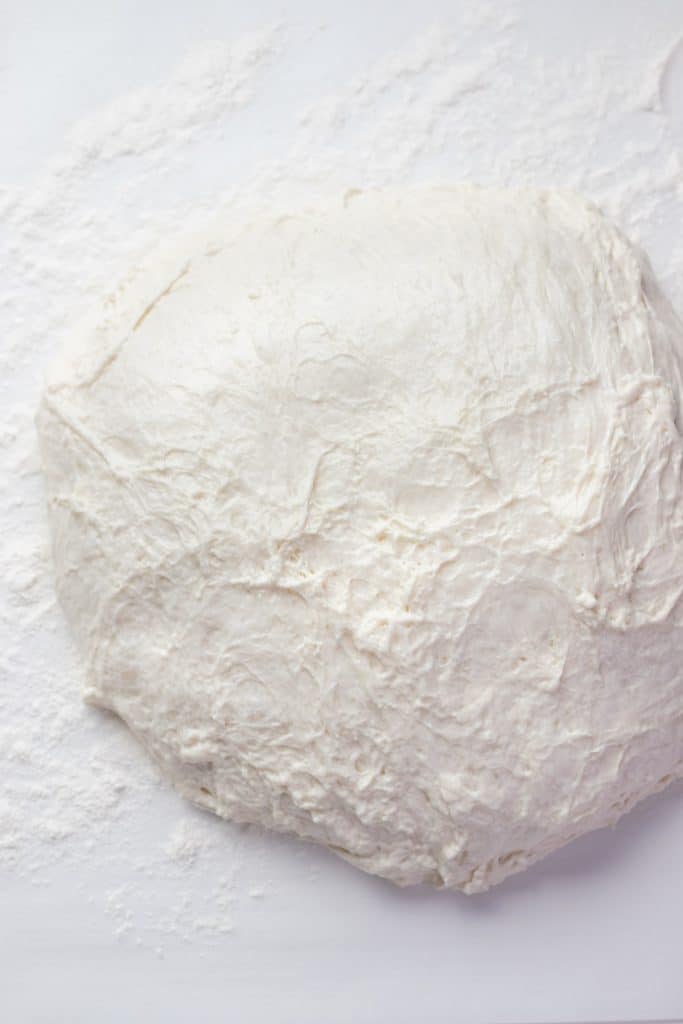
During the shaping step, take care and be careful not to destroy the fermentation bubbles in the dough.
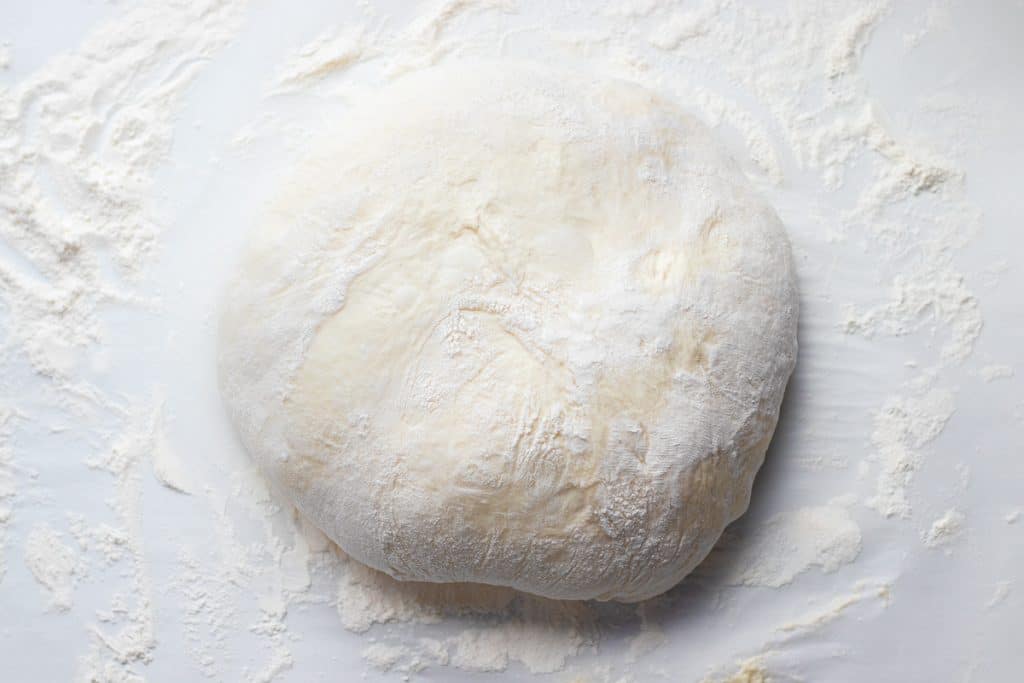
When the edges have been folded in, very very very gently, roll the dough over. This will place the seam side down and your dough ball will be fully floured. Brush off any excess flour surrounding the dough, it's ok if there is flour on the dough and a little left on the parchment, but you don't want giant excess piles of flour hanging around.
Once your dough is shaped into a loaf. Pick up the loaf by the sides of the parchment and place in a large bowl or colander to begin its last rise. Smooth out the edges of the parchment around the bowl by pulling the parchment straight or folding it down where there are creases. This is not a necessary step, but it will help avoid a crease being baked into the side of your bread.
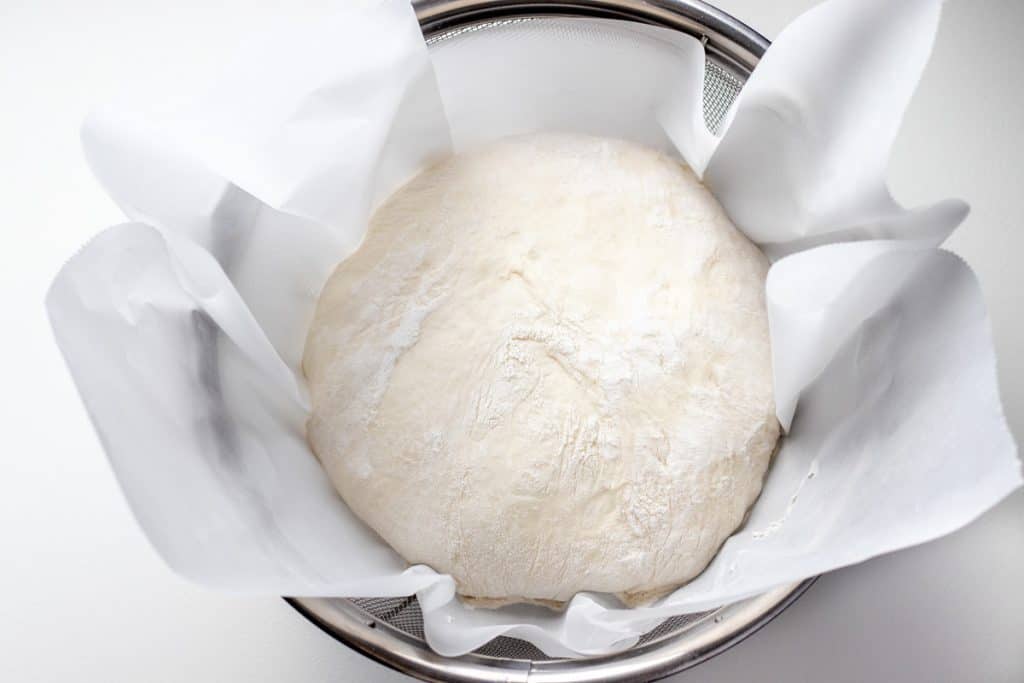
Loosely cover with plastic wrap and let it rise for another hour.
Trim down the edges of the parchment paper and leave about 5-6" of parchment paper around the whole loaf.
Step Five- Baking the Bread
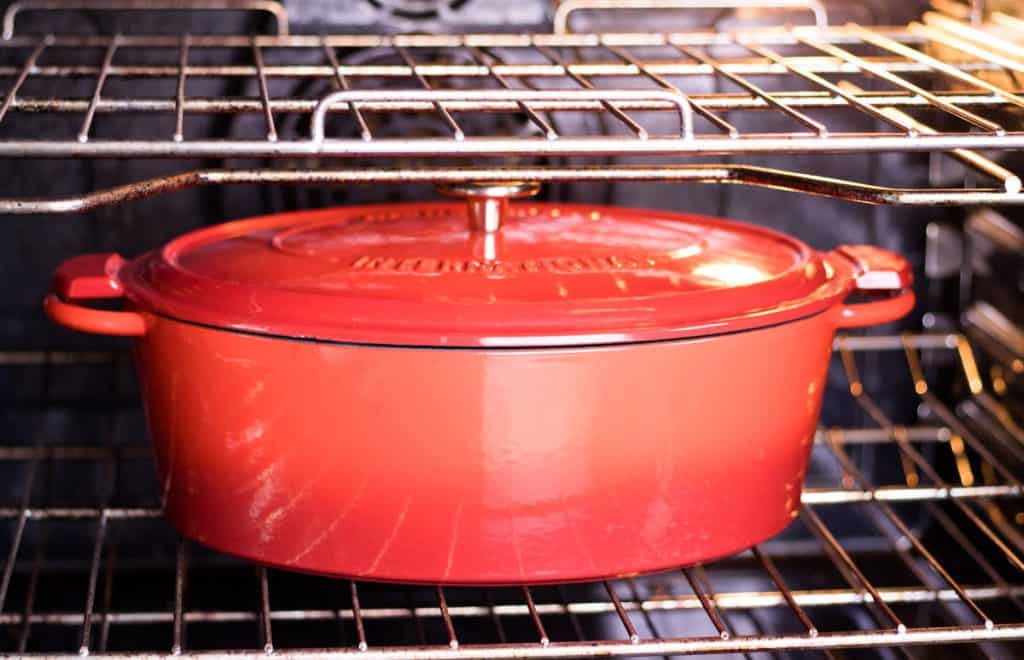
At the end of the hour rise time, preheat the oven to 425°F. Place your dutch oven into the cold oven and let the oven preheat for 15 extra minutes after 425°F is reached. (this should take about 25 minutes total)
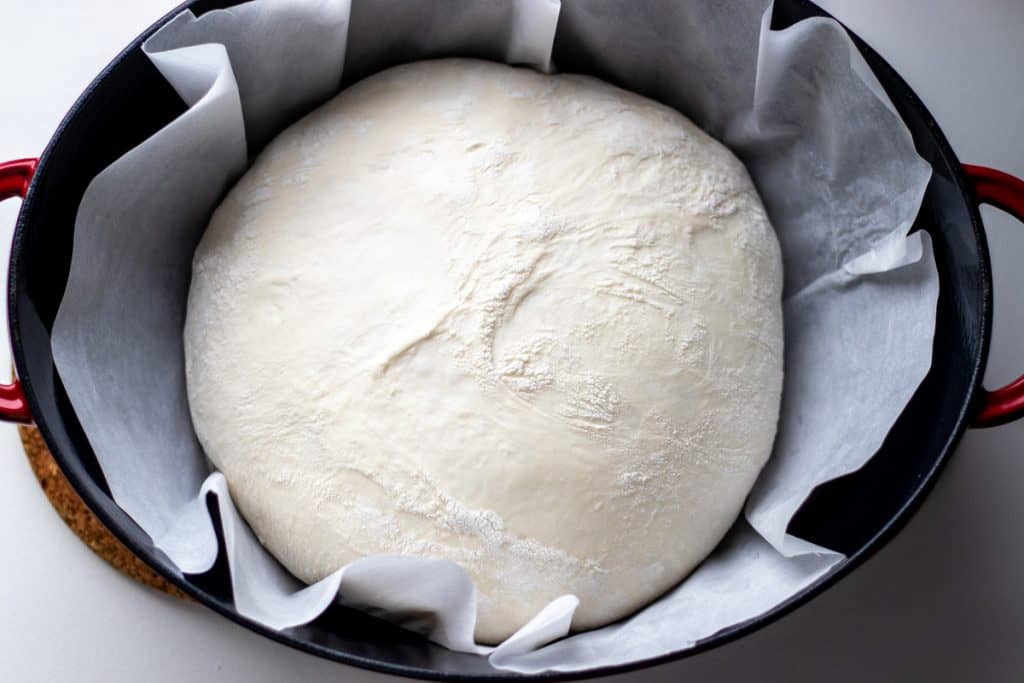
After the dutch oven is nice and hot, carefully remove it from the oven. Remove the plastic wrap from the top of the dough, and using the sides of the parchment paper, lift up the loaf of bread and place it into the dutch oven. Cover with the lid and bake for 30 minutes.
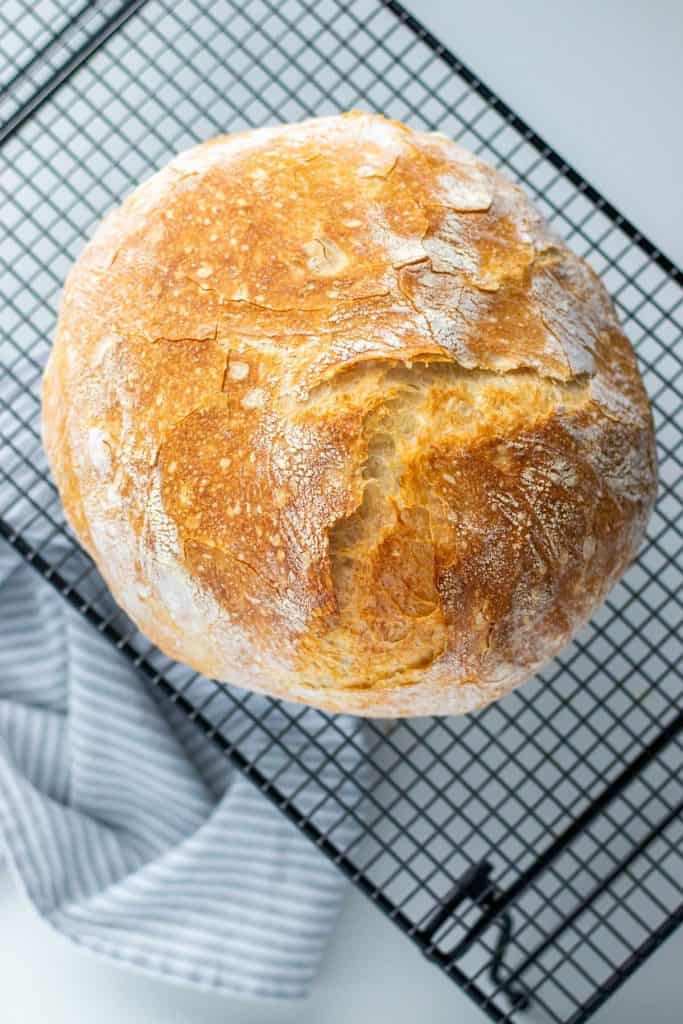
After 30 minutes has elapsed, remove the lid and bake the bread for an additional 20-25 minutes. Until the crust is a deep golden brown color.

At the end of the baking time, remove the bread from the oven and very carefully use the parchment paper to transfer the loaf to a cooling rack.
Note- parchment paper becomes dry when it is baked, and it will rip or tear easier. Make sure that your cooling rack is close by when making the transfer of the loaf to the cooling rack.
To check if the loaf is fully cooked, you can carefully pick the bread loaf up and knock on the bottom. If you can hear a hollow sound, the bread is perfectly cooked!
Once the loaf has been transferred to the cooling rack, slide the parchment paper out from underneath the bread. Leaving the parchment under the loaf of bread will result in a build up of moisture as the bread cools and could make the bottom of the loaf soggy.
You'll notice that as the bread cools, it makes a crackling noise. This is perfectly normal and it is due to the high moisture content in the dough vs. the high temperature it was cooked at. Resulting in a harmony of soft crackle noises as the bread cools and contracts.
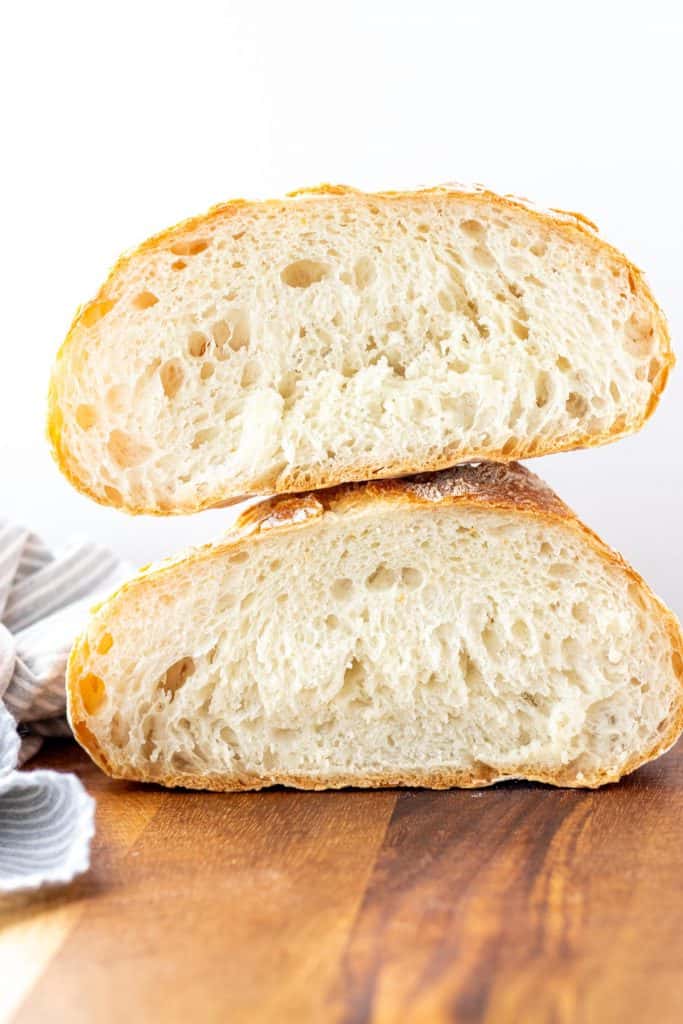
It is best to let the bread cool to room temperature before slicing.

Storage
This bread keeps best in a large zip top bag, kept at room temperature. Whenever you seal the bag, make sure to get as much air out as possible, without squishing the bread. The bread will last for 3-4 days at room temperature.
Reuse
I make my fair share of homemade bread regularly. Throughout the years I have discovered that the best storage for the bread is zip top bags and we all know that "single" use plastic is not the best option for the environment.
So, I have a little system I have started so I don't use a ton of plastic zip top bags. What I do is I have two large zip top bags that I have written "BREAD" on with a permanent marker. These bags live in my cupboard and I use them whenever I have homemade bread to store. In between batches I will shake out any excess crumbs left behind.
These bags last months and months before needing to be replaced.
Options, Options, Options.
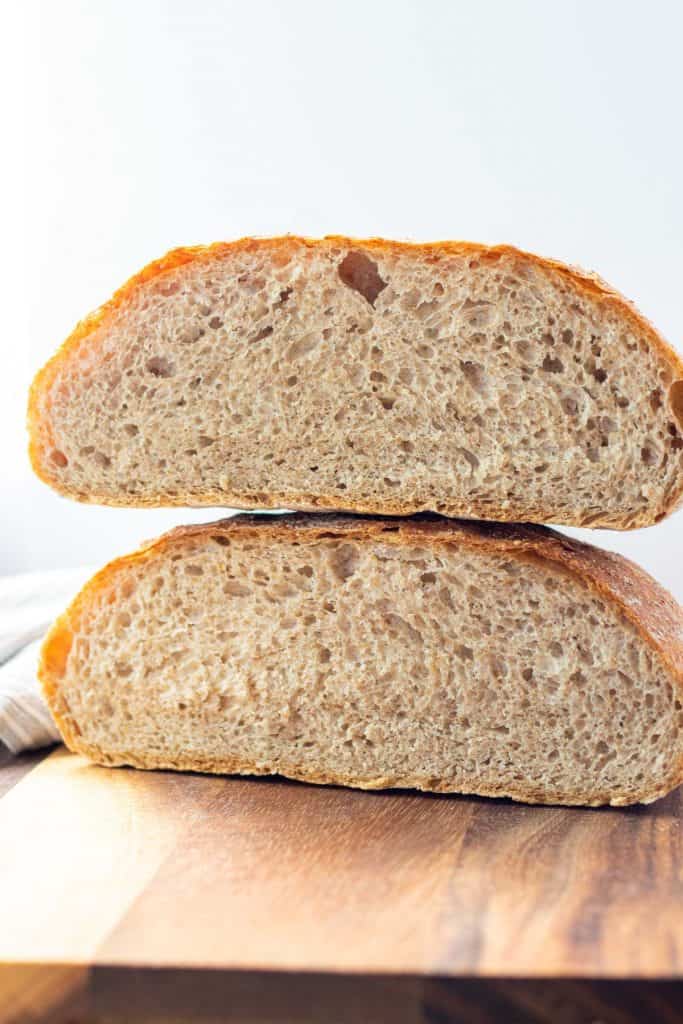
Alright, all of the instructions above are to achieve a loaf of white bread. Well what about whole wheat? Or cinnamon raisin?
For the sake of testing (and taste testing 😉), I went ahead and tested both of these variations with this same bread recipe!
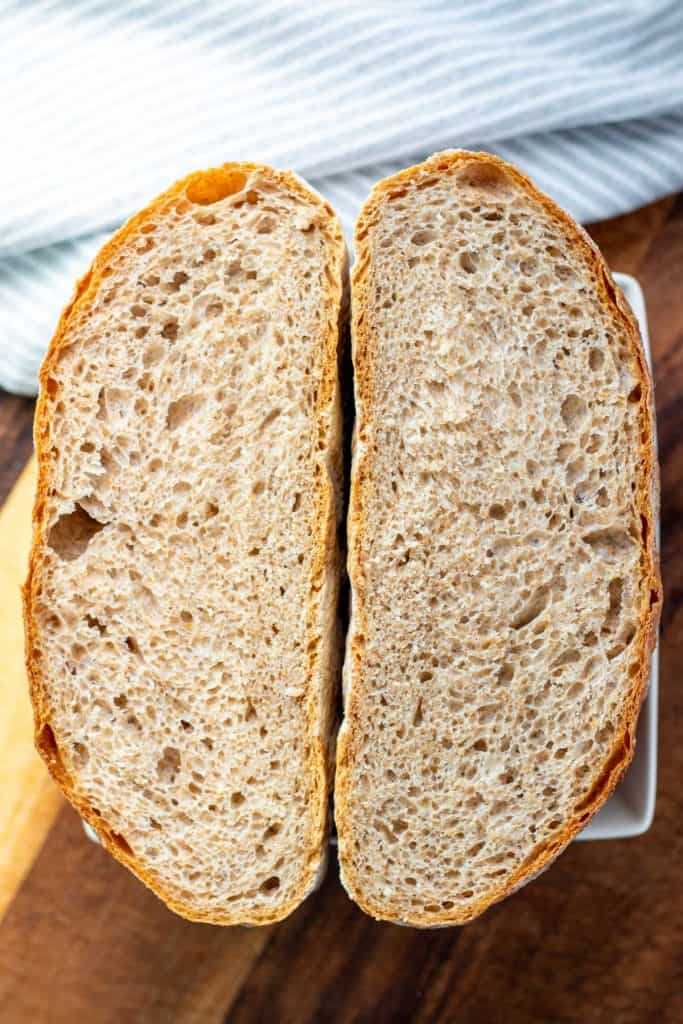
Whole wheat no knead bread
Ok, for the whole wheat loaf I used the same recipe and subbed the all purpose flour with whole wheat flour.
Increase the amount of water in the recipe to 2 cups, and use the same amount of yeast and salt.
Follow the instructions the exact same way, and boom, you have got your self an artisanal homemade loaf of whole wheat bread!
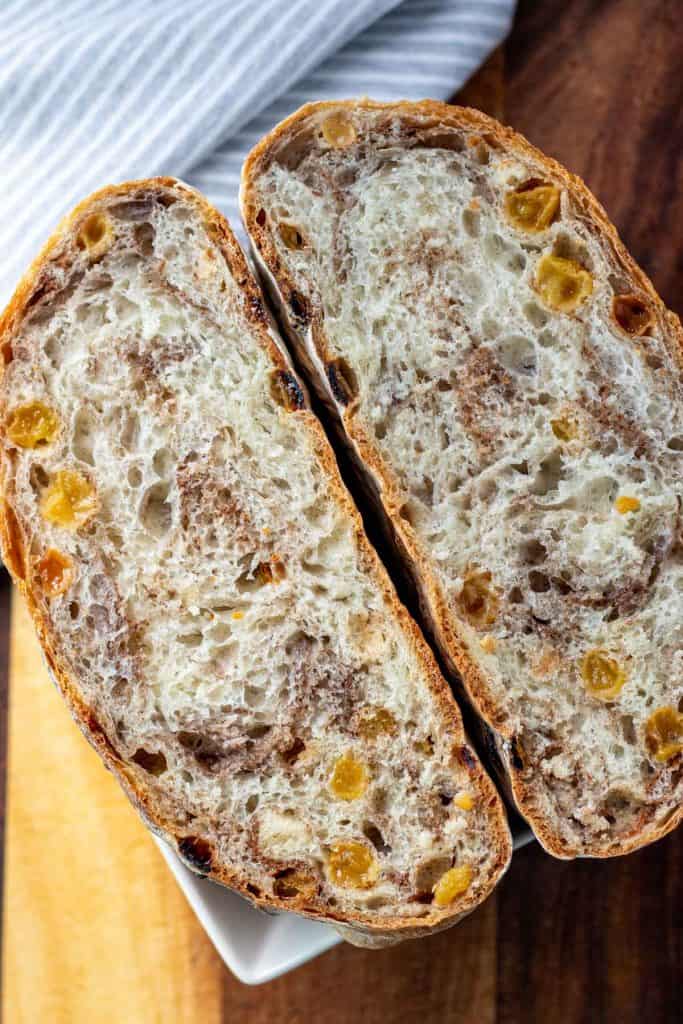
Cinnamon Raisin No Knead Bread
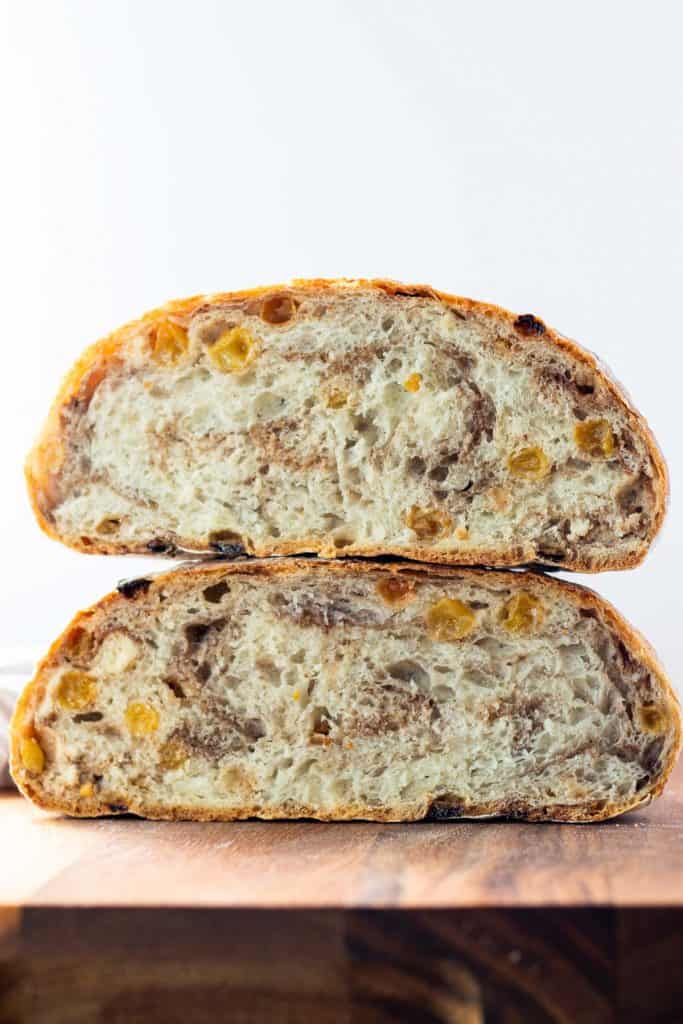
I am not going to lie, I was SUPER excited for this one.
To make the cinnamon raisin no knead bread I used the exact same recipe as below, but I added in:
- ⅔ cup Golden Raisins (these are just what I had on hand, regular sun dried raisins will work too)
- 2 teaspoons Sugar
- 2 teaspoons Cinnamon
- ½ teaspoon Nutmeg
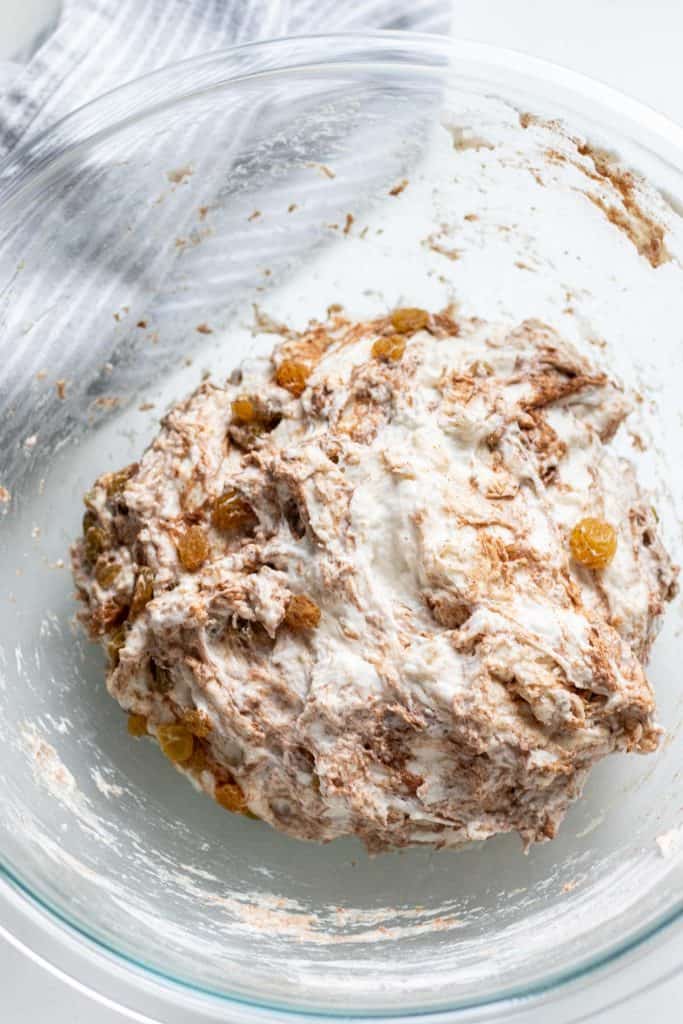
Add all of these ingredients to a small bowl and stir to combine. Then after the dough is mixed together, add these ingredients into the dough and stir to fully incorporate. Then continue on with the 12 hour fermentation time and all of the same steps.
Make sure to check out these other recipes that you can use your No Knead Bread to make, too!
- Diner Deluxe Clubhouse Sandwiches
- Avocado Breakfast Toast
- Apricot Brie Chicken Sandwiches
- Serve warm toasted bread with whipped honey butter.
This bread also makes the most amazing homemade garlic toast. To make homemade garlic toast, either cut the loaf in half width wise, or slice into pieces and mix together some softened butter, parsley, garlic powder, minced garlic, and salt. Spread the garlic butter mixture on the toast and bake in the oven until crispy.
WHEW. That was a big one.
If you're still with me, I hope you learned some things about bread that you didn't know and I hope that I can help you achieve your very own homemade no knead bread!
As always, if you have any questions, leave a comment below and I will be happy to assist you in any way that I can!
We put a lot of work into our recipes, we would love to know if you tried this recipe and how it turned out for you!
If you have any questions about this recipe, I would be happy to answer them in the comments down below! To get a hold of us, you can shoot us an email or leave a comment down below! We can also be found on Instagram, Facebook, Twitter, or Pinterest.
📖 Recipe

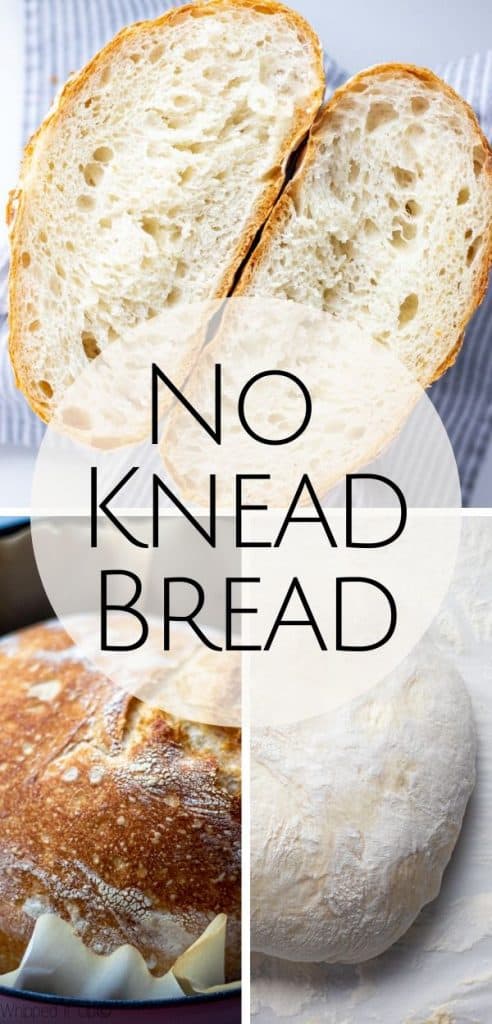
No Knead Bread
↑ click the stars to rate this recipe ↑
Print Recipe Pin RecipeIngredients
- 3 ½ cups All Purpose Flour divided
- 1 ¾ cup Water lukewarm
- ¼ teaspoon Active Dry Yeast
- ¼ teaspoon Kosher Salt
Instructions
- In a large glass bowl add the water, sprinkle the yeast on top of the water. Let it sit for 2-3 minutes until the yeast blooms and the water turns cloudy. (See photo)
- Add 3 cups of the flour on top of the water and sprinkle the salt on top of the flour. (You never want to let the salt and yeast mix directly, it could kill the yeast).
- Stir with a wooden spoon until fully combined. The dough will be super sticky when combined. Place a large plate that is big enough to fully cover the top of the bowl on top.
- First Rise- Leave the dough in a warm place and let it rise for 12 hours or more.
- For steps 5-8, DO NOT USE FLOUR. The dough will be extremely sticky, but it will be workable with your fingers. Remember to be gentle with the dough, being too rough or working the dough too much will make the air bubbles pop and the bread might turn out dense.
- When the first rise time has elapsed, carefully peel the plate off the top of the dough. The dough will likely have attached to the plate. If there is a lot of dough on the back of the plate, rub it in a circular motion to remove it and place the extra dough in the bowl.
- Second Rise- Now, using your fingers only, peel the dough away from the sides of the bowl first. Wiggle your fingers under one side of the dough, pull up slightly and fold it into the center. Work around the bowl in this same fashion until the dough resembles a rough round loaf. Cover the bowl loosely with plastic wrap and let sit for 1 hour.
- Third Rise- Repeat step 7 and let the dough rise loosely covered for another hour.
- Shaping and Fourth Rise- The dough is now ready to shape! Place a large piece of parchment paper on your work surface and dust generously with flour. Very gently turn the dough onto the parchment paper and gather into a loaf form. Do this by pulling up the sides of the dough to the middle of the loaf and pinch together. Use extra flour as needed, but be careful not to destroy the fermentation bubbles in the dough.
- Gently roll the dough over on the parchment paper so the "seam" side of the loaf is on the bottom.
- Once your dough is shaped into a loaf. Pick up the loaf by the sides of the parchment paper and place in a large bowl or colander to begin the last rise. Cover loosely with plastic wrap and let rise for one more hour.
- For this recipe, the dutch oven (or whatever dish you are using) needs to be preheated before the bread is baked. To do this, place your dutch oven (empty) into the cold oven and let the oven preheat to 425°F, after oven has preheated, leave it for 15 extra minutes.
- Carefully remove the heated dutch oven from the oven. Remove the plastic wrap from the top of the dough, and using the sides of the parchment paper, lift up the loaf of bread and place it into the dutch oven. Cover with the lid and bake for 30 minutes. After 30 minutes has elapsed, remove the lid and bake the bread for an additional 20-25 minutes. Until the crust is a deep golden brown color.
- Remove the bread from the oven and very carefully use the parchment paper to transfer the loaf to a cooling rack. Slide the parchment paper out from underneath the bread and let the bread cool. Keep in mind that parchment paper becomes dry when it is baked, and it will rip or tear easier. Make sure that your cooling rack is close by when making the transfer of the loaf to the cooling rack.
Save This Recipe! 💌
Notes
Nutrition
The nutritional information provided is an estimate based on an online nutrition calculator and it will vary based on the ingredients that you use.


Carolyn | The Organic Gypsy says
Drool worthy! Wow.... stunning pics of absolutely beautiful loafs of bread. I have learnt so much in your article. Thank you! off to go bake some bread! 😀
Jessica says
Thank you so much, Carolyn!
😃
Pauline says
To make a smaller loaf, can I reduce the recipe to half portion?
Jessica says
Yes, that should be no problem. You will have to cut down on the baking time, and use the "knock" method to test if your loaf is done. I have never tested a half loaf, I would love to know how it turns out!